How to fix the sink: method of attachment to the wall,
Many beginning masters are interested in how to attach the wall washer to the cabinet, if special brackets have not been pre-installed on it. And although this situation is quite rare, to deal with it is relatively simple.
In our article we will give an overview of the currently available methods of fixing shells on different grounds, as well as describe the algorithms for performing work in the most common situations.
Mounting techniques
Depending on the design of the sink in the kitchen or bathroom can be mounted in different ways.
Each method has both advantages and disadvantages, but in order to figure out how to deal with your situation, you need at least a general overview of all the technologies:
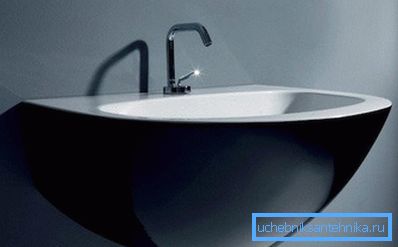
- Wall mounting is usually used for wall-mounted sinks in the bathroom and kitchen sinks of the old design.. The main disadvantage of this technology is that the siphon in this case is not masked by anything, and therefore significantly impairs the appearance of the wash.
Note! To avoid this, the drain can be closed with a vertical console (then we will have a “tulip”), or use a model for concealed installation, when the sewer pipe is sunk into the wall. In the latter case, before you attach the sink to the wall, you need to lay a drain pipe in the gate and disguise it.
- Surface mounted installation is used when installing square and rectangular models of sinks on pedestals without a tabletop.. The advantage of this method is simplicity and high fastening speed with your own hands, however, the appearance of the product leaves much to be desired.
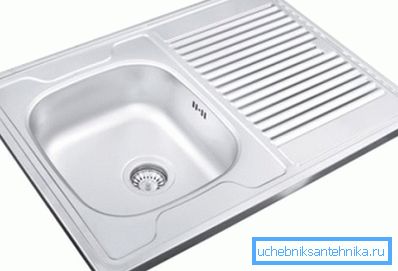
- Flush mounting is used for most round and oval models, for products of irregular shape. etc. This technique is rather laborious, but we get a sink, completely hidden under the table top with a high-quality sealed fitment node.
In the next section, we present a sequence of works on the installation of such structures.
Algorithms for self-assembly
On the wall
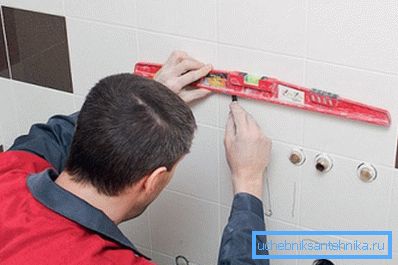
Wall mounting is done as follows:
- At the selected level, drill holes (minimum 8 mm) for mounting brackets.
Note! We select the height so that the top edge of the sink is 80 cm from the floor.
- Punch plastic dowels of the appropriate diameter into the holes.
- In the dowels twist the brackets themselves, making sure that they are at the same level.
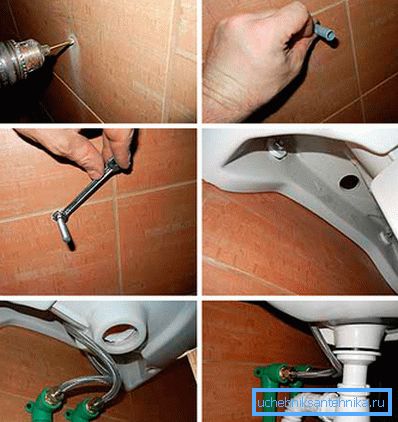
- We put the shell on the brackets, align it (the design of the mounting lugs on most models allows it) and fix it with the fixing nuts.
- Attach the drain siphon and install the mixer for water supply.
- If necessary, we apply a moisture-resistant sealant to the joint of the sink and the wall.
On the cabinet without tabletop
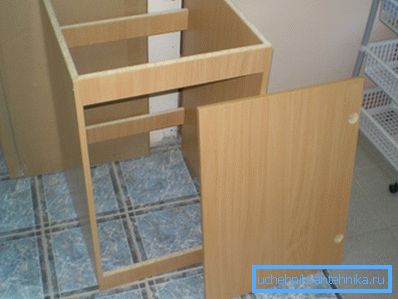
Instructions on how to attach the sink to the cabinet are also quite simple:
- From the inside we install plastic mounting brackets, or fasten wooden bars with metal corners.
- Apply silicone sealant on the ends of the side walls.
- We put the sink on top, making sure that it does not move relative to the sub-base.

- From the inside, we fix the sides of the sink (or special projections on them) with brackets. In the absence of brackets snap on the sides with metal corners.
- Using a screwdriver, rotate the adjusting screws, clamping the brackets securely.
- Silicone, speaking out from under the sink edge, is removed with a wet hand or a clean cloth.
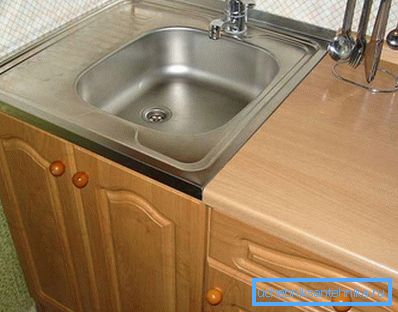
In the worktop
The price of sinks, which are mounted in the mortise way, is usually quite high. And the countertops themselves are not cheap, so that inexperienced craftsmen should not take up work without preparation.
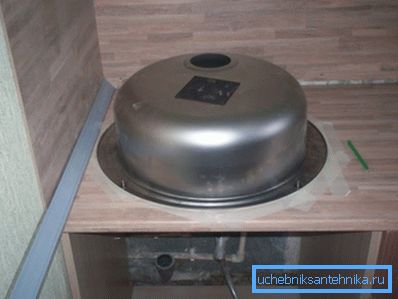
If you are confident in your abilities, the installation should be carried out according to this scheme:
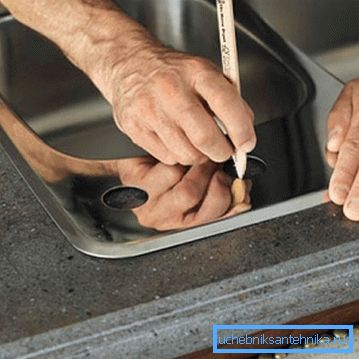
- Before you attach the sink to the table top, prepare a hole for installation. To do this, we place on the surface either the sink itself, or the template that comes with it. We apply markup using a marker.
Tip! It will be much more convenient to work by removing the countertop and putting it on the workbench with the wrong side up.
- In several points on the marking line we make holes using a drill in the tree. Then we connect these holes, sawing through the grooves with an electric jigsaw.
- The edges of the resulting holes are treated with a rasp, removing large burrs. After this, we apply a sealant to the cut, which will prevent the swelling of the wood or MDF upon contact with moisture.
- If dismantling was previously carried out, then return the table top to the place. On the perimeter of the hole glue sealing butyl tape.
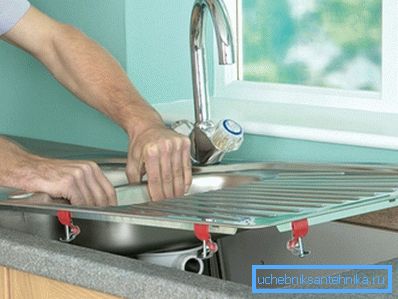
- We install the sink, positioning it in such a way that at least 10 mm of the side of the table is set on the whole section of the table.
- Using standard fastenings, we fix a sink from a seamy side. For mounting on thin worktops, additional wooden sticks are usually attached.
- Additionally, we seal all joints with silicone.

Note! The described technique is only suitable for kitchen sets made of wood or MDF. Structures made of natural or artificial stone should be treated with a professional tool, because in this case, the installation should be carried out by specialists.
Conclusion
It’s pretty easy to figure out how to attach a sink to a cabinet or how to punch it into a tabletop. It is much more difficult in practice to implement this knowledge. That is why before starting work, we strongly recommend that you carefully watch the video in this article.