How to fix the sink on the wall in the bathroom
The water system in the house consists of several plumbing fixtures that must be properly connected. It is necessary to think about their optimal placement in the room, to make space for access to the wiring nodes, flexible connections for repair work and for carrying out preventive maintenance. It is necessary to take into account that each model has its own design nuances, which means that their installation will be different.
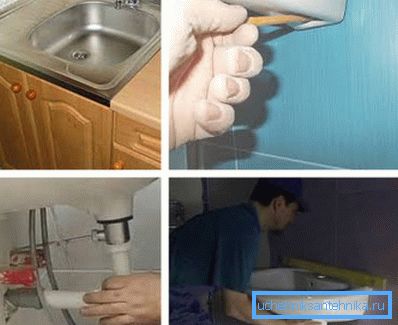
In most cases, the fastening of the sink implies its installation on the wall, so let's talk about this in more detail below. This type of plumbing is the most common, familiar to many and has its advantages. One of them - makes it possible to more efficiently use the area under the sink, as well as keep this area clean.
Types of installation
Each installation option has its own specifics that require certain knowledge.
First of all, this is due to the variety of designs that manufacturers offer:
- sinks can be installed on the cabinet or shelf;
- be a model of "tulip";
- placed on a pedestal;
- mounted to the wall on the brackets - the most popular way.
Tip: when selecting a sink model, try to pay attention to those where the connections under cold and hot water, as well as the sewer drain are located identical to the communications in the room.
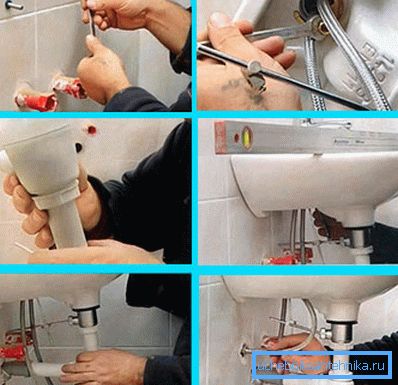
Process
Below is the installation instruction manual, which, with a few exceptions, is universal for each type of hanging sink.
Tools for work
Having at hand the necessary tool, you can make the installation necessary in such cases with your own hands.
You will need:
- screwdriver;
- gas wrench;
- electric drill;
- pobedit soldering drill for concrete work;
- spanners of the right size;
- marker;
- building level;
- hammer.
Tip: also buy Fum silicone tape for sealing threaded joints or tow.
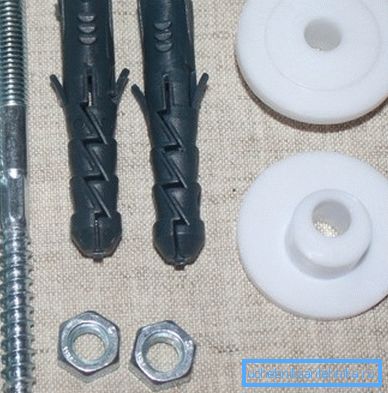
In order not to search separately for the necessary fasteners for installing the hanging shell, we recommend to purchase a special set in the sales network at once.
Choose brands that have already been able to properly recommend themselves in the market, so as not to suffer during work and not be afraid for the reliability of installation. Usually the price is not much different.
Training
- Shut off cold and hot water.
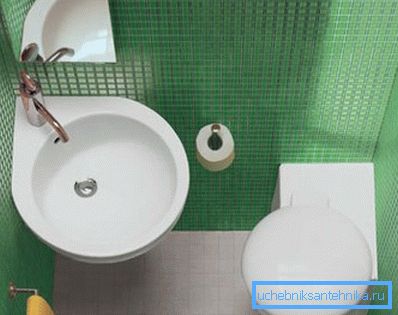
- Determine the place under the bowl in the interior of the room, taking into account the supply of water under the mixer.
- Try on the sink prepared for installation in the selected area and finally select its position.
- Decide on the size of the bowl and its installation height.
Tip: choose a model that would not take up extra space in the room, but had sufficient dimensions, covering the sector of spraying water flow.
- Standard equipment dimensions:
- width - 500-650 mm, depending on the model;
- height - 800 mm from the floor is considered the most ergonomic;
- Leave a distance of 800-900 mm in front of the sink.
- Take a ruler, pencil and level. At the desired height, mark the central horizontal line - all installation work will be carried out along it. It is the upper boundary of the installation of sanitary equipment.
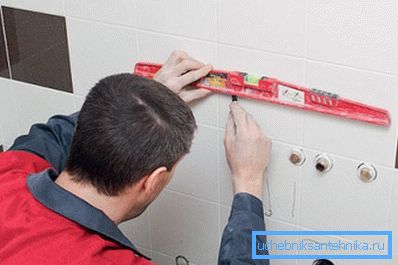
- When choosing, do not forget to check the thickness of the side walls of the bowl, which will have to withstand the support of the brackets. Put the measured thickness down from the horizontal on both sides of the shell and fix with a mark. Connect the obtained marks with a horizontal line, indicating the height of the mounting brackets.
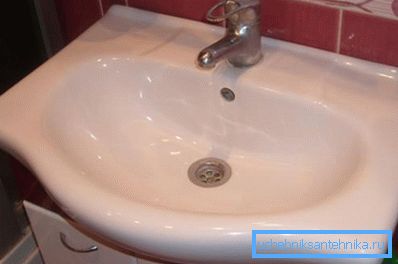
Work with a bowl
- Turn it over and fix the brackets on its sides.
We recommend inviting an assistant for this job, then it will be possible at the same time:
- to manipulate the sink, setting it horizontally;
- put the necessary mark.
- Attach the bowl to the horizontal, mark with a marker through the grooves from the back of the mount.. Make sure that everything coincides.
- Take a power drill with a drill bit with a soldering and drill through the symbols. Note, the diameter of the drill should be slightly less than the dowel-screws or mounting screws.
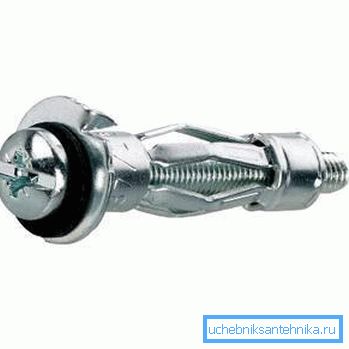
- Install the nylon or plastic bushings into the drilled places and screw the screws into them, securing the support brackets to them.. On the last and will be installed bowl sink.
- Mark the areas of its further fixture to the wall with a marker, drill holes and hoist the bowl into place.

- Connect the siphon by inserting the branch end of the pipe into the sewer.
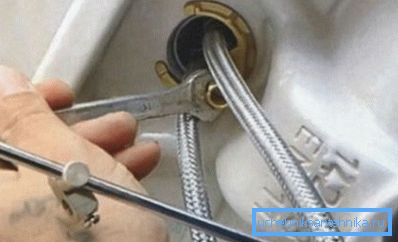
- Install the mixer and connect the water supply.
Tip: fasteners should not be tightened immediately until it stops, better leave the opportunity for its adjustment. After adjusting leveling, fix it completely.
Recommendations of specialists
Not always in the installation instructions, everything is clear or told. There are moments about which the home master should know before the work begins:
| Fastener | Check the completeness of the product when buying it in the trade network. Ideally, the necessary fasteners should comply with the stated installation instructions. In the case when the manufacturer does not provide for this or the fastener does not suit you for quality, purchase all the necessary details in advance. So you will feel much more confident after work. |
| Sealing |
|
| Installation | We recommend installing the sink after finishing the finishing work. We draw your attention to the implementation of the mounting holes. |
| Surface | Fasteners sanitary equipment to the wall is justified only when the surface is strong and reliable. Otherwise, it is necessary to make a bearing frame in advance. |
| Water supply and siphon | You can make a hidden eyeliner of water to the sink and hide the siphon in the cabinet or cabinet, which will simultaneously be a place for storing various toiletries. You can increase the free space under the sink when using a siphon of a flat shape. When properly installed, the bowl stands steadily, without movement and reels. |
Conclusion
The better you make the installation, the better the functionality of the equipment and its longer service life. We advise you not to hurry, but to do all the steps thoughtfully and correctly. Your peaceful life also depends on it in the future, since it will not be necessary to constantly finish your own flaws.
The video in this article will provide an opportunity to find additional information on the above topic.