How to glue the ceramic toilet and the tank, if they are
We went into the bathroom, and there is a puddle on the floor next to the ceramic toilet, and you are completely unaware of what could it be? If the gasket was worn out at the entrance to the drain tank, working for a couple of minutes is another matter when the problem arose because of a crack in the same tank or the sanitary device bowl itself.
In this case, it’s not such an easy job, which can even be completed with a complete replacement of equipment. If you want to learn how to seal the crack and how you can glue the toilet yourself, read our article further.
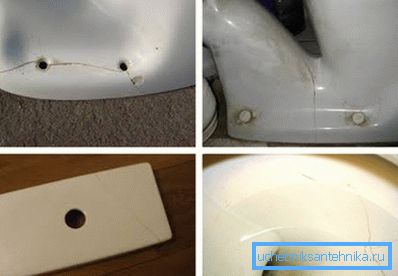
What could happen
Before we learn how to seal the ceramic toilet, let's understand where our crack came from in order not to waste time in vain.
| Drop items | In a closet bathroom city apartment everyone wants to make the most of its area. Therefore, a cupboard with various household chemicals, and often with tools, is often installed above the toilet bowl. By negligence, they can fall into the toilet, because of what he immediately cracked. |
| Sharp temperature drop | Ceramics do not like sudden changes in temperature. In this case, an uneven expansion of the material is created, because of which the internal stresses increase. The result of such actions is a crack. It can happen because of a faulty mixer, when hot pipes start to flow into the pipes with cold water. Plastic parts will begin to deform. After that, the cold water will rush again, which may cause cracks, and you will have to think about how to seal the toilet bowl. |
| Incorrect assembly |
Otherwise, these two conditions will be precursors to the appearance of cracks. In this case, the tank and the toilet can burst after a while, even very long. |
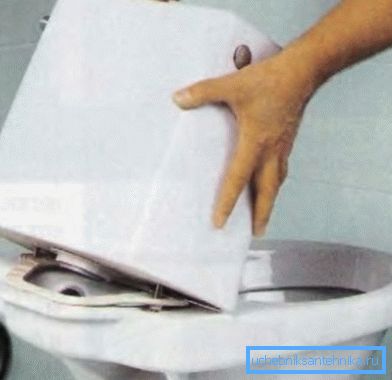
Recommendations of specialists
- Close the toilet lid. Simple at first glance, the operation will help protect the bowl from falling into it of foreign objects that can cause chips and cracks. In addition, your valuables also will not fall into the water.
- Do not pour hot fluid into the toilet; be sure to let it cool. Agree, the purchase of a new toilet and its installation will cost much more than the old pan or frying pan. This also applies to the flushing of the heating system batteries in the winter. Should not direct water temperature 80-90? in the toilet bowl.
Tip: if there is no other possibility to remove water from the radiators, push the hose into the sewer riser through the toilet outlet.
- During assembly, make sure that there is no distortion, and do not apply excessive effort, Remember that the product is made of clay, not metal or wood. If the toilet bowl cracked than to seal it, you will find out in the article below.
So, we found out that it can basically lead to cracks in the ceramic toilet or cistern. We now turn to their repair.
How to self-glue the toilet and drain tank
We use universal glue
This method will help repair the product when a fragment has broken away from it that is not related to ensuring tightness. For example, part of the base and eyelet for mounting the shelf.
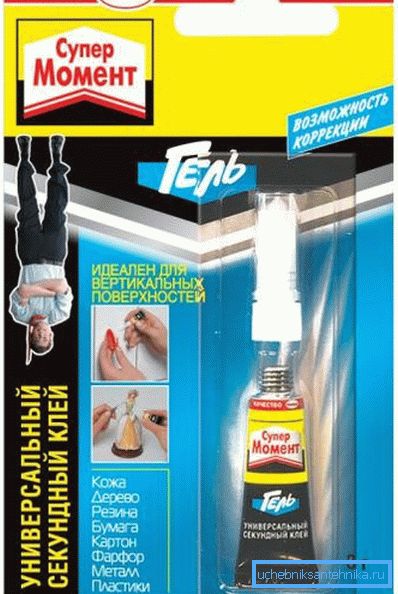
Get any universal glue from a reputable manufacturer; its price cannot be low. It is quite suitable "Superpoint" from Henkel.
The instruction is as follows:
- Clean the surface of the defect from crumbs and dust.
- Allow the product to dry completely.
- Defat surfaces with gasoline or acetone.
- Apply glue and press the broken off fragment. Fix in any way for the time specified in the instructions for the composition.
Advice: it is not necessary to load the glue joint, since it will be much inferior in strength to the solid faience.
Crack just outside
In this case, consider the moment when the object fell into the bowl of the toilet bowl and damaged it. Universal glue is better to replace the two-component epoxy resin.
So, how to glue the toilet:
- Prepare the components - resin and hardener, as well as a container for mixing them.
- Dry the surfaces to be bonded well.
- Close the water supply to the tank, install the fan, wipe off all the drops. Ensure that the gluing area is completely dry.
- Degrease the surface.
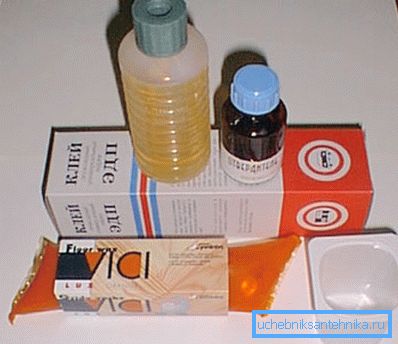
- Mix the resin and hardener together as recommended by the manufacturer.
- Apply glue to bonding surfaces.
- Be sure to fix the area gluing in any way. For example, you can use the usual tape, putting it on the outside of the bowl.
- When the resin is dry, gently grind the glue seams in the place where they are visible. First use M20 or M40 emery paper, then felt. Otherwise pollution will be collected here.
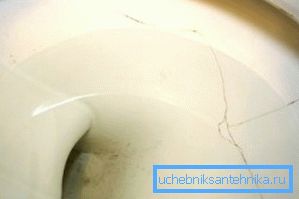
The crack is visible on both sides of the bowl.
Now we learn what to seal a crack in the toilet, which affects its tightness. In this case, it is also necessary to prevent the defect from increasing.
Prepare:
- epoxy resin with hardener;
- drill with a thin drill bit on the tile;
- grinder with a disk on a stone;
- sandpaper and felt for sanding the glueing area.
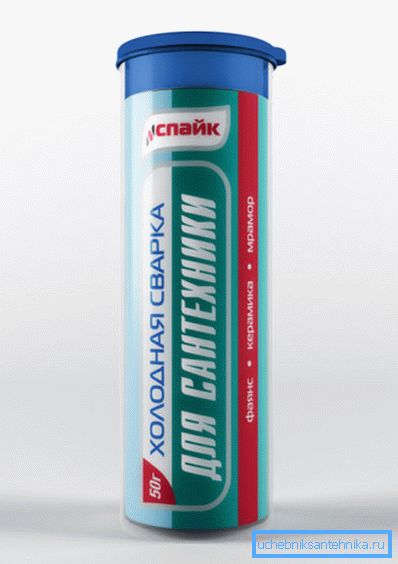
It remains to learn how to seal the toilet with their own hands:
- Drill 2 thin through holes at the ends of the crack. So you stop its elongation.
- Using the grinder, select a depression along the entire crack about 50% of the faience thickness. At the same time, do not forget that overheating of the material will only aggravate the situation, it may begin to crack in other places. No matter where you do it - outside or inside the bowl, the crack will still be noticeable.
- Fill the prepared recess and holes with a mixture of resin with a hardener, immediately remove the excess in order to work less with sandpaper.
- Sand hardened resin.
Tip: if the toilet cracked at the base and lost tightness, it is better to replace it.
Conclusion
Any glue is assumed as a temporary measure for plumbing cracks. But if you can not pay attention to the aesthetic side of the case, repaired with epoxy resin, the toilet can last a long time. The video in this article will provide an opportunity to find additional information on the above topic.