How to insert a sewer pipe made of steel, iron and plastic:
Today, almost any plumbing work is a difficult task, but it is quite predictable. That is, it is possible to approximately calculate the budget, and possible deviations, and the timing of the project.
And all because modern materials have appeared on the market, with which it is very convenient to work and which allow to do plumbing not with torment, but with interest. It can be said that the existing fittings and adapters have turned this into a kind of designer, the main difficulty of which is to create a truly high-quality connection of parts.
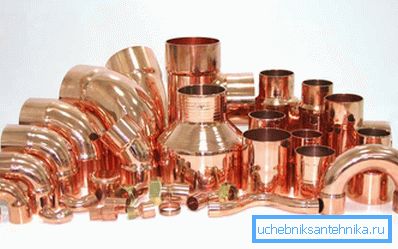
There is no exception and such common work as a sidebar in the sewer riser. Now it is done quickly, reliably and inexpensively. And it doesn’t matter what exactly the main sewer line is made of.
Let's consider what difficulties the masters had to face earlier in independent work, before the advent of modern technology.
| Riser type | Standard difficulties and their causes |
| 1. Cast iron. | As a rule, the tie-in to the sewer riser of this type was dangerous, at least, because the entire line could collapse during the dismantling of the required section. This happened often and mainly because the dismantling was most often carried out with a hacksaw and a hammer. Now everyone can afford to buy a grinder for such works, which allows you to do without any blows to the metal. |
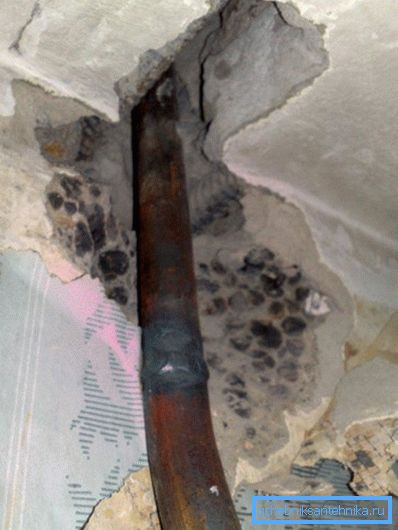
| 2. Steel. | In this case, too, it was hard to do it yourself, without the help of specialists and a large set of tools. Simply because steel, unlike cast iron, cannot be broken with a hammer. But the hacksaw did not manage to cut the entire circumference of the pipe. Autogenes and other similar cutters, which could hardly be found in the arsenal of a home craftsman, usually came to the rescue. |
In addition, there was one more detail, because of which the installation itself was difficult - to connect the parts, it was often impossible to do without welding. And this is a very serious obstacle for independent work, agree.
Please note that the work with plastic material in this table, we did not understand. Simply because earlier such technologies in our country were not used at all. However, below will be published step by step instructions for working with such pipes.
And now it is worth examining in detail what methods of tie-in exist now - you will see for yourself that modern methods are much simpler, safer, cheaper and more efficient.
Self inset in the riser
Before we begin, it is worth noting that we will analyze only those methods that are most easily realized on our own, and the price of which is affordable for everyone.
The only difficulties that may arise when performing the work described below is the need to invite a welder at some stage. However, you must admit that now it is easy to do - the good of offers on the market there are many. Moreover, such services will not be needed for very long (maximum for half an hour).
Well, now let's start the review of the practical part.
Work with plastic
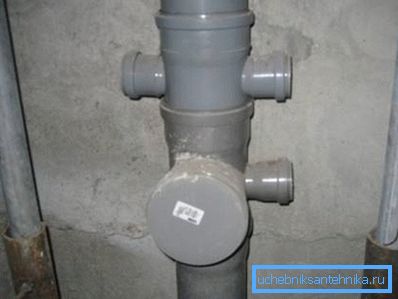
What is uniquely convenient this material, so it is ease of processing and low weight. Such pipes are easily affected by an ordinary hacksaw, and the connection is made either with a special soldering iron, or even mechanically.
Insertion into the riser of this type, as a rule, is carried out by the second method.
This is done like this:
- Buy a special tee of the same diameter as the pipe on the riser.
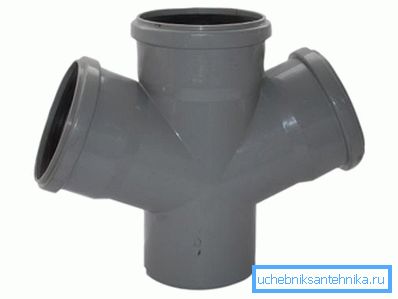
- A fragment is cut out on the necessary part of the line, which should be several centimeters shorter than the length of the fitting..
- Cut edges are trimmed with sandpaper with a small fraction or a grinder.. This is done in order to make the “docking” lines as smooth as possible.
- The edges of the highway lubricated with ordinary sunflower oil. The same is done with the inner rim of the tee. If this is not lubricated, then it will be hard to fully connect the parts.
- Pipe riser inserted into the tee. But since by default we have a distance between the trimmed edges less than the length of the adapter, then we need a special approach. The end points of the riser are slightly retracted to one side and slightly inserted inside the fitting, and then gradually come down in one straight line and sink deeper and deeper into the tee.
Such is the scheme.
Please note that before crashing into the sewer pipe (no matter what it is made of), you need to warn your neighbors from above that you cannot use the bathroom or kitchen sink in such and such a period of time. Otherwise, you run the risk of at least getting dirty while working, and as a maximum - poorly organized connection due to moisture on the working plane.
Now about working with metal structures.
Connection with cast iron and steel riser
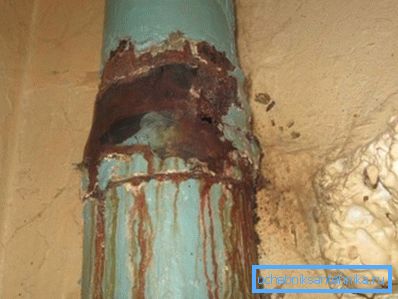
Insert into the cast-iron sewer pipe is performed according to the following principle:
- Bulgarian cut the necessary fragment of the riser. If the disk lacks any point of a circle, then it is very undesirable to finish such dismantling with a hammer due to the breakage of cast iron. It is better to try to finish the metal with a sheet - it will take more time, but the riser will remain whole. (See also the article Pipes for domestic sewage: features.)
- On the part of the pipe that is less mobile (usually the one that is shorter), the tee is slightly slid and leans towards. A more mobile pipe is also sent to the same direction, which then also baits a tee.
- The riser line is gradually aligned, and the pipes are sunk into the tee deeper..
As you can see, the scheme is very similar to the previous instructions. However, this method may not work if sewage pipes cannot be moved. Indeed, in such a situation it will simply be impossible to wear a tee on them.
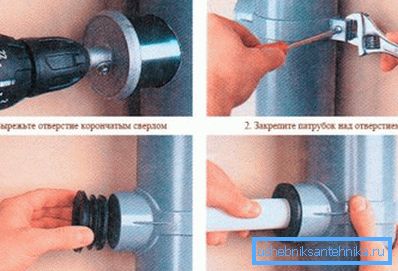
And here is a slightly different tie-in into the sewer 110 mm.
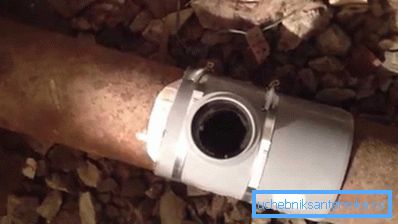
A special nozzle of the same diameter is taken, which appears to be a semicircular plane with an exit point, and the fitting is attached to the riser with an ordinary clamp. Only previously in the riser, of course, you need to make a hole in the right place.
This concludes our review of modern methods of connecting pipes with risers. Let's summarize the article. (See also the article Air valve for sewage: features.)
Conclusion
Now we have a clear example of how to crash into a sewer riser. Moreover, we figured out how to work with pipes that are made of completely different materials. We hope that all the instructions and advice provided will be useful to you not in theory, but in practice.
And if you want to learn more, then by all means check out the additional video in this article.