How to install a sewer drain
Any room with high humidity is necessarily equipped with a drainage system. The sewer drain is the element with which this system begins. It is from its proper selection and installation depends on the effectiveness of drainage.
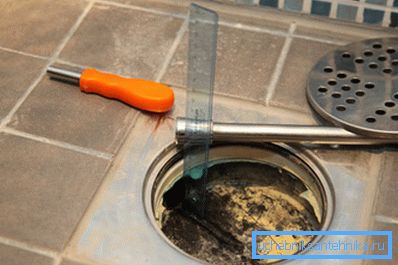
Choose a suitable trapik
In many ways, the efficiency of this element of the drainage system depends on the correct choice.
Modern traps can be classified by:
- the material from which they are made (cast iron, plastic, stainless steel);
- type of shutter (water seal, float, mechanical, combined);
- Depending on the location of the outlet nozzle, horizontal and vertical ladders are distinguished.
The sewer pig-iron ladder is most often used in the industry. Such designs are rather bulky and not suitable for private homes.
In private houses trapyki from high-strength plastic are widely used. Also popular are the combined options when the grille is made of stainless steel, and the rest is plastic.
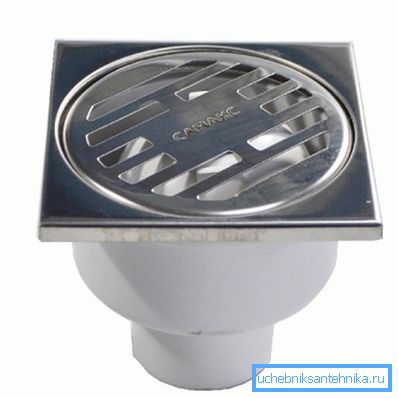
But the sewer ladders made of stainless steel are more often used in areas where particularly stringent requirements for compliance with sanitary conditions (kitchen, orphanages, kindergartens) are put forward. But can be used in private homes.
What type of shutter optimal?
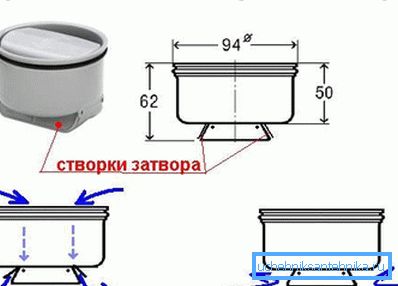
If you choose the wrong type of shutter in the bathroom or bath can leak odor from the sewer. In the past, water locks were often used, they are ideal if the drains in the room are regular.
The design of such a shutter is simple - the tube is bent in such a way that a part of the liquid always remains in it, it acts as a plug. But here to give such a shutter is not suitable - the permanent residence here is hardly planned, which means that the water in the tube will dry. The jumper can be broken for another reason, for example, when poorly organized ventilation of the sewer system.
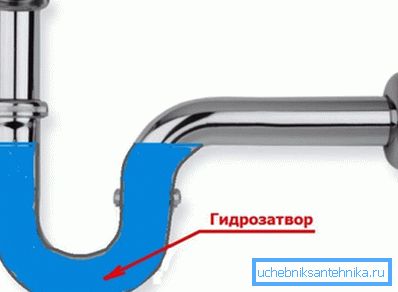
Note! If the water jam is dry, then odors from the sewer system will begin to seep into the room. Therefore, the fluid level must be periodically replenished.
From this point of view, the dry drain sewer is preferable. You can use the membrane variant (the spring-loaded membrane opens under the pressure of the flow), the float type (the locking element pops up and opens the drain) or a gravity-type shutter.
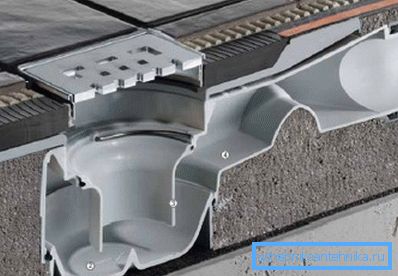
Shutters of the combined type have not yet found wide application because of the complexity of the design and, accordingly, the higher cost. Hydro - and dry valves are about the same efficiency.
Installation Start - General Requirements
The operating conditions for most trapikov are about the same, so you can formulate the general requirements for this element of the sewer:
- the grid must be strong (withstand class A), this should be indicated in the accompanying documentation;
- per second it must pass at least 1.2 liters of waste;
- the diameter of the bushings must match the diameter of the pipeline;
- it is desirable that the seals and assembly instructions go with it, and let the price of the full set be slightly higher, then you will not have to look for suitable components.
Trapik connection with sewage
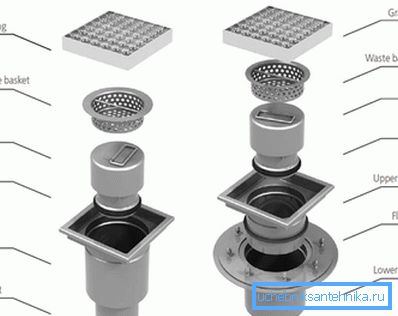
The beginning of the work begins with the assembly of the entire structure in order to estimate the height at which the drain grate will be located. Before this, the sewer pipe must be cut off. It will be possible to adjust the position of the insert with the lattice more precisely later, therefore it is better at this stage to lay the lattice position 10-15 mm higher than the design.
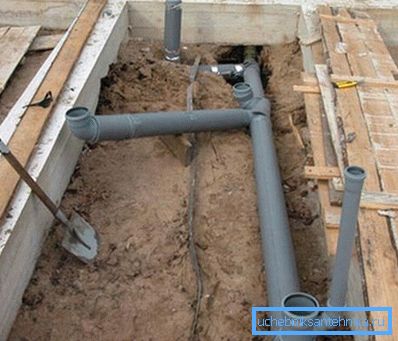
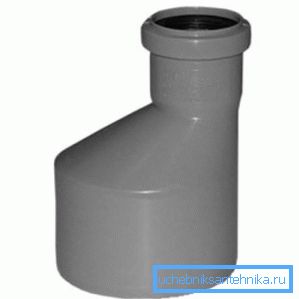
After that, the ladder is connected to the sewer pipe through the transition pipe and drainage, it is time to draft a rough tie. When constructing a drainage system, for example, in a bath it is more convenient to use a vertical one, and in a city apartment - a sewer horizontal drain.
Draft screed device
In order for water from the entire area of the room to enter the drainage system, the floor is made with a slight incline. There are several options for the location of sewage runoff: in the corner, in the center, against the wall, but this does not affect the technology of the work.
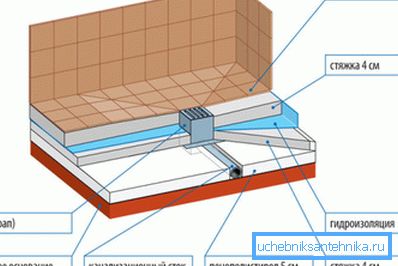
Note! The grating should be at the lowest point in the whole room. Otherwise, part of the water will always remain and adversely affect the microclimate.
The screed will be laid in 2 stages - first a rough one, then a layer of finishing screed, it is during its laying that the required slope will be ensured.
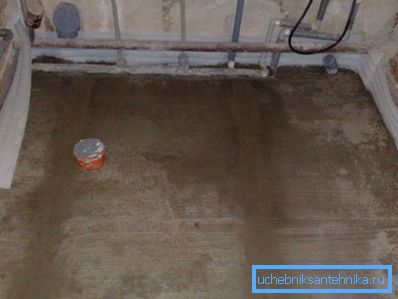
The height of the draft screed should be flush with the top of the body of the ramp or slightly below it (without the grille and insert). After pouring the mixture, it is especially necessary to compact it around the gangway; it is undesirable that voids remain in this area. Otherwise, the sewer plastic ladder may simply start to leak with time.
Finishing screed
After the draft screed dries, you need to put a rubber gasket directly on the flange. Its dimensions should be 3-5 times larger than the upper part of the rubber, and a hole is made in the center of the gasket corresponding to the inner diameter, then the upper part is attached to the body of the ladle. After this comes the turn of the waterproofing layer - it is allowed to use a coating or roll waterproofing.
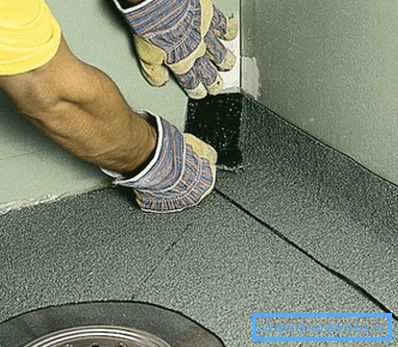
Instructions for laying finishing screed consists of several stages:
- installation of siphon and grating on the ladder itself;
- installation of beacons;
Note! For fixing the position of beacons in height it is forbidden to use a gypsum mix. The fact is that gypsum is very susceptible to moisture.
- sealing the gangway; simply wrapping the cellophane over the grate;
- laying and leveling cement mortar.

You can use guides made of hard rubber or other material that is not sensitive to moisture. After hardening of the screed, they can not be removed - a kind of expansion joints will be obtained.
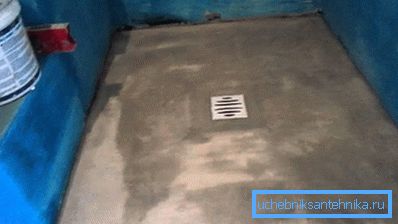
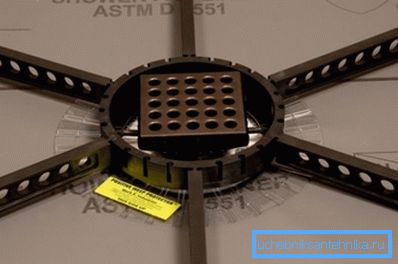
If you do not want to make guides with your own hands, then you can simply use a ready-made kit for the device of the ladder. The composition of this set includes metal slats, with which you can provide any slope of the floor surface.
Completion of work
If a floor drain is installed in the room, this slightly changes the order in which the tile is laid.
The preparatory stages in this case remain the same:
- waterproofing tape is stuck in the corners;
- surface screed primed;
- if the guides were removed, then the gaps from them need to be filled with cement mortar.
Start laying tiles from the grid, it is best to make sure that the hole under the grid is in the center of the tile. For laying used a special adhesive mixture, and the final touch can be considered as grouting hydrophobic material.
Summarizing
The installation of the gangway itself is fairly simple. And with the main difficulties novice builder can face unless the required height and the slope of the floor. The rest of the sewer ladder will not cause any difficulties during installation.
The video in this article more clearly shows the process of properly installing the ladder.