How to install a shower tray with your own hands on the
Due to the interrelation of all elements of the booth, we will pay attention to how to install a shower corner with a tray, and not just one of its details - this will help to more fully assess the dependence of all elements of such a structure. In addition, such structures may differ slightly from each other in shape - they can be square and rectangular, but most often they have a semicircular base, which saves a lot of space.
This is a very big advantage for small apartments in which the majority of the population lives. Nevertheless, the principle of installation and assembly, in fact, remains unchanged, and we will tell about it below, and also see the video in this article.
Shower enclosures
Note. In most cases, shower enclosures that are adjacent to one or two walls are called booths. But autonomous structures, which have not only walls, but also a roof, are called boxes.
Variety of forms and materials
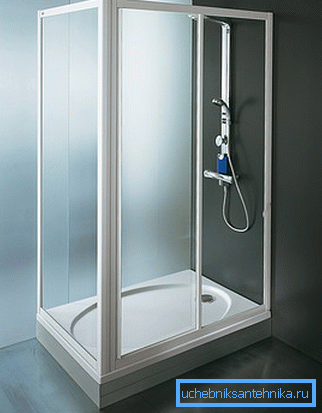
- Square and rectangular fences for the shower correspond to the shape of the base and are different in that, unlike the oval, they can be mounted only on one wall., to which the guides for the frame will be fixed. Nowadays, most often on sale you can find booths with an acrylic tray - it is much more profitable than a metal one - there is no overcooling, enamel will never break away from acrylic, it is easier by weight and easier to install.
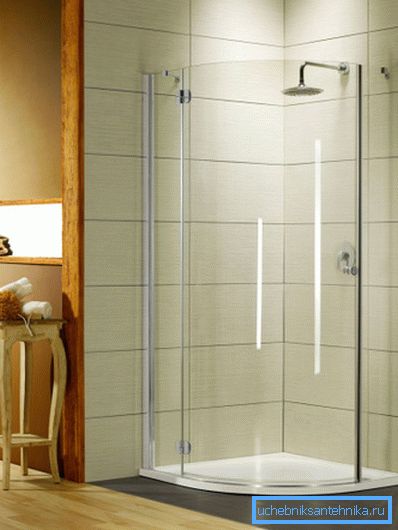
- The question of how to install a shower tray for a shower corner, refers specifically to the oval cabins, which are mounted in the corner, between two conjugate walls, as shown in the top photo. The main advantage of this design is that it takes up less space in the room, and less materials are needed for the fence - the wall of the room fills its two planes. Most users prefer this form, it is more aesthetic and, in the condition of its roundness, it is more convenient to use - there is more space in the middle, since there are no corners that are not used at all.
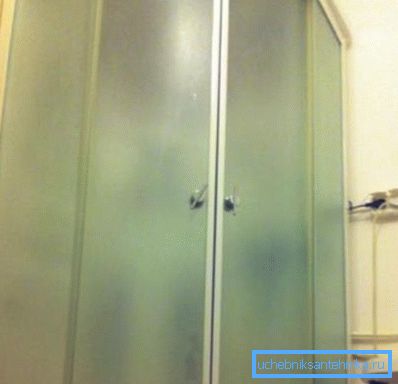
- In addition, regardless of the shape of the pallet, the fence may be of tempered glass or plastic, where the price of the latter is lower, but the quality is worse - the material has a porous structure, where particles of dirt fall that are difficult to remove even with universal detergents and a brush, and as a result it darkens (becomes dirty color). In addition, plastic or glass can be either transparent or frosted - someone will regard this factor as a matter of personal aesthetic preferences, and someone will look at this question in a moral aspect - this is the business of the buyer. But one thing is for sure that when washing in a transparent booth, not many parents will allow their child to use the toilet in a shared bathroom.
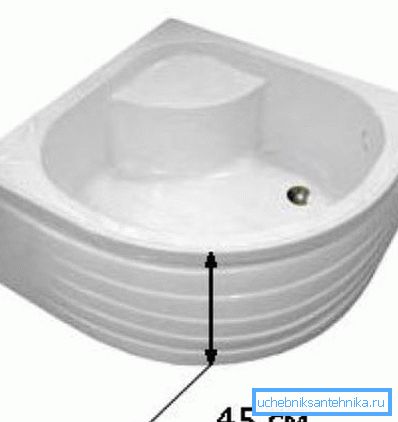
- Another factor to choose a shower enclosure is the depth of the pan. - sometimes the ability of a person to use this sanitary unit depends on it. It is no secret to anyone that it is very difficult for older people to step over any barrier and the high wall of the base of the booth can become an insurmountable obstacle for such a person.
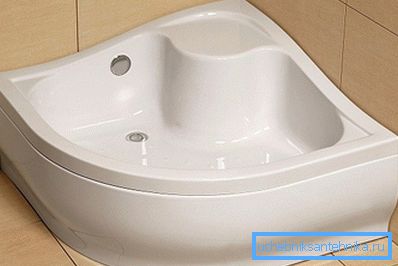
- Some in such cases are looking for how to install a shower tray without legs, but thus you can lower the structure by no more than 20-30 mm, which is unlikely to help in solving the problem. But on the other hand, the deep tank is convenient for washing, and in it you can even bathe the child or sit there yourself on the integrated chair.
Installation of a shower corner
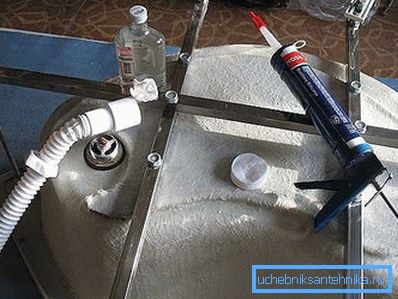
Now, we will look at how to set up a shower tray with our own hands and, as always, we will start with fastening and leveling the legs - an example of this is shown in the top photo. In the configuration of the booths for the base there is always a crosspiece from a metal profile, the size of which depends on the area of the base itself, as well as long studs with nuts, washers and end switches in the form of patches - they will be wound on the studs and abut the floor.
Your task at the moment (after unpacking the goods) is to fasten this crosspiece to the bottom (there are special landing nests) and, using the level, to set the studs, fixing them with nuts and lock nuts.
When you install the legs on the level, you definitely need to screw the siphon into place - for deep structures it is most often supplied with equipment by the manufacturer and has a bottom valve (a very convenient and useful thing for washing and bathing children), and for small containers it is siphon, usually bought separately.
If you do not do it right away, then when the pallet will stand in the corner, you will not be able to do this physically - the hand will not crawl into the narrow slot that has remained up to the floor.
It should be mentioned that some users are looking for how to install the shower tray on the bricks - this has to be done when you need to raise the siphon higher to keep the sewer slope. In such cases, a pedestal is laid out of brick, on which a pallet is laid, and the brick facade is covered with ceramic tiles. It is best to stick the tray itself with any method of installation to the wall on silicone sealant for the shower cabin, and not on liquid nails.
Note. The mating walls in the used corner of the bathroom must form an angle of 90 ?, since it is simply impossible to properly install the shower tray in other conditions! Either one or the other wall will have gaps, even if the failure is only 1 ?. Of course, craftsmen find a way out by cutting ceramic tiles, but that’s another topic.

After that, you can proceed to the assembly of fencing - if the stall area is large, then the frame will have additional guide profiles that are screwed to the wall at the corners of the pallet and are the basis for the upper part of the installation.
However, in any case, you need to assemble the frame yourself - it consists of two risers and two arcuate profiles with a sled for moving the doors. The place of junction with the wall is also recommended by the instruction to be mounted on silicone - this seals the fence and the water flowing down the wall does not go beyond its limits.
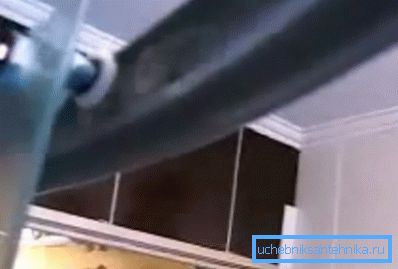
At the beginning, fixed panels are fixed on the frame, on the vertical edges of which plastic seals are put on — on the side of the shower door, a seal with an apron, in order to create tightness in the gap. Then the wheels are screwed to the doors at the top and bottom, only they are not firmly fixed at the bottom - after the doors are hung on the upper arc (see photo above), the lower wheels are set in the correct position using eccentrics.
Magnetic strips are put on the inner edges of the doors - they are good for fitting.
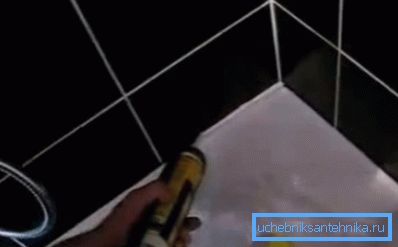
Now there remains one more stroke - this is the final sealing of the pallet at the points of junction with the wall. Apply a strip of white silicone (preferably a good one) to the joint, and then remove the excess with a finger gun - this is how you get a beautiful and neat seam. The test can be carried out in 3-4 hours.
Conclusion
We told you how to install the shower tray and the fence that is always mounted on top of it. I would like to make one caution - be very careful if the fence is made of tempered glass! It may turn out to be hot (factory defect) and will crack or crumble on impact - such things should be checked at purchase.