How to install a sink in the kitchen in 3 stages
The sink is no less important in the kitchen than, for example, a stove or a refrigerator, so its installation must be taken responsibly. You can, of course, just trust the experts, but it is better to save the family budget by doing it yourself.
In this article we will consider the phased implementation of this task.
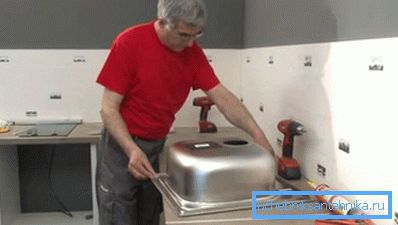
Kitchen arrangement
The first step to obtain the desired result will be the selection of a suitable wash:
Stage # 1: model selection
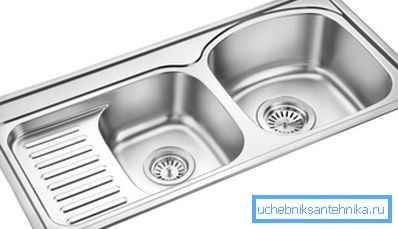
The following table will help you to orient yourself in the variety of products offered by manufacturers:
| Parameter | Options | Comments |
| Mounting method | Hinged | Not used in the kitchen, as it does not have sufficient stability for the intended loads. |
| Overhead | Simple in execution, but the bowl installed by this method has less aesthetics, somewhat worse performance and requires a special pedestal. | |
| Mortise | More difficult to implement, but in the end the sink looks very aesthetically pleasing, has no soiling joints and is easy to use. | |
| Material | Stainless steel | High mechanical strength, temperature resistance, stylish appearance |
| A rock | Solid appearance, resistance to chemically aggressive substances, large weight, high price | |
| Plastic | Low cost, light weight, poor resistance to mechanical and thermal effects | |
| The form | Square | The more intricate the shape of the bowl, the harder it is to care for it. |
| Rectangular | ||
| Round | ||
| Oval | ||
| Figured | ||
| Location | Angle | The corner model is very relevant for small-sized kitchens, as it allows profitable use of the usually unused angle, saving the useful area of the room |
| Wall | Standard model | |
| Design | One bowl | Classic economical and compact version |
| Two or three bowls | Allows you to wash dishes and food at the same time or just rinse your hands while the main wash is busy | |
| Wing | It has an additional horizontal ribbed surface on which it is convenient to lay wet objects. |
Tip: when choosing a stainless steel sink, stop using abrasive detergents, as they can ruin the bowl cover.
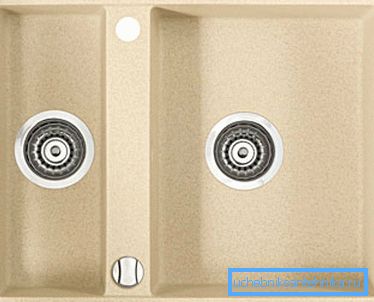
Stage number 2: build cabinets
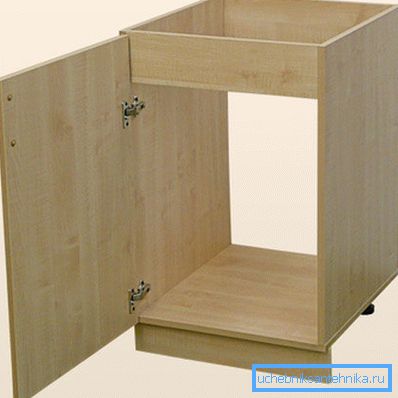
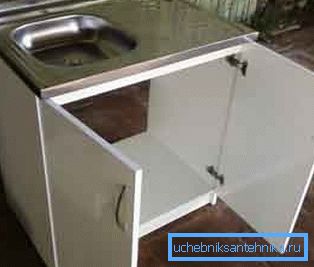
Before you install the kitchen sink overhead type, you need to assemble a special cabinet under it. For the mortise model, such a structure is not required, as it is mounted directly into the worktop.
From scratch to create this design is not required, they are in a sufficient assortment available in specialized stores and, by the way, determine at what height to install a sink in the kitchen, which is usually 85 cm.
But here it is worth making some manipulations with the acquired model:
- At the place of installation we place pieces of waterproofing material under the legs of the pedestal to protect it from possible leakage.
Tip: it is recommended to completely treat the structure with a water-proofing agent, since the leakage may have a different origin, and accidental splashes during the operation of the wash also did not cancel someone.
- We create stiffeners from wooden planks. The fact is that in such a cabinet they are not provided, as well as the back wall, so as not to interfere with the internal plumbing communications.
Stage number 3: installation of the sink
Installing a kitchen sink with their own hands on the type of overhead is not difficult, since it consists, in fact, to put glue on the ends of the stand, and immerse the bowl on it directly. Here, the main thing is to do everything carefully and control the horizontal design of the level.
Then it remains only to connect the drain and install the mixer. But the installation of the mortise is much more complicated:
- Prepare the necessary tool:
| Title | Purpose |
| Template | Indicates the contours of the future cup seating |
| Drill | Creation of entrance openings for a file of an electric fret saw |
| Jigsaw | Cutting table top |
| Sealant | Washing fixation |

- We put the template on the table and fix it with scotch tape.
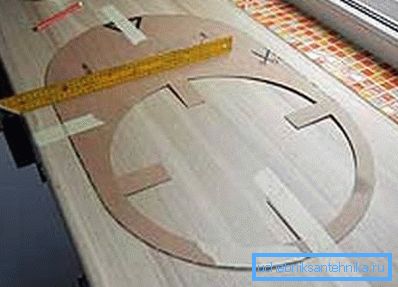
- Outline his contours with a pencil, then remove.
- We insert a drill with a diameter of 2 mm into the drill and drill through several holes according to the created marking.
- We put in one of them a file with an electric jigsaw and start gently, slowly, cut the contour.

- We remove the extra part of the tabletop
- We clean the ends and process them with a sealant; we also apply glue to the edges of the sink itself.
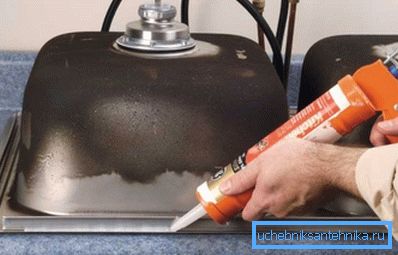
- We install a bowl into the prepared opening, after which we hold it under load for about a minute.
- Check the horizontal level of the level.
- We are waiting for the glue to solidify and connect the communications.
Installing a kitchen sink in the country is carried out in the same way.
Conclusion
Following the recommendations, to install the sink will not be difficult. The main thing in this business is accuracy and the lack of haste.
The video in this article will provide additional information. Good luck to you installation!