How to install a sink on a washing machine: practical tips
In this article we will talk about how to install the sink above the washing machine in the bathroom and in the kitchen. In addition, we will consider which sinks are suitable for mounting over washing machines and washers.
The topic of the article is of considerable interest, since many compatriots are forced to place the overall units in close bathrooms and in not very spacious kitchens. Placing a washbasin bowl over an overall unit is a unique opportunity to save free space in the room without compromising the comfort of operating plumbing.
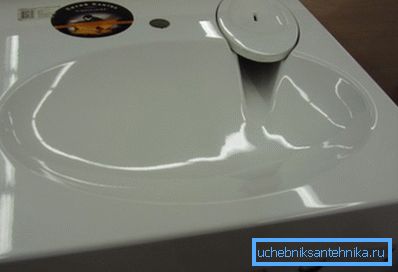
Before we talk about the features of the installation work, we will determine what kind of sink with a washing machine is combined, and what is not.
Equipment selection
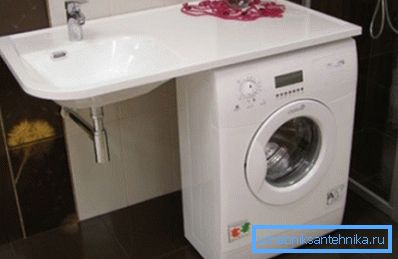
In order to install the sink on the washing machine to be successful, you need to choose all the components correctly, taking into account the compatibility of sizes. Consequently, it is necessary to take into account the size of the shell at the height of the location, on the forward and on the sides. In addition, you will have to choose a washing machine of suitable sizes.
For example, after the installation, there should be enough space behind the unit to accommodate such utilities as sewer pipes and siphons.
Now we have to decide on what configuration and sizes should be characterized components selected for installation.
- Sink "Water Lily" is probably the only kind of plumbing, which can be installed on top of the washing machine. The thickness of the bowl of this device does not exceed 20 cm, while the width and depth corresponds to the same parameters of a conventional washer (60 * 60 cm).
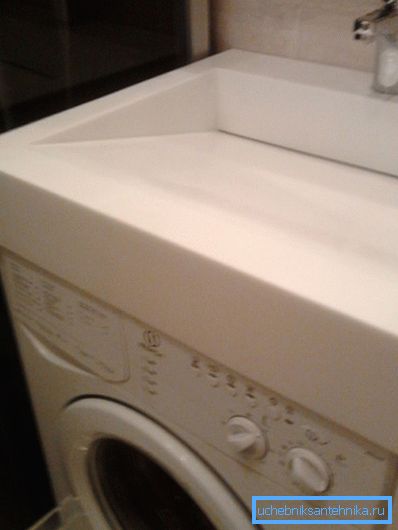
This type of plumbing equipment must be equipped with a special drain system, which allows installation of all components with a minimum intermediate clearance.
The best option is a drain system, most of which is reversed. In this case, the drain hose is not connected to a separate sink siphon, but to the drain system of the washing machine.
Water lily sinks can be equipped with a vertical drain, but in order to ensure an optimal result of the installation work, it is better to purchase modifications with a horizontal drain.
Important: Choosing between vertical and horizontal discharge, it is necessary to understand that in the first case, the drains will approach, practically not lingering, and in the second case, the flow rate of the fluid is an order of magnitude less, which threatens to form blockages.
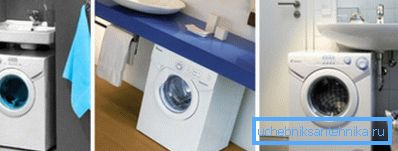
- Washing machines with a sink on top should be compact - the height should not exceed 60 cm, with a depth of up to 40 cm.
Due to the small dimensions of such equipment, it is necessary to sacrifice the volume of the drum and, as a result, the amount of linen that can be put into the drum at a time. On the other hand, if the bathroom or kitchen is limited in size, there is no choice, and the price of the convenience of location is the ability to load laundry with a total weight of no more than 3 kg.
Important: Considering the parameters of styralok suitable for installation under sinks, you need to understand that this option is not suitable for arranging objects where a large family lives.
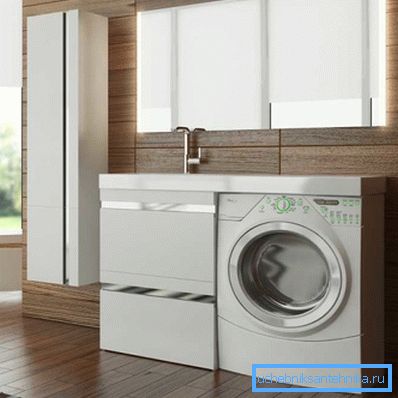
Answering the question what should be a washing machine combined with a sink, we note that the calculation of the height of the components is carried out according to the following algorithm. The height of the sink and the washer, plus a gap of 2-3 cm between them, should give a total height of 80 cm.
This size is comfortable for most people of medium height. If your height is significantly above average, height can be adjusted upwards.
Installation Requirements
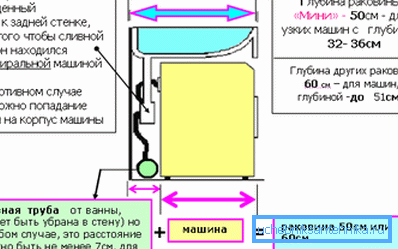
In order for a washing machine with a sink to be installed correctly, it is necessary to comply with a number of simple requirements, among which we note the following:
- The minimum width of the bowl, on condition that the drain is removed from the washer, should be 580 mm. In the case of a different location of the drain pipe, the minimum width may be as low as 500 mm.
- The location of the drain pipes in the gap between the bowl and the machine body is not allowed. Due to the vibration, the water discharge system can lose tightness, as a result of which water can get onto the equipment.
- The perimeter of the sink should be 1-1.5 cm beyond the perimeter of the washer. This way it is possible to prevent water from entering the equipment.
- The drain system should be placed behind the equipment so that it is almost invisible..
Assembly work
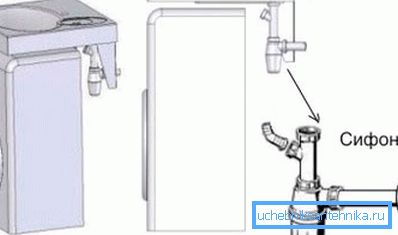
Installation instructions are phased, with each stage being performed in the following sequence:
- We evaluate the surface of the floor covering for durability and the presence of irregularities. If the floor is weak and uneven, strengthen and level the floor. This is necessary in order to minimize possible vibrations during the operation of the washing machine.
- In the next stage, celebrate with your own hands the location of the sink. To do this, we measure the height of the washer from the floor level, plus a gap of 2-3 cm. Now we apply the wash basin so that the bottom point of the bowl falls on the mark of the gap. Mark the holes for fixing with a pencil. If the sink is mounted in another way, make the appropriate marks.
- Next, drill holes for mounting, install brackets and hang the sink. Hanging the sink, we coat it with silicone sealant to canalize its back part, which will closely adjoin the wall.
Important: Do not forget to check the horizontal position of the fasteners, since, if this is not done, the bowl will be crooked or even swing.
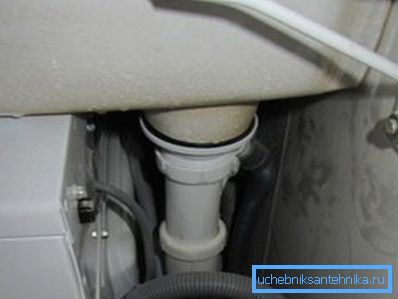
- At the next stage, we assemble and install a siphon. It is advisable to use a common siphon, to which the plums will be connected, both from the machine and from the washstand. When installing the siphon, it is mandatory to follow the manufacturer's instructions. Drain hoses are supplied to the siphon and fastened to the corresponding pipe. We take the hose from the siphon to the sewer drain, where it is fastened with a hose clamp and sealed in order to avoid leakage and odor.
- Next, connect the mixer. At the bottom of the mixer, mounted on the sink, there are two connections. Flexible hoses are attached to each of them - one for supplying cold inlets, and the other for supplying hot water. Connecting the mixer is carried out in cramped conditions, and therefore it is better to stock up in advance with a cap wrench of a suitable size with a short handle.
- At the final stage, a washing machine is installed in its place. The equipment is not just inserted into the gap between the sink and the floor, but is positioned relative to the horizon using a water level.
After the installation work is finished, it's time to turn on the water supply and make sure that there are no leaks.
Conclusion
As you could see, the installation manual is not difficult. It is enough to choose the right equipment, follow the manufacturer's instructions and the above recommendations and success will be ensured.
There are questions that need clarification? More useful information you can find by watching the video in this article.