How to install the built-in toilet: instructions for
Many of us are accustomed to the usual toilet, which is installed on the floor in the bathroom. However, it is often possible to meet the proposals of manufacturers, consisting in the built-in design. With this approach, you can increase the space and simplify the cleaning of the room. It also affects sound reduction when draining water. We will talk about how to install the built-in toilet, its advantages and disadvantages, as well as the features below.
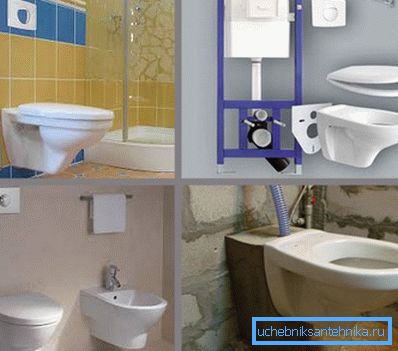
Product Overview
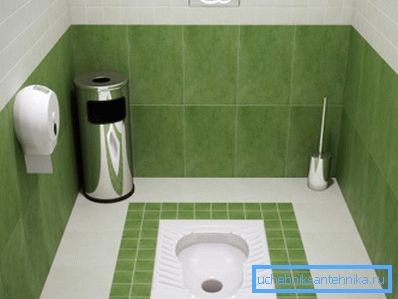
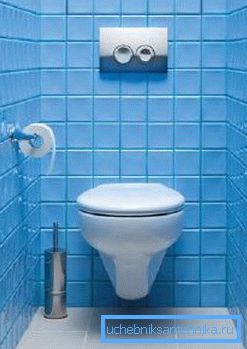
As it has already become clear, the built-in toilets are a construction in which only their bowl is located outside, and the drain system with a cistern is hidden behind the wall. They are floor and suspension options, the choice depends on you.
The dimensions of the built-in toilet bowl in the latter case, for example, will make cleaning easier, since the floor construction of toilet bowls always has hard-to-reach areas where dirt will accumulate.
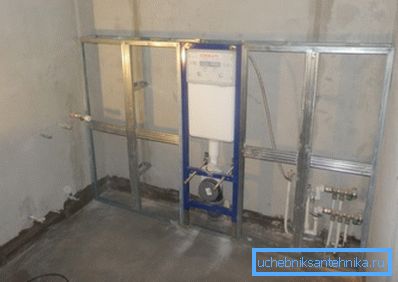
It is possible to install such a structure on any wall, and not only on the carrier. For example, often do it on drywall. In this case, it all depends on the correct installation system.
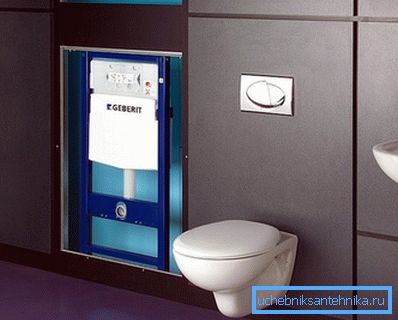
The usual frame is designed for loads up to 400 kg, which is quite enough. There are also special installation systems that allow installation in the corner. In addition, rail systems have been developed on which it is possible to simultaneously install a washbasin and a bidet at the same time as the toilet.
Types of installations
Two types are used:
| Frame |
|
| Block | Feature and lack of equipment - the instruction permits fasteners only on the main wall. This is due to the fact that the design is:
The advantage of the kit is its relative cheapness. Overall dimensions of the structure:
|
Preparation for installation of the built-in toilet without installation
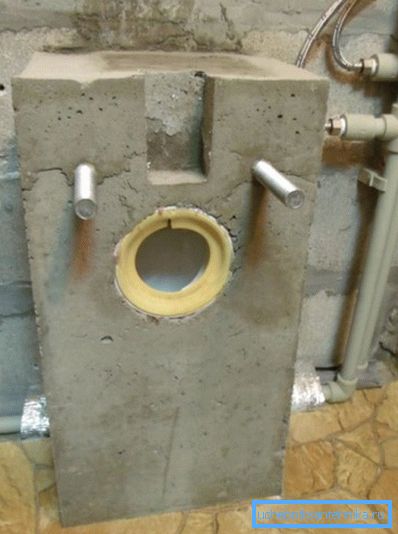
As mentioned above, the installation is not always used when installing the built-in toilet. In this case, the installation is carried out directly to the wall, and the water tank and the coupling for its drain are mounted hidden in a concrete monolithic base, which also performs the supporting functions from below. This method of installation in terms of reliability is not inferior to the installation and is economically much beneficial.
Prepare the materials:
- two studs 60-80 mm long and O20 mm with thread - 2;
- four nuts and washers O 20 mm;
- concrete solution in the amount of 40-50 liters;
- formwork
From the tools you will need:
- electric drill;
- capacity for mixing concrete;
- roulette;
- building level.
Process
Below will be given a step-by-step instruction that will help to understand the question:
- Prepare a sewer. Install your own coupling to drain.
Tip: if you need to adjust the length of the coupling, cut it or increase it with a pipe-nozzle.
- Mark on the wall space for the installation of studs in such a way that the toilet was located at a height of 400-450 mm above the floor. Make a distance of 200 mm between them.
- Drill a wall through. Pass the studs through these holes and fix the nuts and washers on the back side.
Tip: Drill a hole in the wall with a diameter of more ends of the studs and a depth of 20-30 mm. Insert the studs with the nuts into them and coat them with a putty. In this case, the ends will not protrude.
- Install the formwork - in the center of the shield with holes and two on the sides. To hold the formwork, tighten the nuts on the heels and on the other side. Check that the formwork is properly installed at the building level. Protect the threaded outlets on the rods and the coupling out with plastic bags.
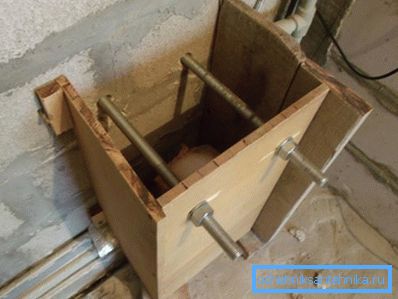
- Fill the formwork with concrete. Do not forget to leave space for the tank, which can be made from a piece of foam. Wait for about 7 days, when the solution at room temperature hardens enough.
- Smear the toilet outlet under the sink universal silicone sealant.
- Install the toilet and connect the drain to it.
Conclusion
Built-in toilet design differs from the standard, so the work on its installation may be fraught with some difficulties, but in general you can do it yourself if you have the necessary skills. Maintenance of this design is different from the usual options, so be prepared for this. The video in this article will provide an opportunity to find additional information on the above topic.