How to install the shower cabin yourself without the help of
In this article we will tell you in more detail how to install a shower cabin in a private house or apartment. The topic of the article is of considerable interest, since the cabin, in contrast to the standard bath, can save space in the room.
In addition, an indoor shower can be installed both in the bathroom itself and in any other room. And finally, if you know how to install a shower cabin correctly, the result will most certainly be a decoration of the interior of any bathroom.
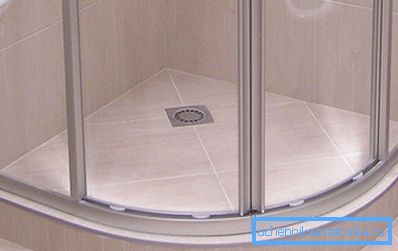
So, in this article we will find out what needs to be available in order for installation work to be completed successfully. In addition, we will look at what a phased installation instructions.
Cab types and installation features
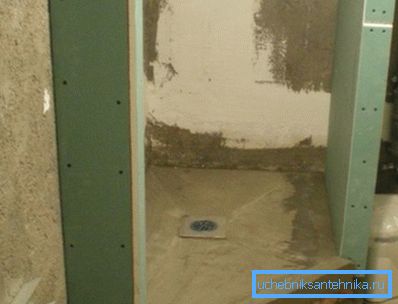
Instructions for installation work largely depends on the type, size and configuration of shower enclosures.
The standard complete set of a shower cabin includes the following elements:
- pallet;
- side walls;
- top cover (only in the configuration of closed cabins);
- panel for installation of sanitary equipment (watering can, additional nozzles, pressure regulators and water temperature);
- mounting hardware and related hardware for the installation of a pallet.
At the moment, the following sets of equipment are on sale:
- with the pallet equipped with high or low boards for an angular arrangement;
- with a pallet fitted with high or low sides for a central location.
In addition, the shape of the pallet can be square, rectangular, semicircular, round, rectangular with one or two rounded corners, etc. When planning to install the cabin in the bathroom, it is necessary to pay attention to the type of drain and on the features of its location.
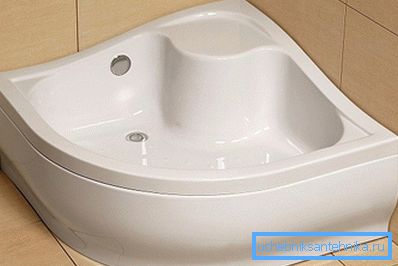
The installation of the cab depends on the production materials of the pallet. We will not particularly focus on this point, since most kits include a tray made of acrylic.
Stages of installation work
Actually, all the work, at the end of which you get a fully working shower, can be divided into three main stages:
- Preparatory work, during which the state of the surface of the walls and the floor is evaluated, and their alignment and hardening is carried out, engineering communications, etc. are summarized. It is at this stage it's time to find out where to install the outlet for the shower stall, where to place the heated towel rail and other accessories that ensure the comfort of using the bathrooms.
- Installation of the pallet and related equipment.
- Connecting communications and commissioning.
Consider each of these points in more detail.
Preparatory work
As a rule, the installation of washing cabins is carried out independently in combination with a major overhaul of the bathroom. If the repair is completed and the floor with the walls in immaculate condition, you can proceed to installation.
If the wall and floor surfaces need repair, it’s time to evaluate their condition and eliminate defects:
- We check the base and adjacent walls for stability. If everything is frayed or soaked from excessive moisture, remove the old finishing materials and old plaster exactly until we reach the floor.
- At the same stage, we determine the location of the pallet and mark the place where there will be a drain.
- We lead to the marked section of the pipe, the other end of which must be connected to the riser.
- In the plaster walls we supply water to the place where the panel with the regulators will be located.
- Fill the floor with a concrete screed so that the elbow of the supplied pipe is 5 cm above the base surface.
Important: For greater strength of the base when mixing the cement-sand mortar, along with the traditional components, you can apply "liquid glass", the price of which is low.
- After the base is ready, it is waterproofed at the joints with the walls. As an insulating material, bitumen mastic can be used.
- Next, laid out the tile with the obligatory grouting of tile joints.
Important: Sometimes, to start a sewage system, the pan is installed on a brick barrier, which is laid out over the base of a half-brick around the perimeter of the bowl.
Installation

After the preparation is done, it's time to learn how to install the shower stall with your own hands:
- First we get the packaging with a pallet and related components. Everything is unpacked and laid out to make it convenient to work.
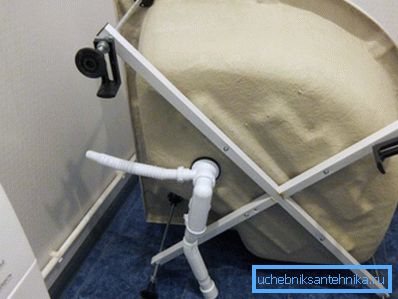
- We turn the acrylic bowl upside down and fasten around the perimeter of the attachment for the side skirt.
- Next, we screw the studs into the special sockets (long bolts without a head) on which we wear the frame and adjustment nuts. The frame is necessary so that the acrylic under the weight of a person and the water is not deformed, and the adjusting nuts are needed in order to align the entire structure with respect to the horizon.
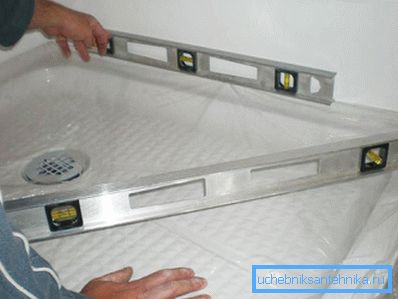
- L-shaped plastic plates are installed between the frame and the adjusting nuts to which the side skirt is fastened to the bottom with screws.
- Additionally, the frame is fastened to the bowl with screws.
- Next, the pallet is turned over and installed in its place, so that the drain pipe coincided with the siphon. We connect the siphon with the drain and put on the side skirt pallet.
- After that, fasten the panel with a mixer and other controls.
Important: If during the work there is a need for tools that are not listed in the instructions, most likely the work is performed incorrectly.
- Next, install the side walls. Mounted wall dowels fastened to the wall. Therefore, we repeat once again, the wall must be prepared so that the surface does not fall down and the screws in it sit as tightly as possible.
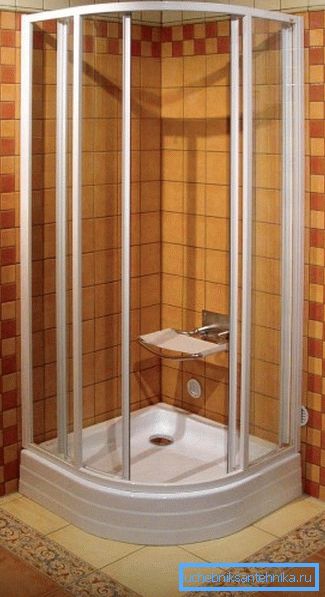
- We mount the upper part of the structure in accordance with the scheme of a particular model.
- Once the side walls and the upper part of the structure are installed, you can proceed to the installation of the door.
Important: During installation, there will most likely be a gap between the pallet and the adjacent scans, into which water will subsequently leak. To avoid this, you need to install a special plinth plinth.
Commissioning works
Before you start using the shower, you need to make sure that there are no leaks, seal the gaps into which water can penetrate, and only after that test the efficiency of the structure as a whole.
In order to make sure that there are no leaks, you will have to remove the side skirt from the pallet and type water in the bowl. Then we apply toilet paper to the site of accession of the siphon and drain.
If the paper stays dry, then everything is fine. If the paper is wet, do not rush to immediately eliminate the leakage, perhaps it is just condensation. If there is still a leak, flush the water out of the bowl, disassemble the siphon, wipe dry and collect in the reverse order. Perhaps the leakage could have been caused by an improperly installed gasket or a loose siphon.
Next, for the presence of leaks, we check the water supply, in particular, the area where the watering can and the huss are connected to the mixer.
Conclusion
Now you know how to properly install the shower stall with your own hands and can put the skills you have gained into practice. More useful information can be found by watching the video in this article.