How to install the sink: the right guide
Bathroom renovation is inevitably associated with the replacement and installation of plumbing, one of the main representatives of which is a sink. In most cases, the work is done by hand, so we want to tell future installers how to install the sink in the bathroom.
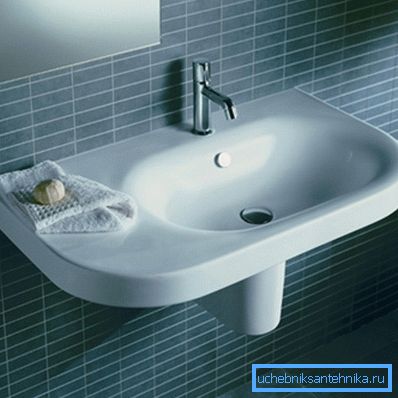
Preparatory stage
Choosing a new plumbing
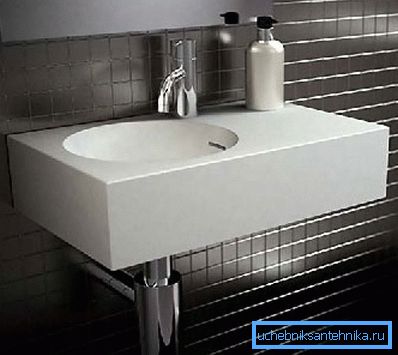
First of all, you need to find a suitable replacement for the old washbasin. This is an important step, as the comfort of operating the bathroom will depend on the correct choice of the product.
First of all, it is necessary to estimate the size of the room. As a rule, bathrooms in standard Soviet apartments are not large, and therefore we have to solve a double problem: on the one hand, the appliance should not take up extra space, on the other hand, its dimensions should be selected so that water does not fall outside the bowl .
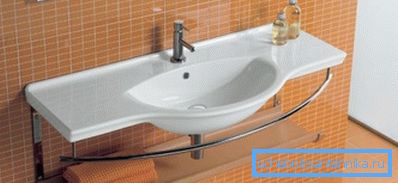
Note! It is believed that the length of the bowl from left to right should be from 55 to 65 cm, while its departure from the wall should be within half a meter. These are optional conditions, but they should be considered when choosing.
We took this item to the top of the article for good reason, as the old sink has not yet been dismantled, and you can evaluate its size relative to the bathroom, and also make a conclusion about the usability of the device by height.
If it is convenient to use the sink, you don’t have to bend strongly, water does not splash out of the bowl onto the floor and walls - then you’d better measure and remember how far the sink is from the floor, and fix its dimensions.
It is also necessary to examine the features of the wiring pipes of cold and hot water, the location of the sewage drain. It is necessary to take into account not only the geometric features, but also the condition of pipes, siphons and sewer corrugations of pipes. If they are old or their quality is in doubt, it is better to buy new flexible water supplies, a siphon and a corrugated pipe in advance.
Next, select the type of sink.
They are different:
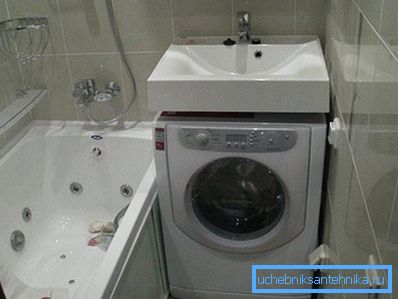
- Cantilever. This is familiar to all hanging sinks that are attached to the wall with brackets like a shelf. They occupy a minimum of space and allow, if necessary, to place a washing machine or other object under them;
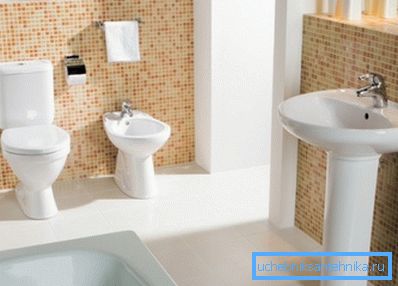
- On a pedestal. They differ from the cantilever in the presence of a support in the form of a ceramic pedestal that hides the sewer drain and other communications. It has a more accurate aesthetic appearance, but there will be no place to install the washing machine;
- Embedded. Mounted in the table top cabinets, lockers or a separate shelf-console. Require the purchase of appropriate furniture with a clear fit to the size of the bowl, in addition, occupy the most space.
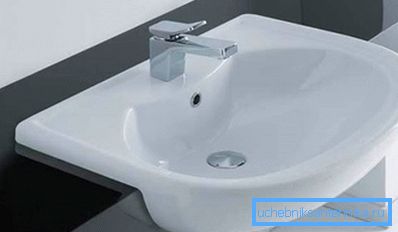
Note! Today, the most popular sinks on the pedestal, as they are easily mounted, and their price is relatively low. However, built-in washbasins are considered the most comfortable and stylish.
Dismantling the old sink
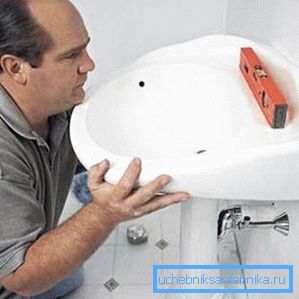
As is well known, any destruction of the old makes room for the new. Therefore, the work begins with the dismantling of old plumbing.
First of all, cut off the supply of hot and cold water to the mixer. For this it is necessary to close the supply lines, and if they are not, turn off the water supply to the apartment.
Then unscrew the pipes or hoses of the water supply to the mixer, disconnect them, pour the water into the bucket. Then go to the sewer drain. From the bottom of the bowl there is a drain outlet, to which a siphon is screwed with a cap nut.
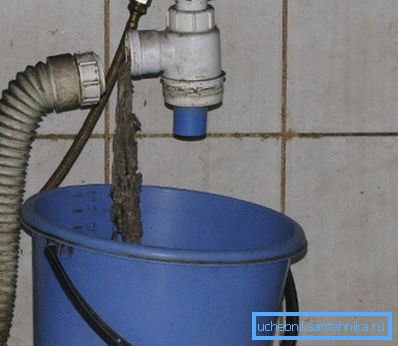
Turn off the flute, then the union nut and disconnect the siphon from the sink. If we are going to change everything, then we take out the end of the corrugations from the sewer entrance, pour the water into the bucket and remove the old parts into the garbage bag.
We plug the hole with a rag gag so that sewage fumes do not poison the air in the bathroom.

Now that all communications are disconnected, you can remove the cup. To do this, move under the sink and find the place of attachment of the bowl to the brackets. We unscrew the nuts with the wrench, remove the washers and gaskets, then carefully remove the wash basin from the brackets.
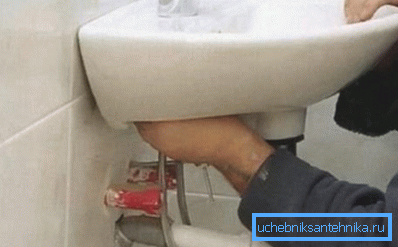
Note! During work, observe safety precautions: use protective gloves and a robe, try not to beat or drop the sink, as ceramic fragments are very sharp and can cause serious injuries.
Installing a new device
At what height to install the sink in the bathroom will tell the size of the support.
So, we chose and bought a new plumbing, dismantled the old and ready to install the sink. It should be remembered an important point: a new washbasin is installed after finishing the finishing works in the bathroom.
It is especially important that there should be an even and clean floor under the sink, since we will install a “tulip” product that is mounted on a pedestal.
Our task consists of three stages: installing the mixer on the bowl, installing the bowl on the brackets and connecting the drain system to the sewage system. At the end it will remain to fasten the hoses of the water supply to the mixer and supply water.
A detailed analysis of the installation of the mixer is considered in a separate article on our website, and we can also read how to install a sink drain in the kitchen.
For convenience, we have compiled instructions:
- Complete with sink sink base. Press the screw at the base of the drain with a screwdriver and wind the nozzle, which will be connected to the siphon;
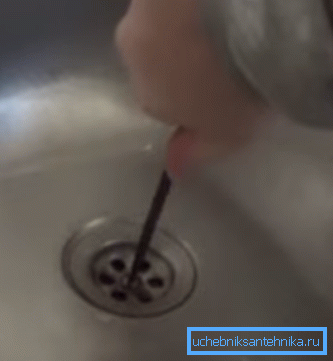
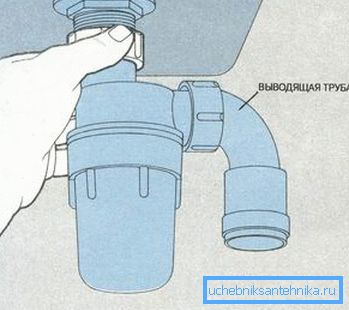
- We put a cap nut, a thin plastic gasket, a tapered rubber sealant, a siphon on the nozzle, and we put a cap nut on it;
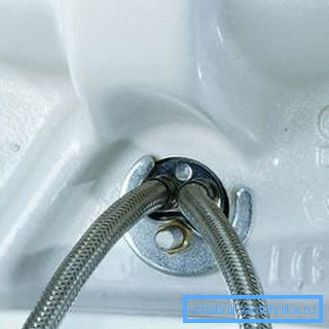
- We take the mixer, we wind on it flexible hoses of the eyeliner, we pass them into the hole in the bowl together with the screw for fixing. From the back side we put on the fastening bracket on the screw and twist the nut;
- Take the sink and set it on a pedestal in the mounting position. Through the mounting holes at the bottom of the bowl with a pencil we mark the places of fastening the brackets, having previously leveled the device using a level. We remove the shell and pedestal;
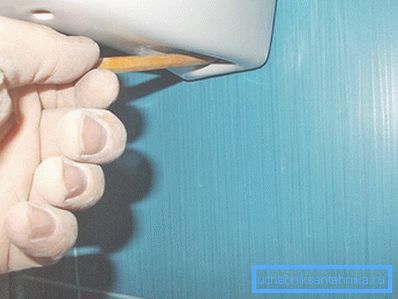
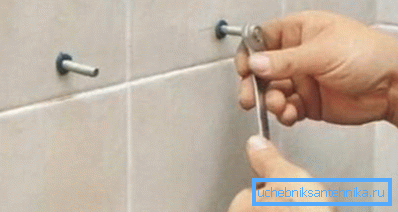
- Take a drill with a drill on concrete and make holes. We insert dowels, hammer them in with a hammer and use a wrench to tighten the brackets;
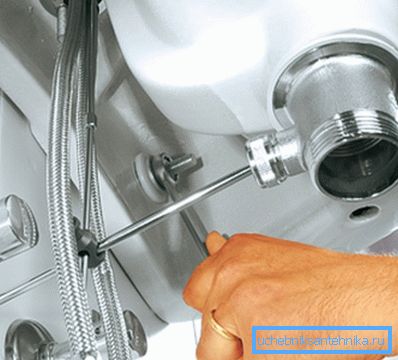
- We return the pedestal to the place, take the bowl and put the mounting holes on the brackets, at the same time placing it on the support. At the ends of the brackets we put on plastic or rubber gaskets and nuts. Tighten the nuts with a key, but not as far as it will go, otherwise the ceramics may burst;
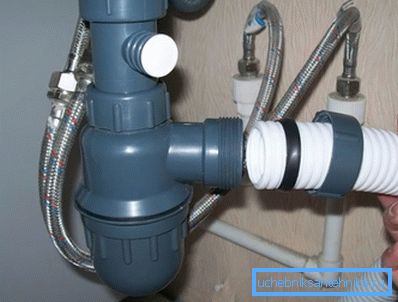
- We connect the flute with one end to the siphon, and the other is inserted into the sewer drain;
- Fasten the hoses to the water pipes. From the end of the mixer, remove the filter, let down the rusty and dirty water, return the filter to its place and inspect all connections. If there are no leaks, then the work was completed successfully.
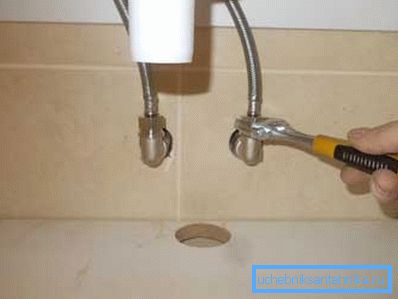
Note! The threaded connections of the water supply pipe are sealed with “FUM” tape, and the joint of the sink with the wall is sealed with silicone sealant.
Conclusion
Installing a new washbasin is a task that is feasible for a man, which will require the precise implementation of the points of our leadership. To get additional information and learn how to install a sink with a bollard in the bathroom - watch the video in this article.