How to make a cabinet under the sink with their own hands
When purchasing a new car wash you definitely need to worry about the cabinet for it. Of course, the easiest way to buy ready-made furniture, however, lovers of tinkering can make it yourself, and it is completely easy to do. In this article we will consider in detail the main points of the manufacture of such thumbs.
General information
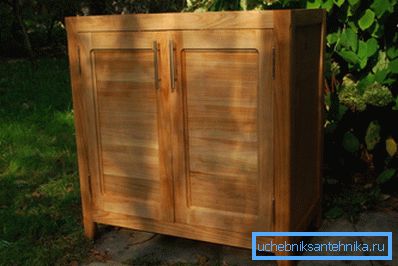
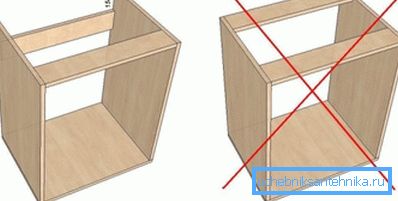
The cabinet for washing is an extremely simple structure, which, as a rule, consists of two side walls, the bottom and the front doors. The walls can be fastened together with shelves or cross member. If the sink is mortise, the dresser also has a tabletop.
Due to this simplicity of design, it is possible to undertake its production, even if you do not have such work experience. However, in order to “fill the hand”, it is better to make the first cabinet for the garden, and then, having the skill, to start making home kitchen furniture.
Manufacturing
Project
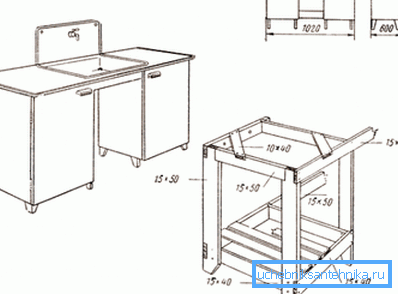
The work should start with the preparation of the project, which should include:
- Structural features of the product - these include the number of doors, shelves, the presence or absence of the table top, the back wall and other moments.
- The sizes - depend on the sizes of the sink, and also the height, optimum for you, at which it will settle down. As a rule, the cabinet stands next to other kitchen furniture, so the height is selected based on the size of existing products.
Drawings for the sink under the hands do not have to be extremely accurate in scale. The main thing is that they are understandable and contain all the necessary information.
Materials
Before you make a cabinet for washing your own hands, you need to prepare the following materials:
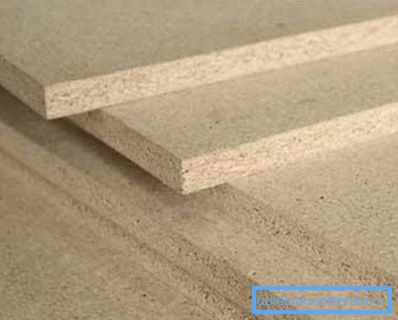
| Chipboard | Thickness about 1.5 - 2 cm |
| Door hinges | 4 things. |
| Pens | 2 pcs. |
| Consumables | These include:
|
All these materials can be purchased at any hardware store. And the total price will turn out to be much less than the cost of the finished furniture.
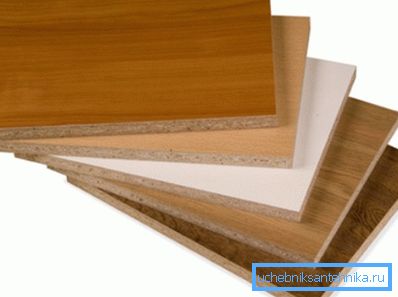
Tip! As the main material for the design, you can use laminated chipboard. Its cost is higher, however, in this case the finished product will not have to be painted.
Manufacturing of parts
When the project is ready, and all the necessary materials are purchased, you can begin to manufacture furniture.
The work begins with the preparation of all the details:
- The first step is to apply the markup on chipboard. Since the construction is simple and consists, as a rule, of rectangles, it is easy to do. The only work should be done carefully and slowly, so as not to be mistaken.
- Next you need to cut out the details. It is best to use jigsaw, however, if there is no such tool, you can use a regular hacksaw.
- Then you need to check the dimensions of the parts made. If necessary, they should be adjusted, and the sections should be trimmed.
When all parts are ready, you can proceed to assembly.
Assembly cabinets
Instructions how to assemble a cabinet under the sink is quite simple:
- First you need to connect the sides of the structure and the bottom. This is done with the help of furniture corners and screws. To do this, you need to join the two parts to be joined, attach the corners to them and mark the location of the self-tapping screws with a pencil.
- Then, holes of suitable diameter are drilled in designated places..
- Next, the parts are again joined and fastened with the help of angles and screws..
- After this, shelves and other crossbars that connect the sidewalls are fastened in the same way..
- If the structure has a tabletop, then it is fastened last with the help of the same fastening elements..
This is the main part of the work.

Finish
By itself, the design of chipboard unattractive and resembles a wooden box.
In order to give it an attractive look, it is necessary to complete the decoration, which is carried out in this order:
- First of all, the product needs to be pierced. Putty should be applied with a thin layer and immediately leveled with a spatula. This will make the surface of the structure smooth.
- When the putty dries, the surface should be covered with a primer.
- After some time, when the primer dries, you can start painting work. For example, tint varnish looks great, which is applied exclusively with a natural bristle brush.
- Further, the same operations are performed with the doors of the cabinet for the sink.
- After that, the doors must be attached to the handle and set the hinges.
- Then the door should be attached to the cabinet and mark the location of the screws, which will fix the hinges.
- After making the holes, the doors should be attached to the sides and adjust their position.
Tip! As a finishing material for the cabinets, you can use wallpaper. You can glue them with PVA or other composition (depending on the type of wallpaper).
The process of making thumbs completed. Now you can install the sink itself.
Conclusion
The curbstone under the sink is a simple design that can be done even by a beginner home master. However, it should be borne in mind that the appearance of the product depends not only on the build quality, but also on its finish. Therefore, high-quality painting often causes the greatest complexity.
Additional information on this topic can be obtained from the video in this article.