How to make a shower stall with your own hands - step by
If you do not like ready-made designs or you need to create a place for taking a shower in a niche, then you are probably interested in the question of how to make a shower stall yourself and ensure its functionality at the level of the factory versions. Many believe that such work can only be done by professionals, in fact, you can do it yourself, the main thing is to follow a number of recommendations and use only high-quality materials and components.
The advantages of homemade options
There are several main advantages that you will get if you figure out how to make a shower cabin with your own hands, and implement the project in your home:
| Cost savings | The price of ready-made models is quite high, especially when it comes to good-quality and reliable products of famous brands, so the option with an independent device of the shower compartment is a way to save money, and the difference can be very large. |
| Ability to implement any projects | If the booths are available only in a certain range of sizes and shapes, then you can make a design of any configuration with your own hands. This is especially true for premises of irregular shape, which have non-standard angles and niches. |
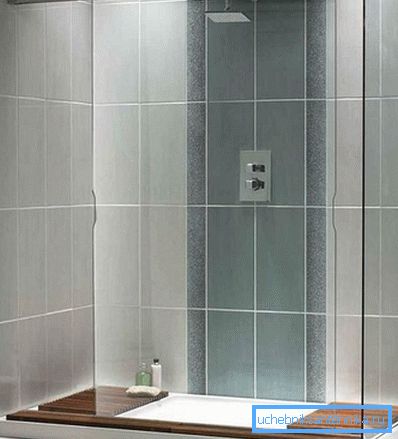
| Originality | You must have seen shower cabins without pallets and frames, which let in unobstructed light and, due to transparency, visually make the room more spacious. This is especially important for small bathrooms and in cases when you want to create original furniture in modern styles. |
| The possibility of independent work | Despite the apparent complexity of the work is quite realistic to do it yourself. Of course, this will require a certain amount of time, but the end result will delight you over the years. |
Note! Another big plus is the possibility of choosing the design features depending on your wishes and preferences. This is not a standard booth in which all the elements are included.
Sequence of work
The whole process can be divided into three main stages, which are performed in a certain order, it is important to do each of them qualitatively, only this way you can guarantee an excellent result.
Training
Within this stage it is necessary to do the following:
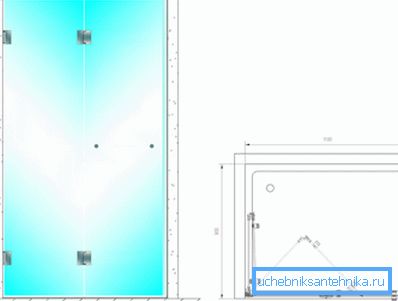
- First you need to decide on the location of the structure and decide what dimensions and configuration it will have. Next, it is desirable to draw a sketch of the future booths, it will help to clearly understand what the finished version will look like.
- After that, you need to decide what will be used and what solutions are implemented: with or without a pallet there will be a booth, from which partitions will be made, and how they will be opened. Also decide which shower headset you install, the system may differ in its functionality and feature set.
- Next you need to lay all the required communications, water supply is most often laid in the walls, and the sewage system is carried out in the floor, that is, the system should be assembled before the screed is poured. In addition, if the system will provide lighting, then do not forget about the electrical cable, it is also the easiest way to lay in the wall.

Note that all this is carried out before the work begins, but the instruction on how to make a shower stall will not be complete without this step. Planning is a very important part of the work.
Base device
Remember the most important thing before you make the shower cabin yourself - with your own hands you can embody any idea. It is important that you do the work so that the reliability and functionality of the structure is ensured, especially when it comes to the base, there may be two options, and we will consider each of them separately.
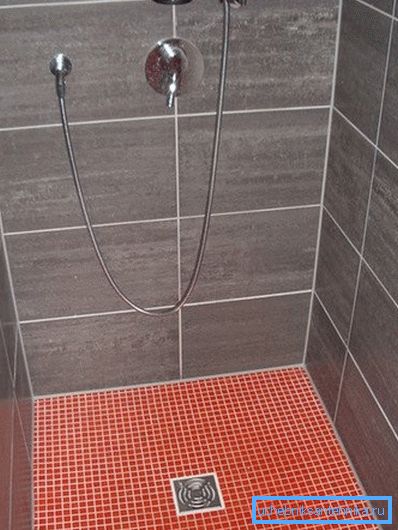
Systems without pallets are arranged as follows:
- When filling the floor recess is left 15 cm in shape of the future booths.
- Next put the drain ladder and a sewer pipe joins it, the surface is laid with a 5 cm thick insulation (the simplest is polystyrene), the location of the pipe and the drain knot is cut out.
- The surface is filled with a layer of screed about four centimeters thick.
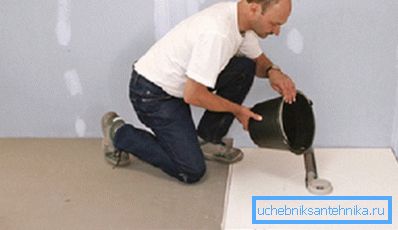
- Then the base is waterproofed. using stekloizola, it is important to ensure maximum tightness and reliability.
- After solidification of the surface, special profiles or slats are put on it., angled to ensure drainage.
- The second layer of the solution is aligned with the rails, it is important that the flow is uniform.
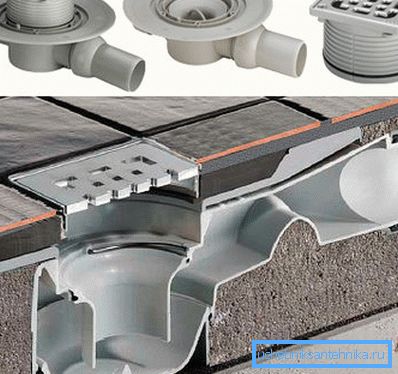
This type of work is described in more detail in one of the articles on this portal, we will move on to the second option, which involves the use of a pallet.
This solution is suitable for those who do not know how to make a shower cabin in the apartment yourself - limited space requires the presence of sides in the compartment to prevent splashing of water, and the installation is simple:
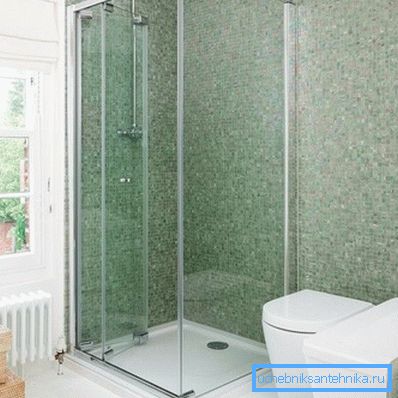
- The ground is being prepared, and it may be lower than the floor level., to lower the pallet, but in this case do not forget to provide a place for the location of the siphon. It is best to further insulate the surface with mastic or roll materials.
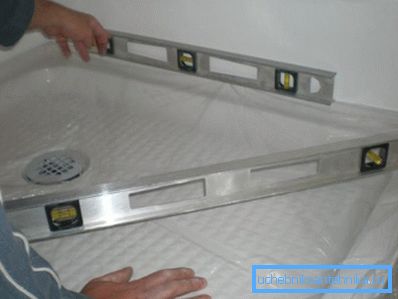
- Metal and ceramic options are glued to the solution, it is important to control the location using the level. If you need a high pallet, then the only solution will be a construction of acrylic, it is even easier to put it: a stiffening frame is assembled, after which the correct position of the structure is set with the help of adjustable legs.
Note! Sometimes it makes sense to isolate the bath with special screens, the work will be much less, because it is enough to attach the curtains and waterproof the internal walls.
Partitions and plumbing
When considering the question of how to make a shower cabin by yourself, it is impossible not to touch upon the question of choosing and installing curtains:
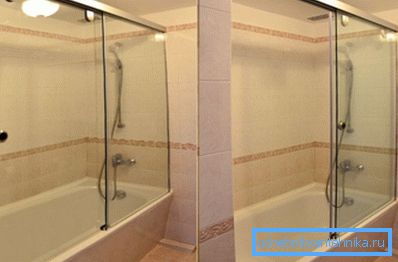
- First of all, it is important to choose high-quality products, the best option today is glass, but if you need to save money, you can choose products made of polymeric materials with an anti-glitter coating so that the buildup does not accumulate on them.
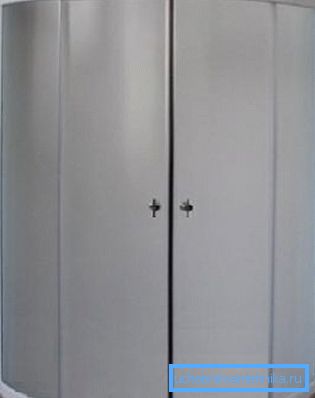
- Before you make your own shower cabin in a house where there is no shortage of space, think, maybe you should allocate more space, this will increase the usability.
- And one more important note, if you do not know how to make a shower cubicle from a tile, then keep in mind that you will also need doors in it, so you will not be able to do without partitions.
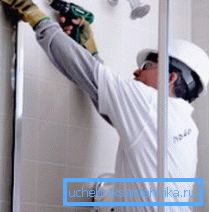
- Fastening is made with the help of dowels, the walls are drilled in the right places, while the layer of tile is penetrated by a special feather drill, and then a drill for concrete is used.
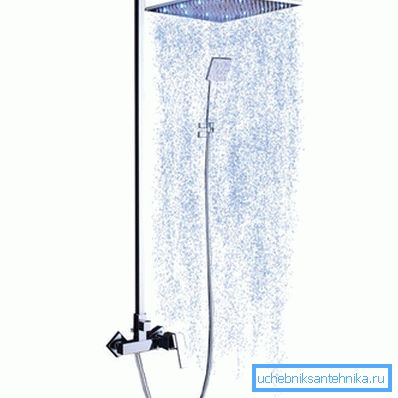
- Installing a shower set is simple: connect it to the water supply and fix it in one or two places to the wall, after which you can open the water supply and check the operation of all modes.
Conclusion
Making a booth without help is much easier than it seems. Moreover, you can choose the option that is easiest for you to implement. The video in this article will help you understand some of the important points of the process and their main features.