How to make a sink: 3 useful homemade for different
Perhaps, any of us knows how to make a washbasin at the cottage using improvised accessories. However, even in the manufacture of such structures is to use the advice of experienced craftsmen: then, instead of a primitive washstand, we will have a fairly advanced system that is easy to use and has a significant resource.
Below we describe what materials can be used for work, as well as a detailed description of the assembly and installation algorithms.
General information about portable washstands
When we are in the country or doing "dirty" work in the garage, it is very important to take care of hygiene. Of course, the presence of a plumbing system seriously simplifies all procedures, but if it is not there, it is worth considering that we could at least wash our hands and wash ourselves.
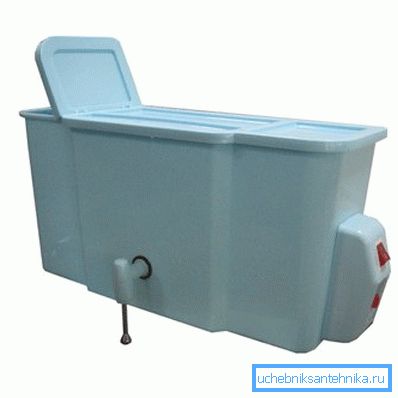
Washstands are almost always used for these purposes. To date, a relatively small number of models of such products can be found on the market: with the development of the water supply network, they are becoming less and less popular, and therefore the demand for them predictably decreases. And the quality of most of them leaves much to be desired.
Note! The only exceptions are professional and semi-professional types for camping, but they have another drawback - a very substantial price.
As for the homemade washstand, it is desirable that it meets the following requirements:
- Ease of making your own hands.
- Use of inexpensive materials (preferably handy).
- Adequate volume for hygiene.
- Ease of use (it is provided with the thought-over design of the locking mechanism).
- Security (must not contain toxic components, sharp edges, uninsulated electrical circuits, etc.).
All models presented below, to some extent possess the qualities listed here. Let's see how they can be made.
Manufacturing techniques
Model 1. Out of the bottle
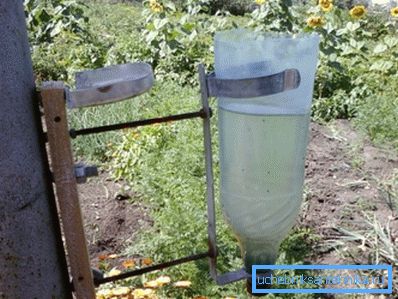
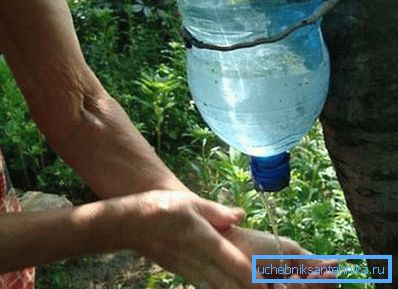
The ideal raw material for the production of the washstand, which will allow us to easily wash off the dirt and sweat in nature, is a plastic bottle. Moreover, using this material, we contribute to the protection of the environment: the secondary use of polymers protects the soil and groundwater from the products of their decomposition.
Note! As a rule, these sinks are no longer than one season. After that, they should be dismantled and disposed of, and not thrown into the garbage can, and even more so - not left at the installation site.
The construction is done very simply:
- The bottom of the bottle or other container (up to 5-8 l) is cut in such a way so as to make an improvised lid holding onto a strip of plastic.
- We attach the structure to a tree or house wall in such a way that direct sunlight falls on the container.
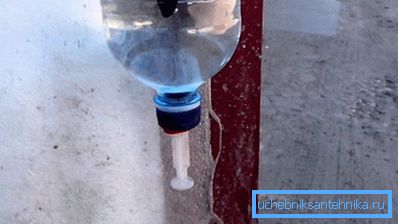
- Bottom tightly screw the lid on the neck, and through the cut bottom pour water. Having unscrewed the lid for a quarter of a turn, we can get a thin stream of water, the pressure of which will be quite enough to wash our hands or wash ourselves.
However, the construction with a lid is inconvenient because it must be unscrewed each time. If we overdo it, the water will pour out all at once.
So the instruction recommends installing a simple valve:
- In the cover we make a hole of small diameter.
- Insert a nail about 150-200 mm long into the hole.
Tip! The nail must walk freely enough in the lid, otherwise it will block the flow of water.
- From the inside, we attach a rather heavy nut with a rubber gasket to the nail. The nut with its weight will press the gasket to the inside of the cover, blocking the flow of water.
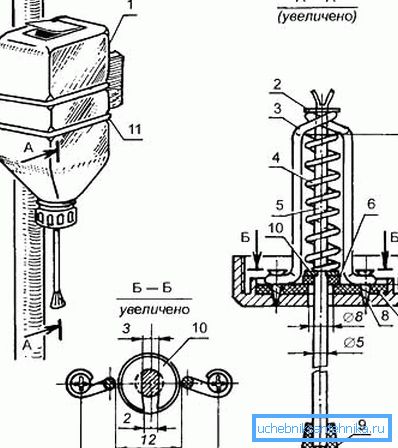
- For a tighter clamp, another nut can be attached to the outside of the nail. Then the tightness of the washstand will be even greater.
- Instead of a nail, a disposable syringe can be used as a valve. Raising the piston, we will open the hole, and the water will pour out from below.
Tip! Do I have to say that the syringe for this purpose should be taken not used?
Model 2. Of plastic capacity
The self-made wash basin for garage or the dacha can have also other design. If we need a product that works under pressure, then it can be made from a canister or other sufficiently strong container (both metal and plastic will do).
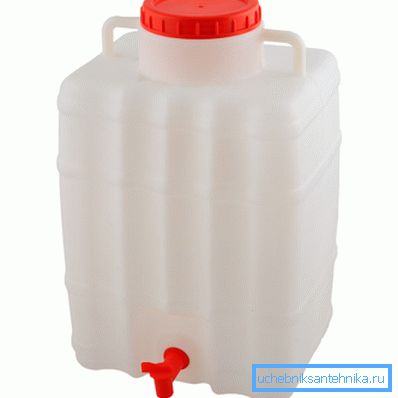
The assembly of the device is as follows:
- In the lower part we install the crane. For this purpose, the simplest product made of plastic or stainless steel.
- The installation site of the crane is well sealed.
- Capacity fastened on a vertical surface, carefully leveling. When installing, you can make a slight bias to the point of installation of the crane - so all the liquid will pour out to the last drop.
- We attach a fitting to the cork of the canister, on which the hose from the air pump will be put on.
- The cork is screwed tightly on the neck, carefully sealing the junction: so the pressure loss will be minimal.
Note! Most often in such sinks make another hole that allows you to add water, not including the pump. Naturally, this hole should also be sealed.
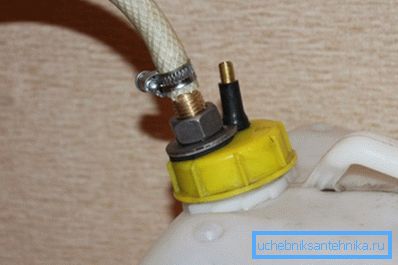
The system works simply:
- Pour water into the canister.
- Having connected the pump, we create excess pressure inside.
- When the valve is opened, water flows from the tap under pressure, which allows you to use the washstand with maximum comfort.
Both the first and second options have a drawback: the dirty liquid just flows down to the ground or into a substituted vessel. That is why such constructions can be installed only in a courtyard with a primer. However, if we have laid tile or asphalt, there is also a solution.
Model 3. Construction with sink
Washbasin with a sink is built somewhat more difficult, however, and use it much more convenient.
The installation algorithm will be as follows:
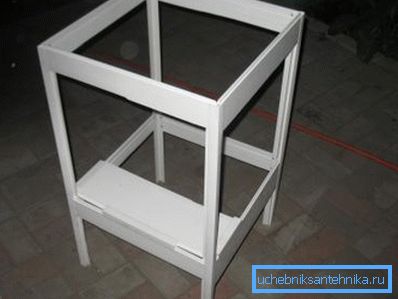
- First, we assemble a frame from wooden bars: a frame for installing a container with water and a pedestal support on which we will mount the sink. All wooden parts are impregnated with antiseptic to avoid rotting.
Tip! Instead of wood, you can use steel corners, but then you have to use a welding machine.
- Then we install a washstand made of a metal container or a plastic canister on the upper part.
- The sink is best to take the most simple - plastic or metal (galvanized steel). We fix the sink on the frame of the cabinet with the help of brackets.
- Into the tank we cut in the faucet, chosen in such a way that the water jet would fall approximately in the center of the sink.
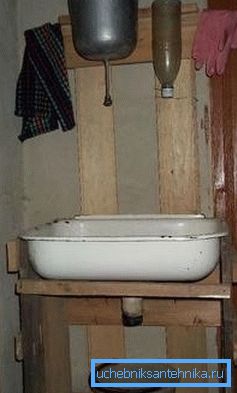
- From the bottom, we attach a siphon to the sink, the hose from which we take to the cesspool. If the cesspool is far away, then to drain the water, you can dig up a separate tank with a depth of up to a meter, 30-40 cm poured into its bottom with drainage material.
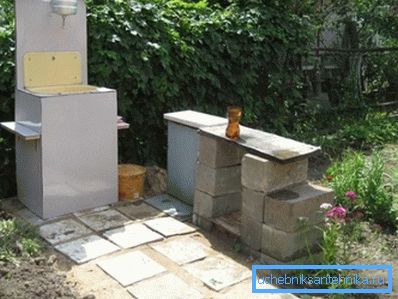
- After that we can only decorate our sink: on the front of the sink cabinet we install MDF or wood doors, and sheathe the side walls with deaf panels. We do the same with the posts on which the water tank is mounted.
The advantage of such a washbasin is its mobility: in the warm season it can be installed on the site, and in the winter - to bring in a country house or shed for tools.
Conclusion
Following the algorithms given in the article, anyone can make a homemade wash basin for the dacha. And if you watch the video in this article, you will get a lot of additional information, and the design process will not take you much time!