How to put the toilet in 8 steps: a guide for homeowners
In this article we will examine the step by step installation of the toilet. The ability to perform such a task with your own hands will allow you to save on the call plumber. The process is not complicated, but requires precise compliance with subsequent instructions.
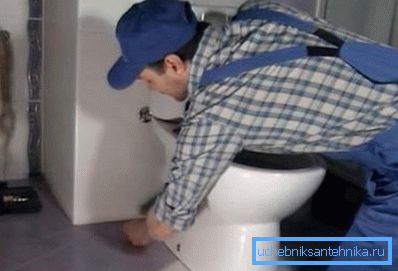
Necessary accessories

The first step is to stock up on the necessary tools and materials:
| Name | Purpose |
| Perforator | Creating holes in the concrete floor under the mount |
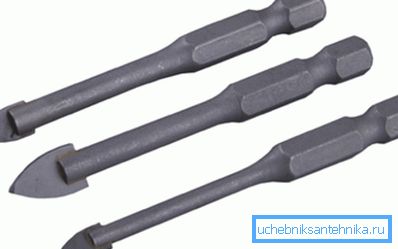
| Boer | Working nozzle for perforator, diameter usually chosen from 8 to 10 mm in accordance with the dowels used as fasteners |
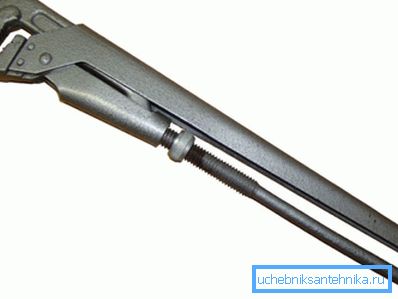
| Pipe wrench | Plumbing connection |
| Key Set | Tightening the fixing bolts and nuts |
| Hammer | Dismantling the old structure |
| Sealant | Sealing seams |
| Screwdriver | Tightening the fixing screws |
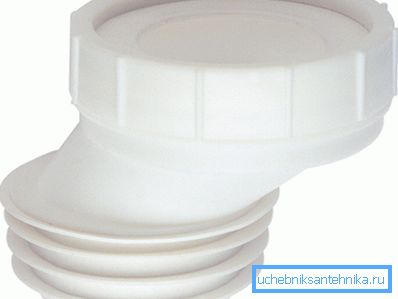
| Transitional rubber cuff | Allows connection to cast iron sewer |
| Fastener kit | Fixing the toilet in the right place and position |
| FUM tape | Sealing threaded connections |
Tip: if you have tiles laid in the toilet, it is recommended to use a special drill bit on tiles when drilling. Then the installation of the toilet will not spoil the finish floor.
Cuff selection

In an apartment or in a private house, a sewer bell can have its own characteristics, and therefore the type of transition cuff should be decided in advance:
| Cuff type | pros | Minuses |
| Corrugated |
|
|
| Straight |
|
|
| Eccentric |
|
|
Assembly work
Installation instructions are as follows:
Step 1: dismantle old equipment
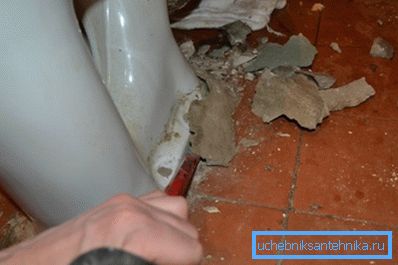
- Shut off the water supply.
- Disconnect the flexible eyeliner.
- We lower liquid from a drain tank.
- Remove the tank and unfasten the toilet itself. At the same time, it should be ensured that the garbage generated in the process of work does not fall into the sewer socket.
Tip: if you do not plan to use the old structure in the future, then you can use a hammer and a chisel or even a perforator when disconnecting. This will greatly simplify and speed up the work.
Step 2: Eliminate the wooden plank
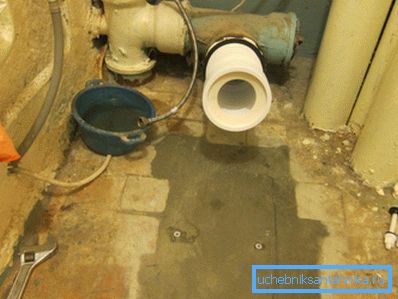
- Carefully clean the entrance sewer from debris and rust.
- We cover it with sealer pipe sealer.
- Install the transition cuff.
Tip: before performing further work, it is recommended to close the sewer socket with a rag so that the odors emanating from it do not disturb you.
- Remove the wooden board, which is usually located under the toilet in the old high-rise buildings.
- Fill the empty space with cement mortar and level on the floor level.
Step number 3: marking and installation of dowels
- We put the toilet on the prepared place.
- Draw marks through the holes in the base of the bowl. In some models, they may be angled.
- Mark the holes drilled.

- Immersed in them dowels.
Step 4: Assembling the flush tank
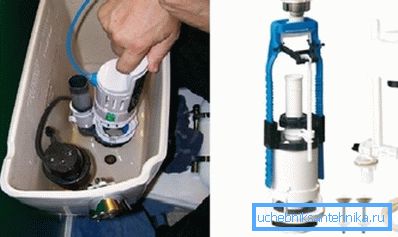
- We install fittings of the drain device according to the instruction attached to it.
- Carefully tighten the nuts on the valve by hand, holding it in order not to damage the gasket.
- We check that the moving components do not touch each other during the operation of the drain.
Step 5: Mounting the Bowl
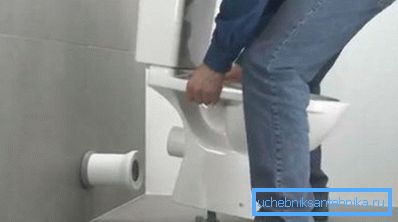
- We put the connecting cuff on the transitional cuff with the flap side.
- The outlet of the bowl until it stops insert into the prepared socket.
- Turn the cuff until the bowl is in a flat position, and all the holes coincide with each other.
- Screws fix the design to the floor.
Step 6: Connecting the Bowl to the Tank
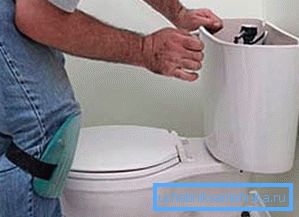
Now we will analyze how to put the tank on the toilet:
- Glue sealant to the bowl with a gasket. This will eliminate its offset in the process of connecting components.
- We put the tank and tighten the connecting screws.
- From above we fix a cover with the starting button.
- We connect a flexible eyeliner.
Step 7: Testing
- We open water supply from a water supply system.
- We carry out a test drain, checking the amount of drained fluid, which can be immediately adjusted according to your desires.
- Carefully inspect the structure for leaks. When they are detected, we disassemble the necessary unit, lubricate with sealant and assemble it again.
Step 8: Completion
- Install and fix the lid of the bowl.
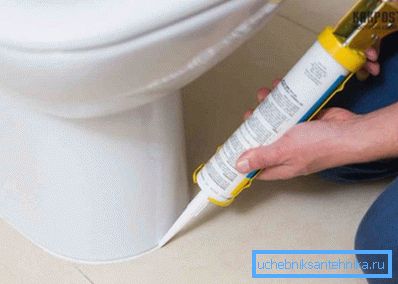
- Fill the gap between the toilet and the floor surface with sealant.
Conclusion
As you can see, the replacement of an old toilet bowl with a new one, although it has many successive stages, is quite feasible on its own. This will allow you to significantly save on the call of a professional plumber. The main thing during operation is to follow the recommendations above and to ensure that all connections are completely sealed.
The video in this article will introduce you to additional materials that are directly related to the stated topic. Be careful, and you will succeed.