How to seal the shower tray tray - recommendations for
In the process of use, sometimes there are unforeseen situations, as a result of which certain structural elements are damaged, and if the repair of the partition consists in replacing the damaged element, then the question of what to do if the shower tray has burst can be solved differently. Let's make a reservation right away, for ceramics and metal products, the only solution would be to replace, but you can try repairing the acrylic structures yourself; this is the option that we will look at in the article.
Requirements for the work
It is very important to follow a few basic recommendations, since any violations will lead to a worsening of the final result, they are simple enough, but you should know them:
| Thorough preparation | It is important to stock up with everything necessary so that in the process of carrying out repairs there is no need to be distracted or to use tools that are not very suitable for this type of work. You must make sure that the workplace is prepared and all the required elements are at hand. |
| Quality of materials | Even a perfectly organized technological process will not work if you use low-quality repair compounds. Therefore, when buying it is not worth saving, as a low price is often an indicator of not very high reliability. |
| Process compliance | The instructions supplied with the repair composition must be studied very carefully, any violation of proportions is unacceptable. In addition, it is important to withstand all the stipulated time, if it is written after applying not to touch the element for a day, then it is not necessary to continue working after 12 hours, even if the surface seems to be completely frozen. |
| Use of protective equipment | The most commonly used chemical compounds that can damage health, if not used personal protective equipment in the form of gloves and a respirator. Ideal - to carry out repairs in the open air, so you are guaranteed to avoid inhalation of harmful fumes. |
Tip! Even if the damage is minor, we recommend that you remove the shower tray, so you eliminate its accidental damage and you can carefully inspect the structure, cracks on the inside are also possible, but you can only see them after dismantling the element.
Workflow organization
Before you seal the shower tray with your own hands, you should conduct a number of preparatory activities. It is with them that we begin to consider the features of the repair.
Training
Within this stage it is necessary to hold several important events:
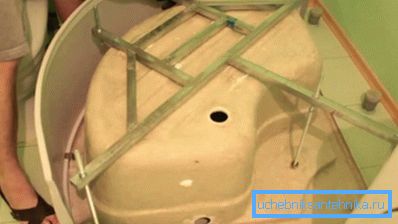
- First of all, you need to disassemble the structure so that you can examine the pallet more thoroughly and in detail. This process will not cause difficulties if you yourself assembled the structure, if the assembly was carried out by other people, then you will have to study the instructions and figure out how to carry out these works.
- Before removing the pallet do not forget to disconnect it from the sewer system, otherwise you can also damage the siphon. Observe accuracy, as there are frequent cases of damage to the element when removing it.
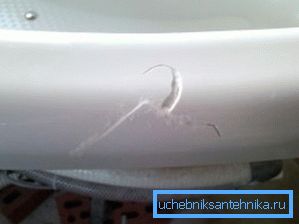
- It is very important to determine whether it makes sense to carry out repairs; if the cracks are in several places and the structure is strongly weakened, then replacing the shower tray pan will be the most optimal solution, since the repair will be temporary and the structure will most likely fail again in a month or two.
- As noted above, the frame should be inspected first of all, if everything is fine with it, the element is detached, most often some areas are damaged by rust, therefore it is recommended to clean them and paint them with special compounds that provide enhanced protection against corrosion.
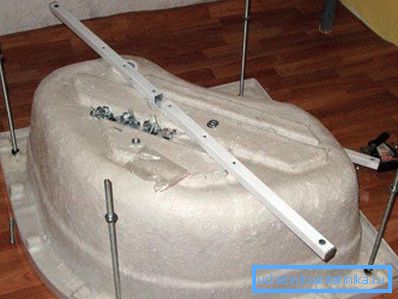
- Next, you need to clean the surface of dirt, scale and moisture and dry the structure. Only then can we proceed to further work.
Main stage
Now we will look at how to seal the crack in the shower base pan, the work depends on the degree of damage and the scale of the problem:
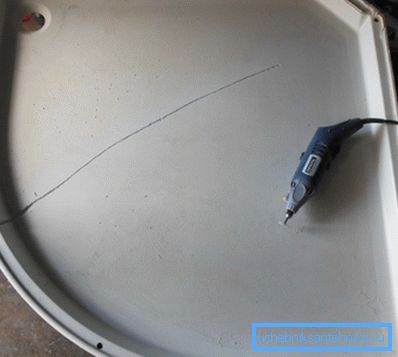
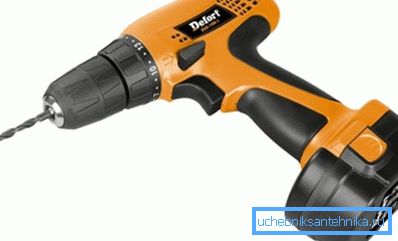
- First of all, it is worth removing stress from a crack, this process is similar to working with glass - a recess is drilled on the surface at the end point of the damage in order to prevent further propagation of the deformation. No need to drill through, enough 2-3 millimeters. The diameter of the drill should be slightly larger than the width of the damage itself.
- Next, you need to process the edges of damage, so that they are even, either a file or any other device is suitable for this, if the crack is large, then you can use an angle grinder with a disc on plastic. This is especially important for end-to-end deformations, since they significantly weaken the structure of the whole structure.
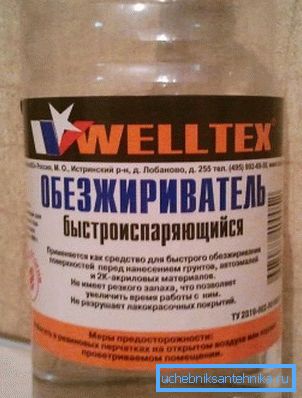
- Next, you need to clean the place of repair work from pollution and degrease it.. Do not forget about this factor, since good preparation significantly improves the adhesion of the repair solution and increases the reliability of the system.
Note! For degreasing, you can only use alcohol-based solutions, compositions based on petroleum products and acetone can damage the surface.
- Isolation of the shower tray tray is carried out with the help of a special compound - liquid acrylic., which consists of two components and is prepared immediately before use. When applying the solution, remember that when drying it gives a slight shrinkage, so its amount should be a little more than is necessary. The excess is removed with a rubber spatula, after which the surface is glued with adhesive tape and left to dry.
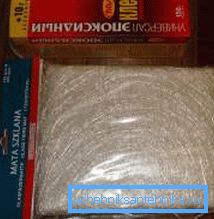
- If the crack is through, then it is necessary to further strengthen the system from the bottom; for this, the surface is covered with fiberglass and impregnated with epoxy resin. If necessary, you can apply several such layers. The drying time of each of them is a day.
- After drying the surface, it is cleaned with fine sandpaper, this work is completed.
How to strengthen the structure
Now consider how to strengthen the shower tray pan so that it does not crack later:
- The first indicator that the system needs additional reinforcement - when a person is inside, the shower tray squeaks, this indicates that the element bends and is not fixed very well.
- The easiest option is to reinforce the shower stall - lay brick or insulation under it, and fill part of the space with low expansion expansion foam, this solution allows you to achieve excellent results.
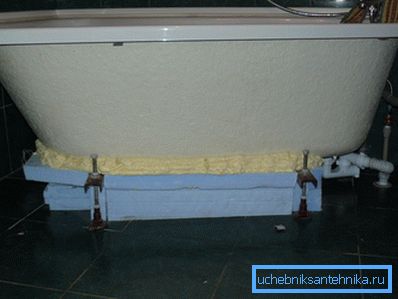
- If you do not have enough space, then we will consider how to raise the shower cabin - all you need to do is to purchase studs with the same diameter as the legs and cut them into pieces of the desired length. After that, the elements are simply replaced and adjusted, but remember that in this case you will need either a new screen, or there will be a gap under the booth.
- What should I do if the shower is leaking at the junction of the pallet and partitions? It's very simple - you need to remove the old sealant for the shower and apply a new one. Most often the problem is this.
Conclusion
If your shower is leaking, you should solve the problem immediately. It doesn’t matter if the pallet is cracked, the siphon has departed or the compaction has lost its elasticity - the sooner you get down to business, the easier it will be to work. The video in this article will vividly show some important points of the process of sealing cracks in the pan.