Installation of a shower cabin - the choice and installation
Fortunately, modern showers are becoming more and more accessible to a wide range of users every year. Since this product is worth a lot of money, many prefer to trust a hired professional to install a shower stall. However, if you are not afraid of a screwdriver and adjustable wrench, then you are quite capable of assembling the structure with your own hands. For our part, we will focus on the most problematic points of the process.
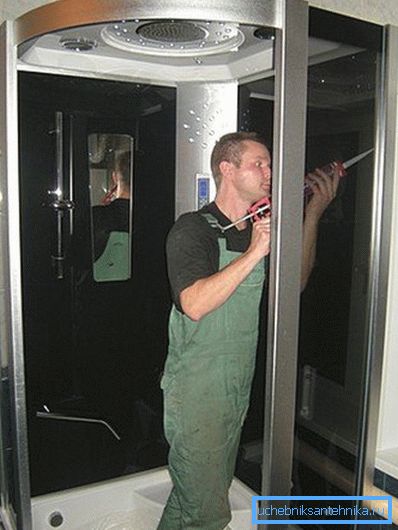
What are the designs
To begin with, it should be noted that, despite all the variety of shapes and sizes of similar products, they are all divided into 2 directions - these are closed cabins (shower boxes) and open structures.
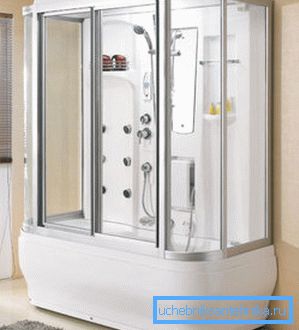
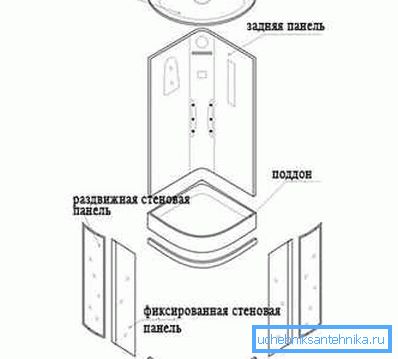
Sealed boxes are a practically autonomous complex, which consists of a shower tray and stationary walls, on which, as a rule, a shower panel with control elements and hydromassage jets is based. It also includes sliding doors and the top ceiling panel, ensuring the integrity of the box.
An open cabin is often a fixed structure. Of the required components, there is only a drain pan and a shower system. In some models, sliding or stationary walls are installed. Most often, the nodes of such systems are purchased separately and mounted on an individual project.
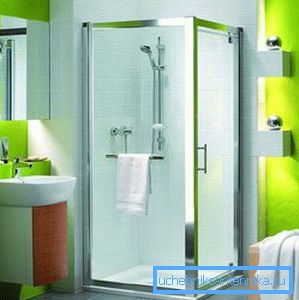
Both systems have both advantages and disadvantages. For example, the dismantling of a closed-type shower stall will take a little time, after which it is easy to transport and install in a new place. While with a stationary open structure may be difficult.
But open systems can be easily assembled at will, the choice of the quality and number of nodes required is up to you. Build options here can be many. The device of the shower enclosure of a closed type is more ordered and predictable, therefore now we will stop on it.
Choose a model and a complete set
It is not so important that you buy goods in the salon or in the online store, the first thing to start is to check the configuration and integrity of the nodes. Unfortunately, most of our people tend to trust the supplier and sign documents immediately. The equipment for shower cabins is a fragile thing, if after registration you find defects, with a probability of 98% you will not eliminate them.
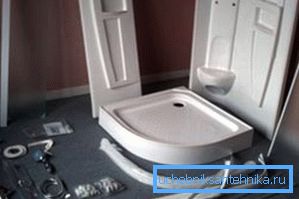
In the process of unpacking, all glass shower panels are better to lean against some kind of blank wall, you should not leave them in a horizontal position on the floor, any careless movement and they may crack.
Important: the complete set of any similar goods should include the instruction. It is very important that it be written in Russian. The first sign that the system is not adapted to the conditions of our country can be considered the absence of such documents.
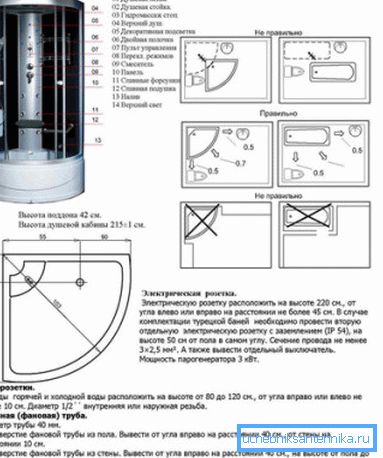
With European and American manufacturers, as a rule, there are no problems, but the price of their goods is substantial. Preferring more affordable Chinese booths need to be careful. The Chinese can also do quality, but everything should be controlled. For example, the same instruction should be written correctly and clearly, plus the obligatory availability of a guarantee.
Go to the installation
The design of the shower stall, or rather the algorithm of its assembly, is approximately the same in all models.
Of course, depending on the availability of certain options, some points may be added but, in general, the process looks like this:
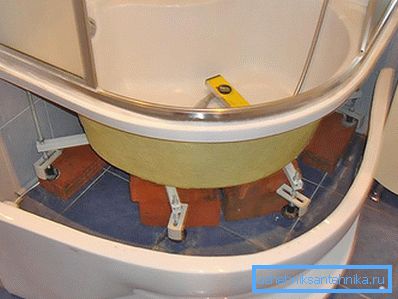
- It all starts with the installation of the pallet and adjusting it horizontally.
- Next, you should deal with the installation of the siphon and connecting to the sewer.
- After that, fixed walls and sliding panels are installed.
- The assembly process itself is completed with the installation of a ceiling panel.
- When the structure is assembled, you can proceed to the connection of water supply and power supply.
- Commissioning works are carried out at the very end.
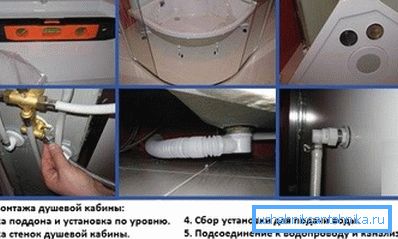
Tip: the assembly and disassembly of the shower is a matter of responsibility. Here, even experts work in pairs. It is not necessary for your assistant to be very knowledgeable in the process, it is enough that a person can bring and support when needed.
We install the pallet
In shower boxes, baths are initially mounted on a metal frame. In heavy ceramic pallets, the frame can be all-welded. But more often it is assembled in parts.
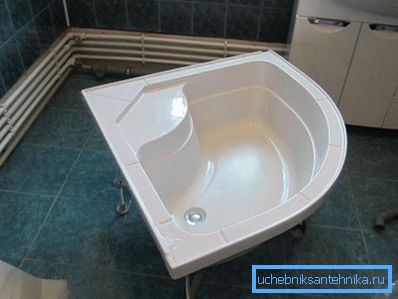
The most common material in inexpensive booths is acrylic. This bath is quite light and durable, but it has one drawback, these pallets can sag.
So that it does not burst, under the bottom you can put bricks or make a concrete pillow.
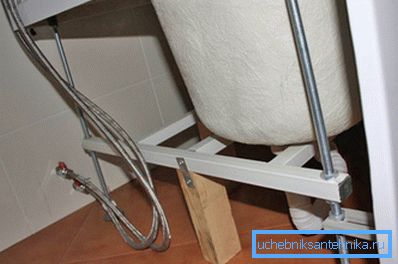
- The frame itself consists of a frame, made on the basis of profiled metal pipes and screw-in pins, which support the whole structure. At first the pallet turns over, and the whole structure is fixed and mounted, as it were, upside down.
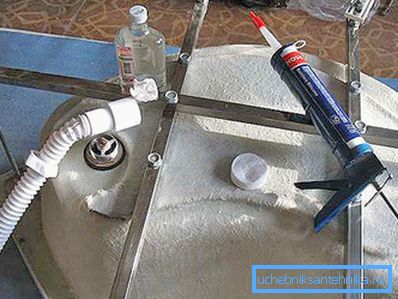
- In expensive models, the bath is attached to the profiled pipes with special clips. The budget option is costing self-tapping screws, they are screwed directly into the body of the bath.
- It is necessary to use only the self-tapping screws coming, otherwise, you can not calculate the length of the screw and pierce through the pallet, and the restoration of a shower cabin with a punched pallet will cost a lot of money.
- Studs according to the instructions are inserted into the corresponding holes in the pipes and fixed with locknuts.
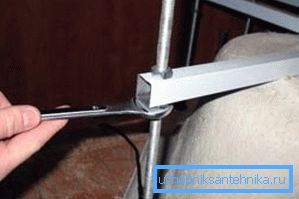
- At the last stage, heel pins are wound on the pins.. It is with the help of heel pads that the level will be set. They need to be twisted or twisted, changing the height.
- The siphon is installed simply elementary. The drain neck is unscrewed and inserted into the hole on the pallet. Then put on the gasket and tighten the locking nut. If the gaskets are not dry, then you can do it all with your bare hands.
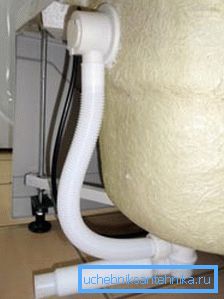
- With sewage, most often, the siphon is connected by a corrugated hose., through o-rings, abundantly lubricated with silicone. Bias is done at least 3 ?.
- Now this whole structure is set in place. and with the help of heel pads, it is adjusted exactly by level
- All cabins are usually fixed with brackets to the wall. To do this, you will need to mark the place of installation of the brackets, move the bath away and drill the holes to install fasteners.
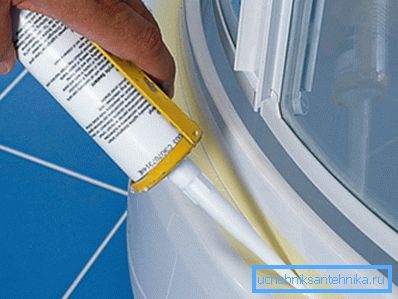
- Before fixing everything finally, the gap between the wall and the pan is filled with silicone, after which you can tighten the mount.
Installation of walls and roof
Before you install the stationary rear walls directly on the frame, they should fix all the mechanisms and accessories that are provided by the manufacturer.
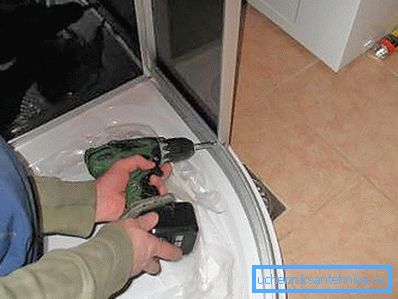
Tip: a mirror for a shower cabin, as well as other fragile components of the structure, should not be screwed rigidly using an adjustable wrench or a screwdriver. Enough hands effort.
The assembly begins with the assembly and installation of the aluminum frame and the fixation of stationary rear walls on it. It is not necessary to lubricate everything with liquid silicone, it is often enough soft silicone pads included in the kit, although there will not be a big mistake if you smear it.
Before installing the roof, all the equipment provided by the manufacturer is installed on it. If there is a speaker system, the perimeter and mounting of the speakers must be missed with silicone, otherwise they may rattle.
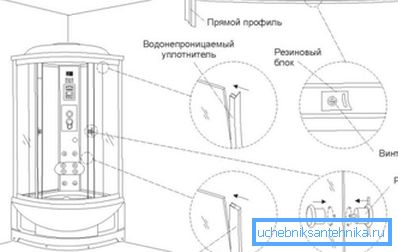
Two sliding doors are mounted on 8 rollers, 4 on top and bottom. First, the rollers must be disassembled, installed and assembled in the reverse order. The upper rollers have eccentrics for adjusting the doors.
When the movable panels are installed, they need to close and adjust the fit using the upper eccentrics. Handles are installed last.
Connection and adjustment of equipment
With connection to the water supply, often there are no problems. It uses the bundled soft hoses, if they are not enough, you can buy similar ones, only longer ones.
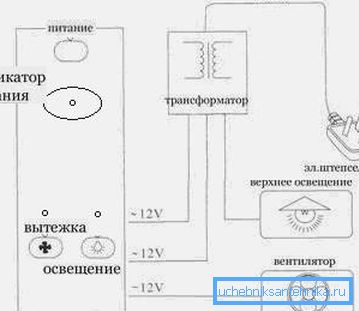
As for the power supply, then if your knowledge of electrical engineering stopped at the school curriculum, you should call a specialist. The fact is that the cabin can consume up to 5 kW, and such a point already requires the arrangement of a separate line.
In addition, all cabs connected to the network must be reliably grounded, as you understand this is a vital issue. Plus, on equipment with a capacity of more than 3 KW, an introductory automat on 25 amps is placed. Adjustment of equipment is performed with a gradual increase in load, up to the maximum.
Important: in high-rise buildings of the old building, the pressure in the system may not be enough to complete the work of the hydroformers. In this case, it is better to take the cabin with the function of pumping pressure.

The video in this article shows the assembly of one of the cab models.
Conclusion
We have tried to describe to you the main stages of the installation of the shower cabin and the associated difficulties. Now you can decide for yourself whether to install the booth with your own hands or to entrust the experts.
