Installation of a toilet bowl: stages and rules of work
Dismantling and installation of a toilet bowl is a necessary stage of re-equipment of a bathroom, and knowledge of the fundamentals and rules of the work will be needed by any owner who started repairs. As part of this article, we will look at the main points of the installation and show how the toilet is being assembled with your own hands.
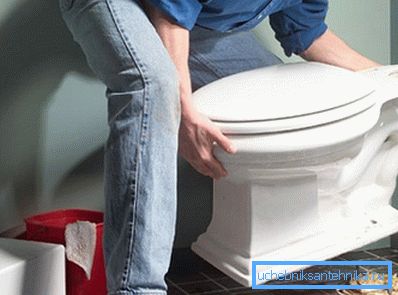
Stages of bathroom repair
General plan of events
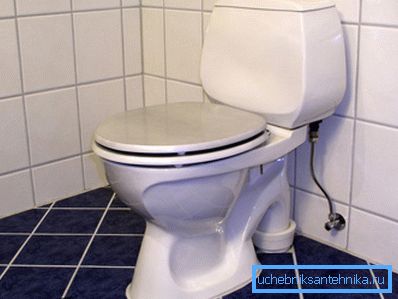
The most acceptable result is always given by an integrated approach to solving a problem, especially for technical problems. Therefore, we decided to consider the general plan for the repair of the toilet room in order to form the correct sequence of actions for those who decide to replace the plumbing fixtures in the toilet using our teaching materials.
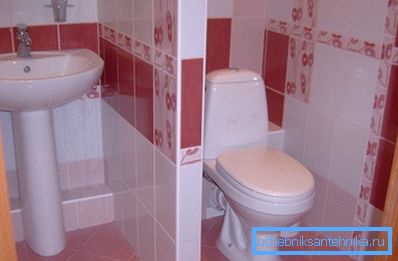
So, we list the stages of repair work:
- Dismantling old equipment. First of all, you should remove the outdated plumbing, it will make room for action in a close room and will allow you to choose the right replacement;
- Dismantling of the old finish and inspection of the floor screed. If there is an unsuitable screed under the finishing floor, it is also dismantled with a punch and a new one is poured. If the floor was in a satisfactory condition - you can not touch it;
- Installation of a clean floor covering. It is better to use ceramic tiles - this is the most familiar, reliable and durable coating for closet;
- Choosing a new plumbing. As a rule, the new toilet is chosen by analogy with the old, if the old model was not too outdated. This refers to the conformity of fixtures and outlets of the drain pipes;
- Installation and adjustment of a toilet bowl purchased to replace an outdated appliance.
Note! If you are only interested in plumbing replacement, then the second and third points can be omitted.
To work on the replacement bowl with a tank will need the following set of tools:
- Adjustable and rozhkovy keys;
- Screwdriver;
- Electric drill with percussion mechanism and a set of drills for concrete;
- Hammer;
- Pliers;
- Silicone sealant;
- Tow or tape FUM;
- Building level;
- Roulette;
- Pencil.
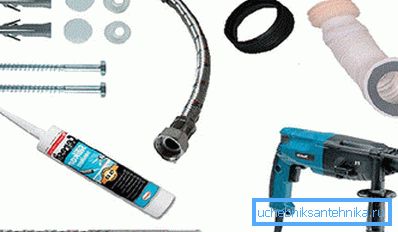
Note! You may also need adapter sleeves, a flexible hose and a stopcock to connect the tank to the cold water supply system, as well as a corrugated pipe with a cuff or a hard plastic junction to connect the drain of the bowl to the sewer pipe.
Remove the old device
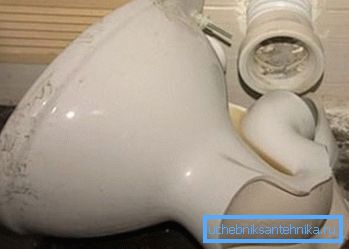
Dismantling the toilet is quite simple. First of all, turn off the water supply valve to the tank. Then it is necessary to wash off the water.
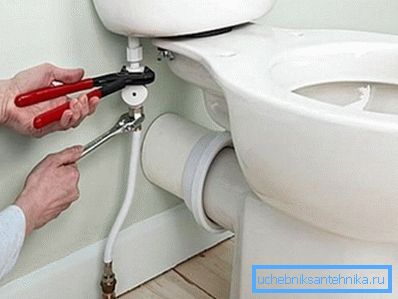
After that, you can disconnect the hose or cold water supply pipe and dismantle the tank. Usually, it is fastened with two bolts, but they could get pretty rusty, so you have to hold the bolt with an adjustable wrench / screwdriver and at the same time unscrew the horn nuts.
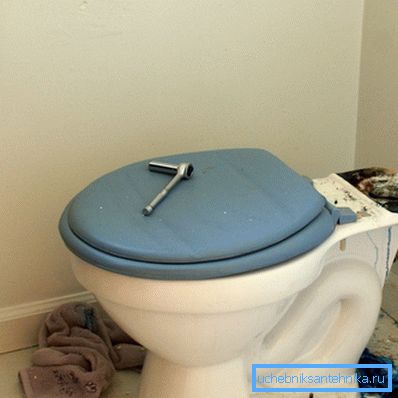
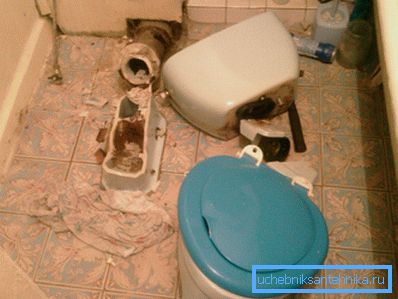
When the tank is dismantled, proceed to the bowl. To begin, unscrew the nuts from the anchors or unscrew the screws from the dowels. There may also be difficulties due to rust, so be prepared to use force.
Note! In the extreme case - if the bowl is firmly glued or embedded, as well as if the nuts are not unscrewed - you can break the device with a hammer. Be extremely careful: porcelain forms sharp edges on the fault line like glass and can cause injury.
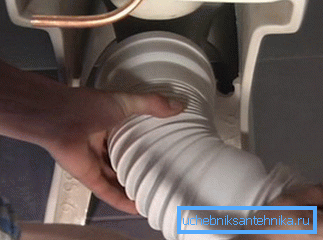
When fastening the bowl is disassembled, it is necessary to disconnect the drain from the sewer pipe. Previously it is necessary to tilt the toilet in the direction of the drain and remove the remaining water from the water trap. First, remove the cuff and remove the corrugation from the drain pipe of the toilet bowl.
Then the fixing of the corrugations to the sewer riser is loosened and its end is removed from the branch pipe. Immediately, you should remove the garbage that will inevitably be poured into the sewer tee, as well as clean its walls from plaque and old glue.
Sometimes in older homes you may encounter a cemented compound. This will help the hammer and chisel: gently break a layer of cement, loosen the connection and disassemble the corrugation.
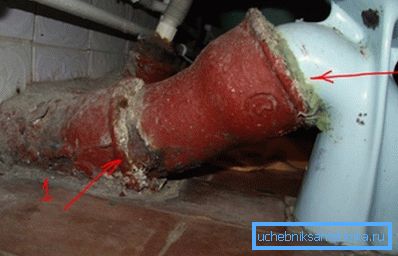
Note! Before you throw out the old device, examine the type of its design. Pay special attention to the type of location of the drain pipe, it is necessary to select a replacement.
Installing a new toilet bowl
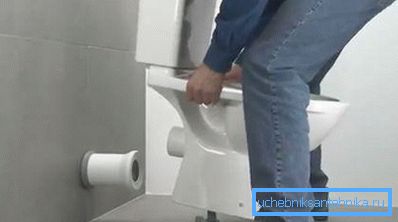
Finally, we can begin to install new plumbing in the toilet. It is quite simple, and the price of installation work (the cost of installing a toilet bowl can exceed 1000 rubles) will be an honestly saved bonus that can be sent to more necessary things.
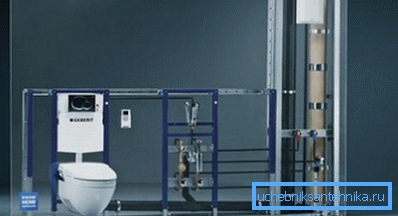
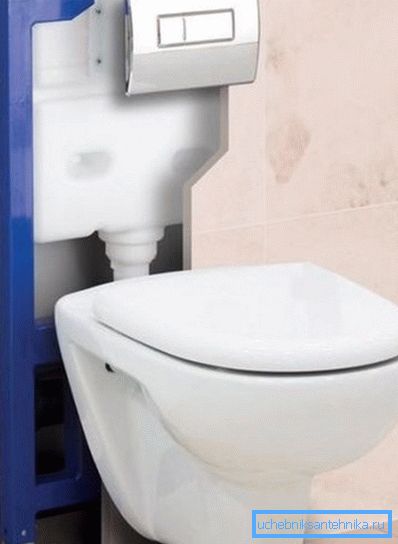
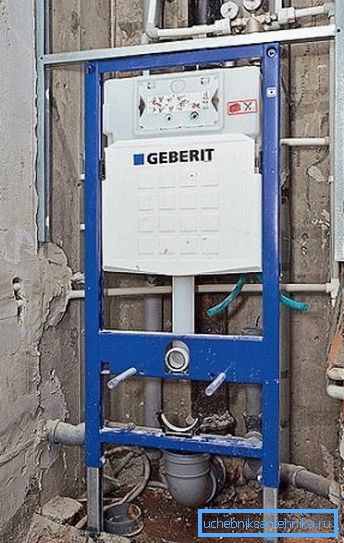
So, we did not throw out the old device, so we are looking at the type of the drain pipe: it can be horizontal, vertical or oblique. We need a toilet with the same sink. Installation of a wall toilet bowl is more difficult and we will consider its features in a separate article.
Next, proceed as follows:
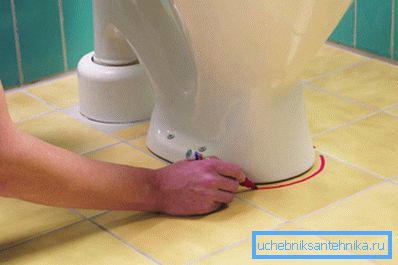
- We set the bowl of the new device to the place of the old one and connect its drain with the fan tee using the flutes. Adjust the position of the toilet as smooth as possible, while ensuring that the corrugation was not too taut and sat well on the drain pipe. Fold the base of the bowl with a pencil, and draw the mounting holes;
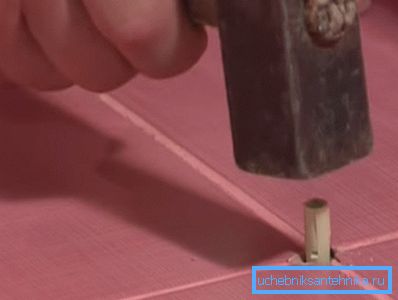
- Detach the corrugation and remove the bowl. We take a drill with a drill on concrete and drill holes in the marked places for dowels. We hammer in the dowel;
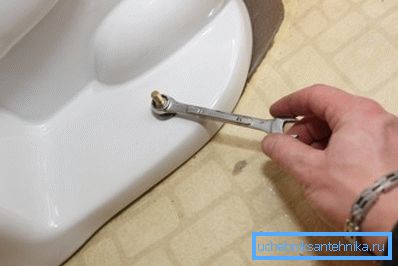
- We apply a strip of sealant along the line that remained from the stroke of the base of the bowl with a pencil. Then carefully put the bowl and fasten it with anchor screws with rubber pads to the floor. Tighten the screws should be very careful, as long as the bowl no longer stagger, hauling is fraught with structural failure;
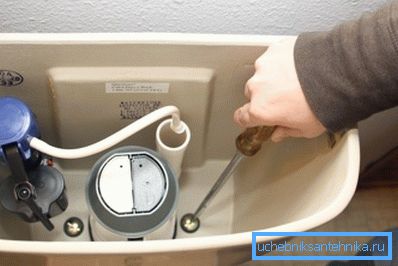
- Install the tank on the bowl and fasten it with bolts and nuts that come in the kit. Usually the nuts have special ears and are tightened by hand. It is necessary to use rubber washers, ceramics should not be in contact with the metal;
- Take a flexible hose and connect the tank to the supply of cold water. We lubricate the threaded joints with pasta and wind the hemp, or compact it with a FUM tape;
- We connect the drain pipe with a fan tee using corrugations or a hard transition, if it becomes without problems. Correctly selected corrugation does not require sealing with glue or silicone;
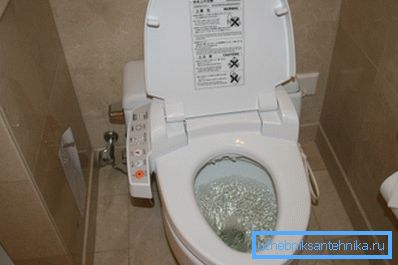
- Open the water supply valve, fill the tank and make a test drain. If the test was successful, the work is considered completed.
Conclusion
Dismantling and installation of a toilet bowl can be made independently without the help of workers of municipal services or hired craftsmen. The video in this article complements our instructions and makes it clearer.