Installing a shower cabin: a simple algorithm for solving a
Installation of a shower cabin independently, without involvement of experts, is quite possible. Moreover, having done all the work ourselves, we will not only be able to provide the quality we need, but also significantly reduce costs.
Naturally, it is necessary to begin the solution of such a task after fundamental theoretical training. And here you will find the step-by-step instruction provided in the sections of our article useful.
Room preparation
Laying communications
Installing a shower stall implies a rather serious reconstruction of the entire bathroom, so it’s worth getting started at the very beginning of the repair.
At the first stage, we need to prepare all communications:
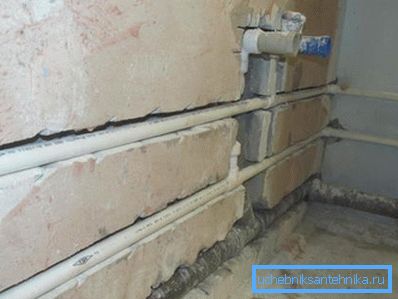
- After removing the trim from the walls and the floor, we take a puncher with a bit-chisel and make shafts for water supply pipes in the walls.
- In the grooves we install the brackets, to which we fasten polyethylene or metal-plastic pipes attached to the risers of hot and cold water.
- After this, we fix the pipe leads on the wall and close the grooves with mortar.
- We do the same with the floor: we make a groove in which we lay the sewer pipe connected to the riser. The output is located at the floor level so that it can be connected to the siphon located under the pan.
- If there is no outlet in the bathroom, then we make one more strobe, in which we lay the cable for connecting the booth to the mains.
Note! The cable should be placed in a waterproofing corrugated pipe or plastic box.
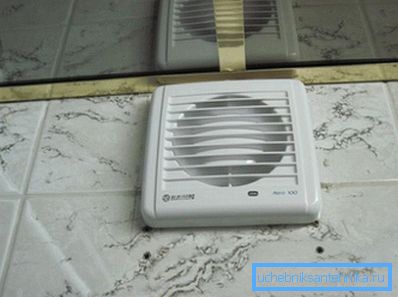
- As a rule, installing a shower room with your own hands in an apartment requires intervention in the ventilation system. Open cabins are not airtight, so when they are used indoors, the humidity level increases. Natural exhaust for its removal is clearly not enough, so we need to clean the duct and place it in the exhaust fan.
Only after all the communications are laid, you can begin to finish the walls and floor.
Waterproofing and finishing
As we noted above, the presence of a shower stall almost always leads to an increase in humidity in the bathroom. Accordingly, in order to avoid mold damage, we need to perform a number of activities.
We work according to the following scheme:
- We carry out draft alignment of walls and floor. Particular attention is paid to the site under the shower.
- Then we process concrete with penetrating antiseptic. This is done in order to destroy as much as possible the colonies of microorganisms and mold spores in the pores.
- On the walls we apply a penetrating primer based on liquid acrylic. It will not only create an additional moisture barrier, but also provide adhesion of the cladding to the base.
- We waterproof the floor using one of the two available technologies.. You can lay a waterproof membrane on the base, and you can apply a liquid composition based on bitumen or rubber. Obmazochnaya waterproofing is more time consuming, but at the same time, it is much more efficient.
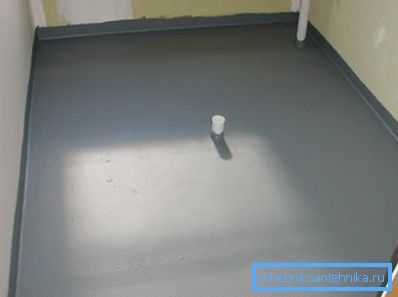
- On top of waterproofing lay reinforced screed thickness of about 5 cm. Laying tile on bitumen or PVC membrane, you know, is problematic.
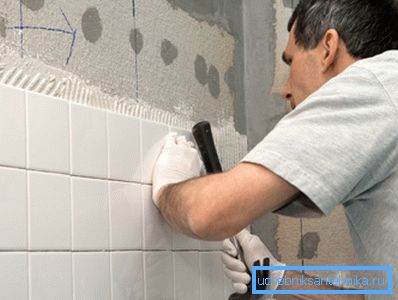
- Using moisture-resistant cement-based glue, we tiled the floor and walls. After polymerization of the adhesive, we rub the joints with a paste, which must contain silicone, so the liquid will not leak to the concrete.
Of course, because of all the additional waterproofing measures, the price of finishing will increase, but perhaps there is no alternative. It is necessary to protect the room from moisture anyway, and the more effectively we do this, the more comfortable the microclimate in the bathroom will be.
Cabin installation
Pallet installation
As a rule, the installation scheme of the shower cabin is supplied with the product itself. If you are unlucky, and the instructions along with the details are not there, or you generally collect a shower from independently selected elements - it does not matter. The installation process itself is usually intuitive, and we will look at its main aspects below.
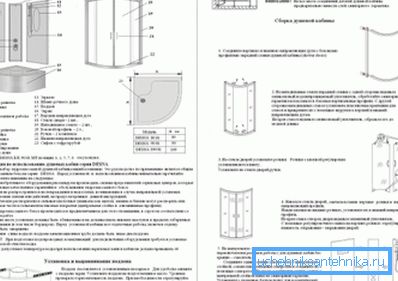
To start the assembly of the structure you need from the bottom up, because in the first stage we should correctly install the pallet. The final result largely depends on the quality of this task, because the presence of a stable foundation is extremely important.
We work like this:
- Low pallets are quite simple to install. If we have tried and brought the sewer pipe to the level of the floor, then we just have to connect the siphon and put the bowl of the pallet in the chosen place.
Note! Sometimes a foam or layer of mortar is used for sealing and fixing, but it is not necessary to do this.
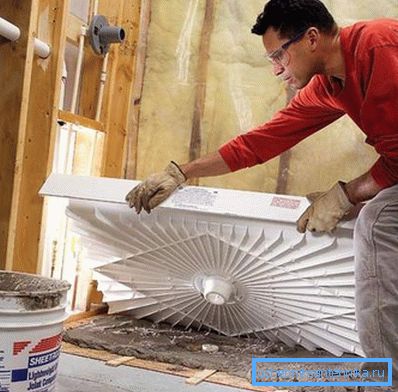
- Medium and deep pallets are more difficult to operate. They are usually equipped with a frame, because we need to assemble the support structure and attach it to the wrong side of the base of the shower.
- Next, install the pallet with supports on the floor and attach it to the siphon. Usually, a short piece of flexible corrugation is used for this purpose, which allows you to move the lower part of the booth after connection.
- Then we take the level and check how smoothly the whole structure is. In the presence of the slightest deviations from the plane, we use a wrench and by rotating the adjustment nuts on the legs, we adjust the position of the product.
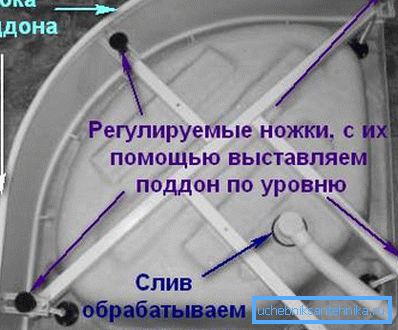
- After the final alignment, we check the tightness of the siphon connection, pouring a small amount of water into the pan. This should be done at this very moment, since in the process of adjusting the position of the frame, the siphon can “move away” from the attachment.
Only in the case when the siphon is fixed ideally, we proceed to the installation of the side panels covering the sides of the pallet, so-called “skirts”.
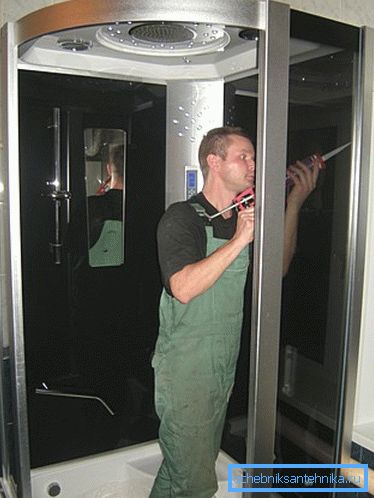
After that, carefully seal all the cracks with silicone. It is better to collect the upper part the next day - so the sealant will have time to polymerize.
Top assembly
Further installation of shower cubicles includes installation of fencing, connecting equipment and fixing the roof.
All these actions are performed in the following sequence:
- We fasten vertical stands and guides for fixed parts of the fence to the pallet. If necessary, we install separate guides along which the sliding doors will move.
- We assemble frames in which we install either polycarbonate panels or glass. When using reinforced glass or triplex, frameless glazing is also possible.
- In the grooves of the guides we place either a sealing polymer profile or a layer of silicone sealant.
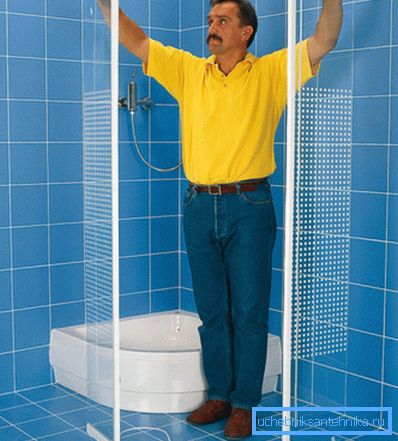
- Install the glazing, carefully aligning all the panels.
- Separately, we collect the doors of the doors: we put a waterproofing gasket on the ends, and insert the handles into the special holes, which we tighten with mounting nuts with polymeric gaskets.
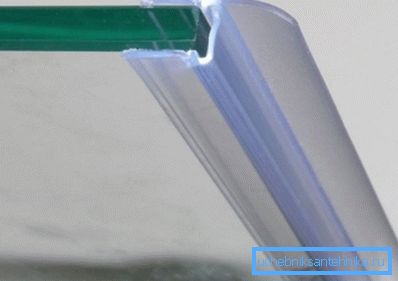
Note! Many manufacturers complete the cubicle doors with sealing circuits with magnetic inserts. Such products are very convenient because they facilitate tight closing of doors.
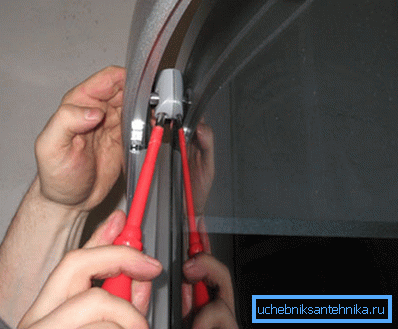
- Sash or hang on the hinges, or set on the rails. We check the movement of the valves: they should not “wipe” anywhere when in contact with other parts of the cabin. If rubbing is detected, adjust the position of the valves by rotating the adjusting screws on the hinges or special rollers.
Next we connect the equipment:
- We attach the hoses from the tap and the shower to the terminals of the water supply system.
- Wires are collected in the terminal block and connected to the mains, not forgetting the quality of insulation.
After that, collect the roof:
- In the case we install a shower head, a fan, a backlight, a speaker and other components.
- We connect all communications to the wires and internal hoses.
- We put the roof on the rack and fix the mounting bolts.
After that, we check the performance of all systems. If the functioning of the booth does not cause any complaints, take silicone sealant and coat all the seams, providing protection from leakage.
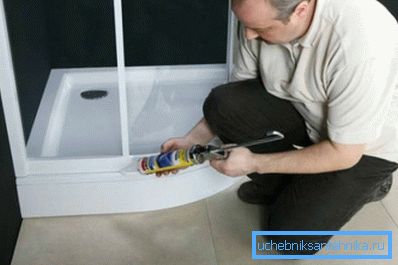
Silicone in closed joints dries for about a day, so you can use the booth 24 hours after installation.
Conclusion
The installation of a shower cabin with a low pallet on a capital base, as well as the installation of a high pallet on a special frame, seem complicated only at first glance. In fact, the shower is going according to the principle of the designer, and with some skill (as well as adopting the advice given in the text and in the video in this article) anyone can cope with the task.