Installing a shower tray on a wooden floor: what needs to be
Shower cabins with the pallet are a modern, compact and multipurpose sanitary engineering construction. However, when installing them in a wooden house, including on wooden floors, there are objective problems.
They are mainly due to the fact that the surface of the walls and floor of the room must be reliably protected from moisture.
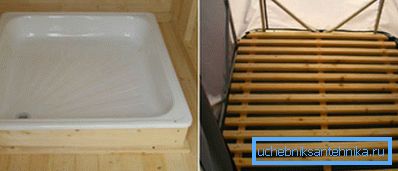
Problems installing plumbing in a wooden house
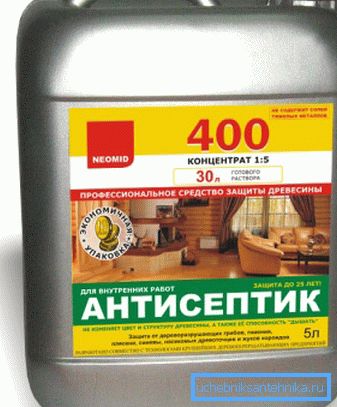
The hygroscopicity of wood is at the same time its main plus and minus in construction. The advantage is that the tree thanks to its structure breathes and thereby normalizes the indoor climate.
On the disadvantages - below.
- The material absorbs water strongly, under its damaging effects, the life of the surfaces can be reduced by several years.
- Wet areas are an ideal environment for the development of harmful microorganisms.
- Wood is subject to temperature and humidity deformations. In other words - she sits down, shrinks and swells.
Proceeding from all this, the instruction assumes the implementation of a number of protective measures when arranging a shower in a wooden building.
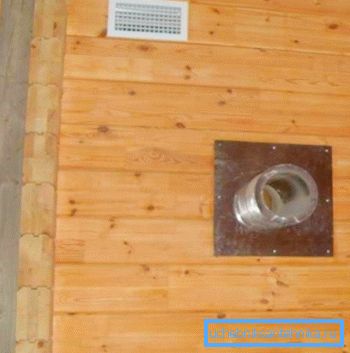
- In the room should be installed effective exhaust ventilation, which will prevent the reproduction of fungus, mold and other microorganisms.
- Wood must be treated with antiseptic composition.
- Before you install the shower tray on a wooden floor, all surfaces of the room must be protected with waterproofing.
- In order to level the effects of shrinkage, the shower should be equipped, taking into account the constant changes in the linear dimensions of the wood.
Note! An excellent option would be to install a sliding frame. It will not allow the height of the bathroom to change. In fact, the design is a metal profiles.
They are fixed on the walls so that the holes are elongated vertically by an amount greater than the future shrinkage.
Room preparation
Previously, it was very difficult to equip a wet room in a wooden house. Now everything is much easier thanks to modern materials and technologies.
You can install the shower tray:
- on a homemade or factory metal frame with legs;
- on a support from a brick or plastic;
- right on a flat floor with a drain hole.
In the case of wooden floors, the options with brick and direct installation of the pallet, for obvious reasons, disappear.
First of all, it is necessary to qualitatively prepare the room, which is planned to be put under the shower room. The floors must be leveled, then all surfaces of the room must be waterproofed.
Shower waterproofing
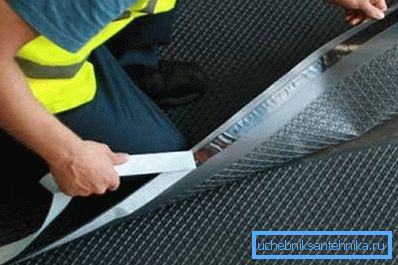
As the main waterproofing layer, you can use any roll materials - from traditional roofing material to modern waterproofing, hydroglass, special polymer films, etc.
- Lay waterproofing should be on dry and leveled surfaces. They must be pre-applied on the basis of bitumen.
- For waterproofing wooden buildings, experts advise the use of bitumen reinforced with fiberglass or polyester with polymer additives. Such material can be self-adhesive and build-up (for work you need a gas burner).
- Cloths waterproofing cover both the floor and the walls of the room.
Note! To begin work it is necessary from floors. The material should be placed on the walls to a height of 20 cm.
- Areas at the junction of surfaces is best reinforced additionally. This can be done using fiberglass mesh, which has small cells. The price of coverage will increase a little, but you will increase the insulation strength in especially important places.
Surface preparation and coating
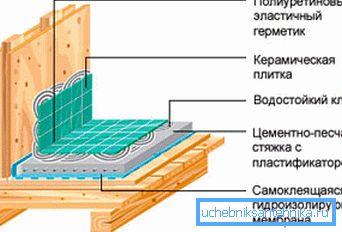
To level the floors, usually used concrete or cement-sand screed. However, in the case of a wooden base, this option is difficult and expensive.
If the plank floors are uneven, then it is best to lay them in two layers of DSP (cement-bonded chipboard), wall slate (flat) or moisture-proof plywood.
Further, this flooring is isolated from moisture, as described above.
After that, you can proceed to waterproofing the ceiling and walls. The rolled material in two layers on them is either fused up or fixed with the help of a construction stapler.
As cladding, the ceiling and walls of the shower room can be sheathed with gypsum plasterboard (moisture resistant plasterboard sheets), and then painted with moisture resistant paint. A good option is to use polyvinyl chloride panels. For the ceiling is also suitable tensioning system.
Pallet Mounting
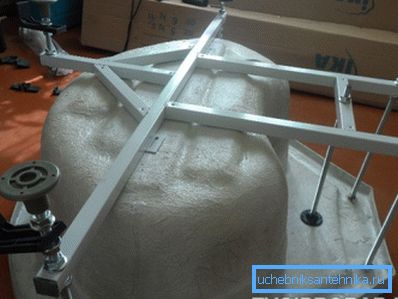
Now, how to install the shower tray on a wooden floor.
Best of all, if the device will be equipped with height-adjustable legs, brackets for easy fixing and support frame.
A wrench and bubble level are required to adjust the legs. With their help, the pallet is installed in the correct horizontal plane relative to the floor.
Accessories made of steel, fiberglass and acrylic have one drawback: under their middle part there is often no support. It can be fixed by placing the bowl on a stable podium or a support from any durable and waterproof material.
After that, you can put the shower tray on the wooden floor with your own hands.
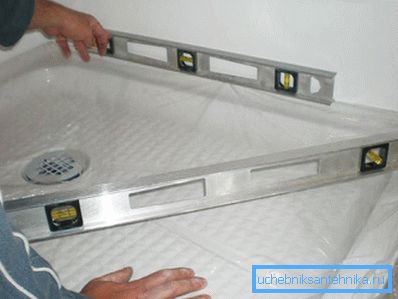
- Markup should be done first. A bowl with a bubble level is placed horizontally. Further, markers for the walls mark the marking lines for the profile, and on the floor for the drain hole.
- After that, remove the drain pan, remove the outlet from it, connect a siphon to the outlet, and connect the corrugated drain pipe to the sewer socket.
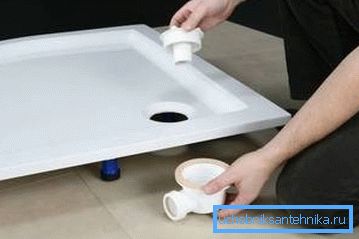
- The pallet is put back in place - already finally.
- Going to drain: the release grille through the gasket is attracted to the outlet started from below. The assembly is shed with water for leak testing.
- After that, you can fix the enclosing structures of the booth and connect it to all necessary communications.
- When the structure is installed, the final touch will remain. Below, around the perimeter of the entire booth, it is covered with a screen - decorative plastic panels.
- All joints between the cab components should be carefully insulated with silicone sealant.
Conclusion
Installation of a shower tray on the floors of wood has its own characteristics. First of all, they are associated with insufficient moisture resistance of the material. In order to avoid problems in the future, the surface of the floors in the shower, as well as the walls with the ceiling, should be reliably protected from moisture (see also the article Acrylic Shower Pan - an optimal choice for a shower corner).
The video in this article will help you to fully understand its topic.