Laid on sink in the kitchen - find out whether this option
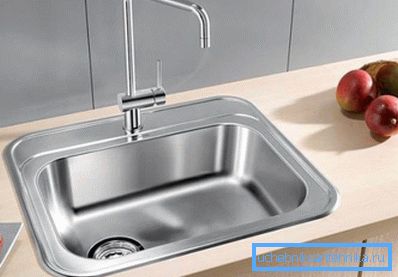
Today, in most of the kitchens, mortise installation of sinks is used, this method of installation both looks better and is more convenient to use. But if you want, you can go the other way - the wall-mounted sink for the kitchen will greatly simplify the installation process.

Features overhead wash
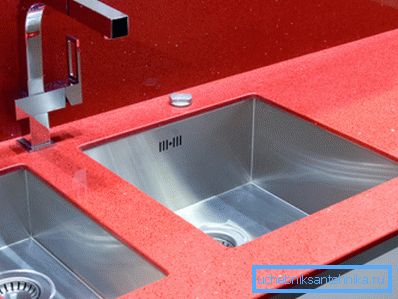
In addition to the installation method of installation, you can select more and sink mortise mounting. For this type of placement is characterized by a solid tabletop, it just cuts a hole, the contour of which coincides with the outlines of the sink. Its size is also equal to the size of the sink, for example, under the size 45x60 cm, an appropriate cutout is required.
The strengths of this installation include:
- great appearance - tabletop monolithic and in addition to the aesthetic component, it is also very convenient;
- the probability of moisture on the wooden elements of kitchen furniture is minimal;
- if desired, you can use the subdolny version of the placement of the sink. In this case, the countertop is located above the sink and it looks unusual.
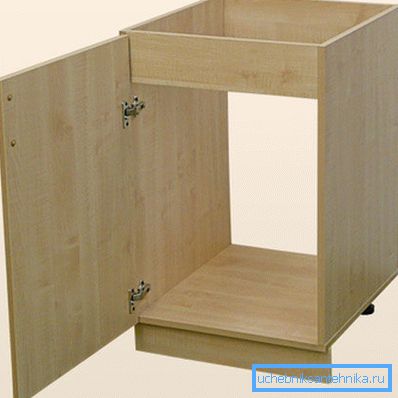
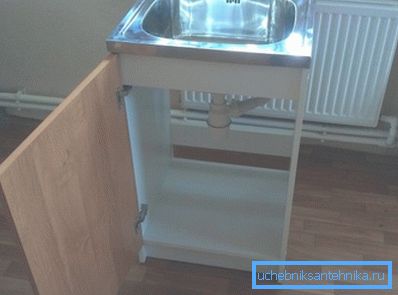
Overhead kitchen sinks also have a right to exist. The main difference from the flush mounting is that a separate pedestal is constructed under the sink (it is also called a sub-base). Santekhpribor just installed on top of it, hence the name.
Note! At installation, it does not rely directly on chipboard cabinets; special plastic L-shaped fasteners are used for installation.
This installation method is different in that:
- installation work is very simple. The sink is bought, and the underframe can even be assembled with your own hands from chipboard sheets or wooden bars;
- it is easy to replace such a sink, it will be enough just to remove the underframe, remove 4 plastic fastenings from the seamy side and the sink can be removed;
- despite all efforts, it will not be possible to get rid of the gaps between the underframe and other kitchen furniture. They are guaranteed to get water, for example, when washing dishes or vegetables and fruits, and it is clear that moisture does not benefit the wood;
- Usually, under the invoice installation, it is not a designer sink that is purchased, but a regular shell of the correct form; For example, the price of a conventional model of stainless steel is in the range of 2-4 thousand rubles, so it turns out also a small savings in cash.

If we compare the prevalence of mortise and surface mounting, the mortise models have recently become increasingly popular. Many people do not mind spending a little more effort on the installation, but to get a great result.
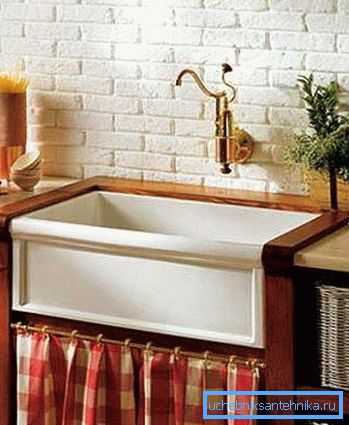
Nevertheless, it is not necessary to consider waybill installation a choice of simpletons. For example, if you need to arrange the interior of a kitchen in a rural style, then installing a self-made washing-up on a frame of wooden bars will look much more profitable than a mortise counterpart. Yes, and in modern kitchens patchwork is appreciated for its simplicity and reliability.
Installing the sink on the cabinet from A to Z
The task of how to install an invoice sink in the kitchen can be divided into several stages:
- layout - although the bollard does not differ in special delights in the design, but you can make a drawing and estimate the dimensions of the sidewalls, as well as the placement of additional elements (sliding drawers, doors, etc.);
- cutting sheets of chipboard and assembly cabinets;
- installation of the sink on the cabinet and its connection to the sewer.
Thumbnail sketch
The curbstone under the invoice sink should be almost the same size as the sink, it should not protrude beyond its limits. The sink after installation should look like the end of the bollard.
In order to simplify installation for surface mounting, it is better to choose a sink without any special design delights. Due to the geometrically correct form, it will be easier to ensure that the walls of the cabinet fit snugly to the bottom of the sanitary equipment.
The design of the base is not complex - the simplest option is a frame made of wooden bars. The size is determined by the dimensions of the shell, if its dimensions are 800x500 mm, then the frame in the plan should have the same dimensions.
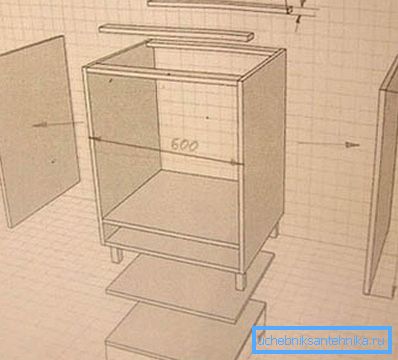
It is necessary to prepare a drawing of 2 solid walls, a bottom, a cap (closes the gap between the bottom and the floor), and also to determine the door and additional equipment of the drawer (all kinds of sliding drawers and shelves).
Note! When selecting the height of the sub-base, it is necessary to proceed from the height of a person. As a rule, the cabinet with a wall washer with a height of about 90 cm is suitable.
Collecting the sub-base and installing a sink
The implementation of the practical part begins with the cutting of chipboard sheets in accordance with the drawings. Here it is important not to ruin the edges, because DSP is a rather capricious material. The cut is performed with a jigsaw with a special blade for cutting chipboard (the teeth are bent inward). Also, for the insurance on the cutting line, an adhesive tape is stuck, and before working with a jigsaw, you can forcefully draw a knife along the line, after which you will only need to cut through the inner layer.

So far, the installation of the overhead washing is done early - you need to assemble the frame from separate elements. For the connection of the walls and the bottom, confirmatories (euro screws) are used; it is imperative that before screwing it into the chipboard, drill a hole of a slightly smaller diameter than the threaded part. After the screw heads can be masked with special plastic lining.
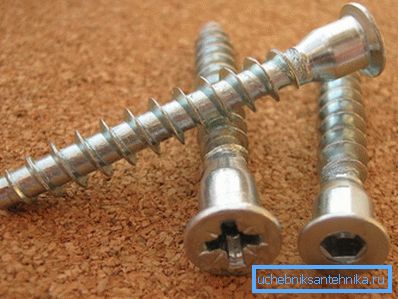
As for how to install the wall washer on the cabinet, for this you will have to purchase special plastic fasteners with an oblique groove on the side under the screw. First, the screw is not completely twisted, so that the attachment with the sink can be moved. The sink moves until it occupies the design position, after which the screws turn to the end.
Finally, the installation issue can be considered closed after the sink is connected to the sewer and the water supply is organized. For convenience, the mixer and siphon can be connected before installing the sink on the cabinet. At this point, the question of how to install a sink in a laid-on way can be considered closed.
In conclusion
Despite the drawbacks, the way of installing the car wash has an important advantage - it is very simple and even a beginner can handle it. The proposed material can be considered as a specific guide to action.
The video in this article shows step by step the process of producing overhead sinks.