Outdoor shower: types of dushkabin, self-built, finishing
Summer shower in the country is not a luxury, but a real need. And the choice most often concerns whether it is worth building it with your own hands or it is better to purchase a ready-made factory-made booth. Below we consider the advantages of both options.
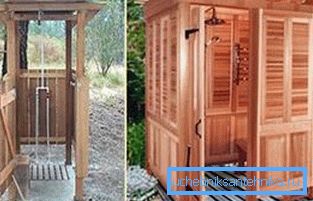
Types of outdoor showers
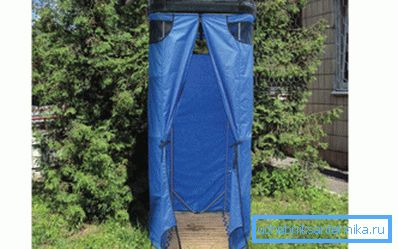
Today there are such showers for giving on the street:
| Type of shower | Specifications |
| Collapsible cabins | This is the most simple and easy option, which, moreover, is distinguished by a low price. They do not require connection to the water supply system and can be assembled and disassembled in any convenient place. In the simplest form, such constructions are wedges dug into the ground, covered with fabric or film. Water supply is carried out, as a rule, by pedal technology (such as "Toptun" or "Step"). The basis of such structures is a regular rubber mat, which is equipped with two built-in pumps and hoses, one of which has a sprayer. |
| Portable shower | It is a stable metal tripod, which is easily connected to the water supply. The height of the watering can and water flow are regulated, and most models even allow you to choose the type of jet. Such designs are very easy to assemble and are affordable, however, if there is no hot water in the water supply, you will be provided with a comfortable wash only in hot weather. |
| Stationary booths | These showers to the country on the street can be of two types:
Structurally, they are simple and complex. The second option involves the presence of locker rooms, heating, large tank, etc. The most modern way to heat the water in the tank is electric. |
Note! Stationary showers have higher technical characteristics than collapsible ones, since they retain heat better.
Building a shower by yourself
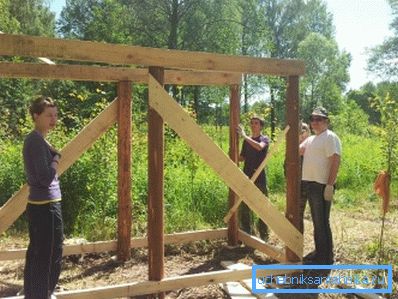
Now consider how to make a stationary summer shower. Such buildings are usually erected near the border of the suburban area, equipping the drainage of water into the gutter.
The instruction involves several steps:
- In the place where you have planned the construction of the shower, it is necessary to dig a recess that has a slight slope towards the sewer.. This recess should be lined with roofing paper or PVC film. You can also concreted it, so that the earth "not acidified" from the water.
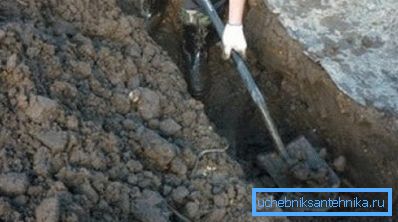
- Next, dig a trench with a slight slope, leading from the future construction of the soul to the sewer.
- In the trench we lay the pipe of the required length and fill it with earth.
- Since the outdoor shower is a very high structure with a small footprint, in order to increase its stability, the base of the frame must be dug into the ground or concreted. As the basis can be used wooden beams or metal pipes. They are driven into the ground for a third of the length. That is, if the planned height of the building is 2 meters, then it is necessary to pick up three-meter pipes that “drive” into the ground exactly one meter.
- The supporting pillars are connected from above by bandaging from the same beam. Bottom dressing is done from the floorboard, which acts as the basis for creating the floor. The board is stuffed with small gaps that will ensure a good drain of shower water.
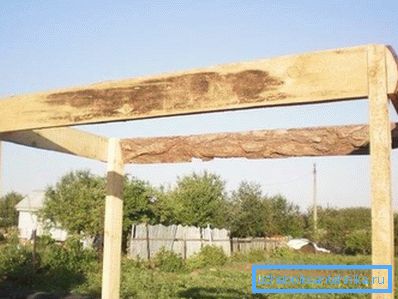
- The walls of the shower must be upholstered, which are pre-treated with linseed oil.
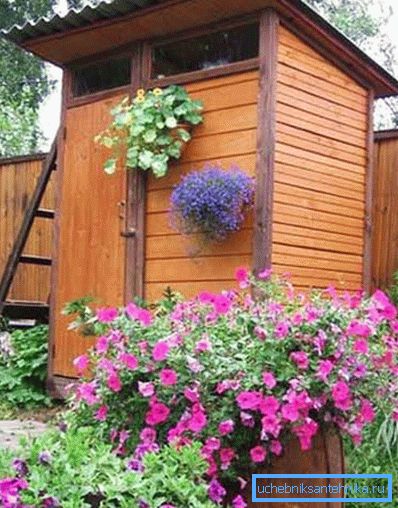
Note! The design of the shower must necessarily include a small window located under the roof and intended to be ventilated with the door closed.
- The door is set last.. It should not be too heavy, so as not to entail over time the bias of the entire building.
Finishing and thermal insulation
An important part of the capital stationary shower is thermal insulation. Foamed PVC or foam plastic can be used as a heat-insulating material - these materials are distinguished by a low price with high technical characteristics.
Finishing and thermal insulation work takes place in several stages:
- We fill the heat insulator with an overlap on the inner walls of the shower.
- On top of the layer of insulating material is sealed waterproofing membrane.
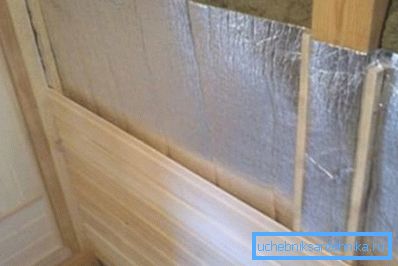
- The interior decoration of the summer shower is most often done with clapboard.
- For exterior finishes, choose a material that can withstand environmental features well. This may be lumber, steam-treated or cellular polycarbonate.
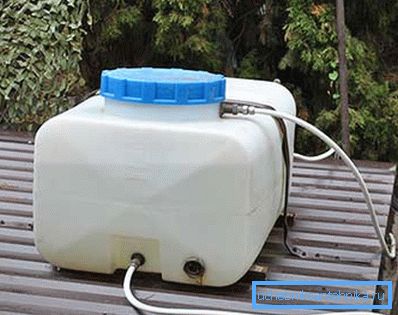
- A tank is installed on the roof of the structure into which water is poured. Through the hole in the roof of this tank is connected to the shower spray. Everyone chooses the principle of water supply to the tank.
Conclusion
The summer shower has on its site every self-respecting summer resident. Yes, and for private homes, designed for year-round living, such a building would be very helpful. As well as the summer kitchen, this building has its own special atmosphere, giving vivacity in hot summer days.
Today, there are several technologies for arranging summer showers. We discussed in detail how to build a stationary shower, which is the best option for a summer shower room. Such buildings are durable and durable, as well as excellent heat retention. More information can be found in the video in this article.