Replacing the toilet: step-by-step installation algorithm
After learning how much it costs to replace a toilet bowl, performed by professional plumbers, many decide to take on the job themselves. And this is exactly the situation in which this decision will be justified: the installation process itself is not particularly difficult, and with a responsible approach, the result of a beginner will not be too different from the result of a professional.
And yet, at least basic knowledge is necessary to achieve success, so before starting installation, you should familiarize yourself with the recommendations given below.
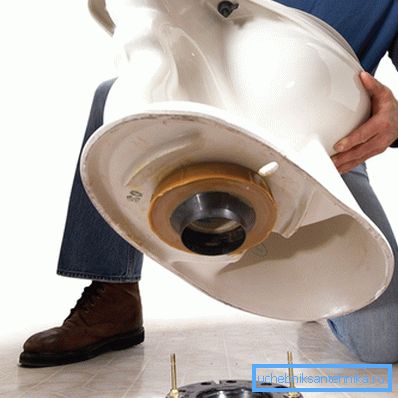
Preparing for replacement
Tools materials
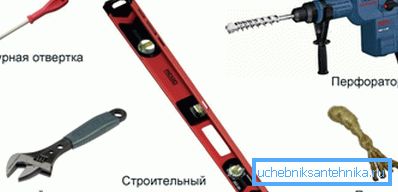
Before you replace the toilet with your own hands, you need to prepare everything you need. In principle, a standard set of tools is used for work, but it is better to check their availability in advance, so that later it would not turn out that something is not at hand.
So, we will need:
- Puncher or hammer drill for drilling mounting holes.
- Adjustable pipe wrench.
- Special tool for crimping fittings (if metal-plastic liners are used).
- Saw for pipes.
- Level to install the structure in the selected plane.
As for the list of materials, it is also not too extensive:
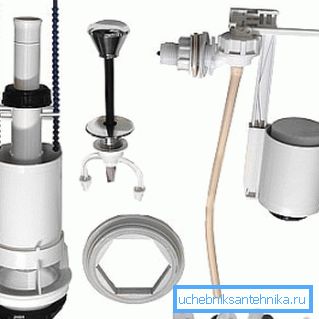
- First, you need to make sure that a drain system is included with the product. If not, we purchase it separately.
- Next, we stock hardware to install the structure on the floor.
- A massive board will also be needed if we plan to install on a taffeta (more on this below).
- Replacing the toilet with a cast-iron pipe involves the use of flexible corrugations, in other cases, you can use adapters made of polystyrene or PVC.
- To minimize the risk of leaks, we will need a plumbing underwrap and silicone moisture resistant sealant.
When everything is ready, you can start dismantling the old product.
Dismantling and preliminary work
Removing the old toilet bowl is usually accompanied by a large amount of water falling on the floor. So you need to prepare rags for its removal in advance, otherwise the neighbors from the bottom will not say “thank you” to us.
We conduct work according to the following scheme:
- Shut off the water supply to the drain tank.
- Press the drain button several times to remove all the water from the tank.
- Remove the cover from the tank, disconnect it from the supply hoses and dismantle the drain system.
Our further actions depend on how the old toilet was fixed:
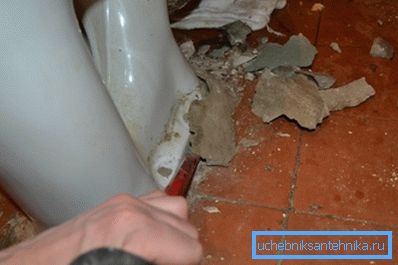
- If adapters or corrugations were used, they can simply be removed by cutting out the polymerized sealant.
- If the conclusion of the toilet bowl was embedded directly in the cast-iron pipe of the riser, then experts recommend applying a few strong blows with a hammer to the faience pipe: this will break the connection and the toilet itself will loosen, which will facilitate its removal.
Note! In no case can not beat the pipe itself of the riser. Cast iron - metal brittle, and the split part will be very difficult to replace.
- If you had to remove the product in this way, you will have to throw it away.. Most often, the removal of garbage is included in the cost of replacing the toilet, but if you do everything yourself, you will have to recycle.
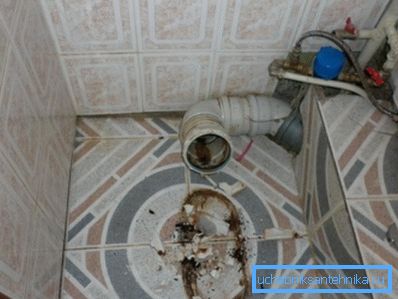
- After that, unscrew the screws on the base, and, having hooked the sole of the toilet mount, we remove it.
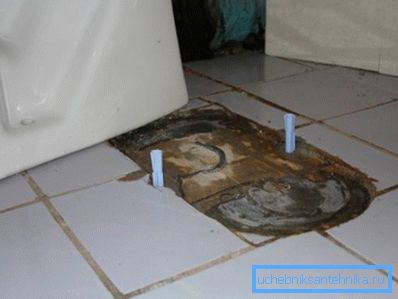
Next we need to prepare a place for installation. To do this, remove the spilled water and sweep away all the garbage. We especially thoroughly clean the floor under the future foundation: it is important that the toilet bowl is resting on a flat surface.
Installation process
Fastening bowl
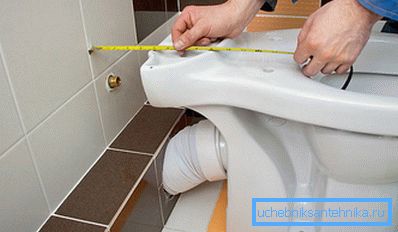
To date, there are several methods of installing the toilet. If we talk about floor structures, the installation methods can be as follows:
| Technique | Work execution process |
| On taffeta | Mounting on taffeta - a hardwood plank - is traditional. At the same time, experts refer this method to the most laborious:
|
| On glue | Glue installation should be carried out only if the toilet is placed on a securely mounted tile:
|
| On anchors | This technique is one of the most simple, but here you need a certain skill:
|
As for mounted models, they are often fixed directly on the wall. As an auxiliary device, you can use the installation for a toilet bowl - a steel frame with space for mounting the drain tank and outlets. Of course, the price of such a system is quite high, but it allows you to securely fasten the structure on almost any wall.
Installation and connection of the flushing cistern
After the bowl is fixed on the floor, we need to connect it to the riser:
- Assembly corrugation, which will be used for the connection, thoroughly wipe and degrease.
- Apply silicone sealant to the part of the pipe that will be located in the outlet of the riser.
- Similarly, we process the opposite end of the corrugations, which we connect to the drain.
- We introduce the flute into the outlet of the riser, then distribute the protruding excess silicone around the circumference of the pipe.
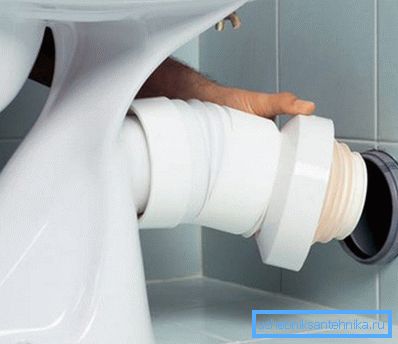
Note! It is easiest to remove excess silicone before it begins to polymerize. For this purpose it is better to use wet rags.
Further instruction involves the installation of the tank:
- We install the container in place by inserting rubber rings to seal the connection with the bowl.
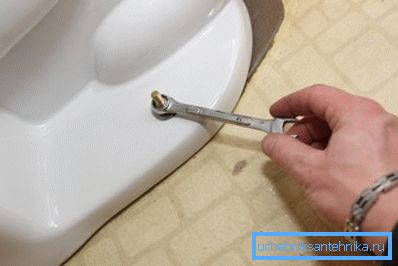
- Fix the tank fixing bolts, trying not to pull them in order to avoid cracks.
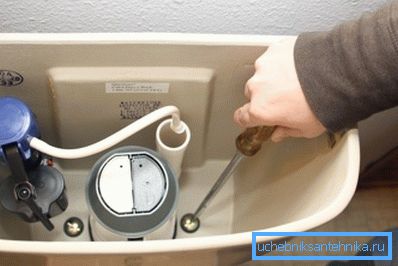
- We connect a water supply hose to the side or bottom branch pipe, carefully fixing it with a cap nut or fitting.
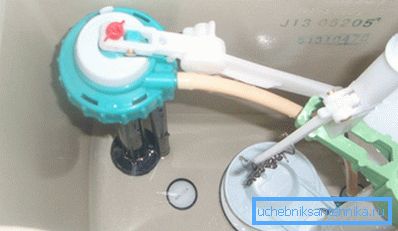
- Next, collect the valves, which are installed inside the tank.
- Open the valve, supplying water to the tank.
- We perform a test drain testing the system and checking for leaks.
- If no problems are detected, close the tank with a lid and install the drain button, screwing it into place.
In principle, this work can be considered complete. You can use the toilet almost immediately, but it is desirable to wait at least several hours for the polymerization of the sealant.
Conclusion
Replacing the toilet with your own hands, performed according to the above algorithm, will not take you long. And the complexity of the work will not be too high, so there will not be many opportunities for a critical error.
Everything is solved by diligence, attention and accuracy, because success directly depends on you. And in order to get a decent result with a guarantee, we recommend that you further study the tips given in the video in this article.