Sewage in the bathroom with their own hands: 4 stages of
It is impossible to imagine a comfortable dwelling in a city apartment or a private house without a quality wastewater disposal system. The sewage system in the bathroom is a rather complicated process. However, all the work can be done independently. It is enough to follow the recommendations below.
Project creation
Installation of sewage in the bathroom with their own hands does not begin with the purchase of the necessary materials, as beginners can think, and with the creation of a drawing. On a sheet of paper, you must specify the location of all plumbing fixtures that need to be connected to the drainage system.
It is also useful to indicate their appearance. This will help you choose pipes of the desired diameter.
Instructions for laying sewer system requires mandatory compliance with the following rules:
- all connections are made using special tees or adapters having a conical shape;
- pipes for internal sewage under the bath to facilitate installation should be laid using several series-connected sections;
- when combined into one system, drain the water from the bathroom and the sink, you should use a tee with a branch that has a tilt angle of 45 or 90 degrees;
- it is necessary to connect the siphon with the sewer pipe using a drain pipe at an angle of 90 degrees.
Tip! If in the bathroom it is planned to install additional plumbing equipment, it is advisable to immediately provide a drain hole for it. In the subsequent installation of additional drains will be difficult.
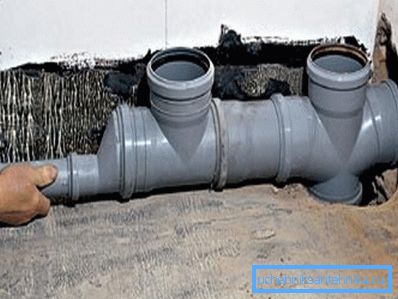
Important point! Before you move the sewer from the kitchen into the room, you must correctly calculate the diameter of the pipes. As a rule, it is enough to use products from 80 to 100 mm in size. That's enough for most needs.
Material used and tools
Pipe classification
Currently, sewage is laid only with the use of plastic pipes.
They have indisputable advantages:
- low weight;
- long service life (guaranteed up to 50 years);
- ease of installation (for cutting and connection do not need to use specialized equipment).
There are several types of material:
- from polypropylene;
- polyvinyl chloride;
- from polyethylene.
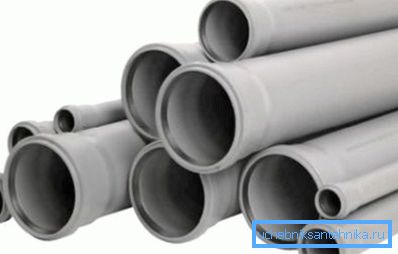
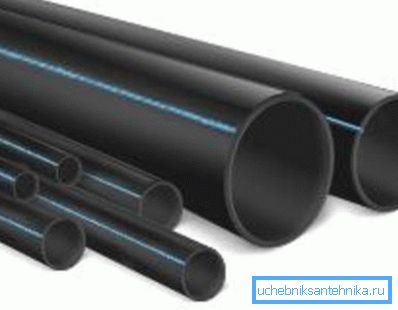
The last two types for the installation of sewage are not used. Polypropylene pipes are best suited as they withstand the high temperatures of the liquid passing through them without problems.
When buying, pay attention to the labeling:
- Pipes with the letter "A" are used for the manufacture of ventilation systems. Their walls are very thin.
- Pipes with the letter “B” have thick walls and are perfect for creating sewer systems.
Pipe selection criteria
The main parameter by which the pipes are selected is their diameter. But many manufacturers specify external dimensions, while the parameters of the hole itself are important for sewage.
The minimum pipe size for various plumbing fixtures is shown in the table.
| Device | Diameter, mm |
| Washing and dishwasher | 25 |
| Bidet and sink | 35 |
| Shower cubicle, bath | 50 |
| Connecting several devices to one drain (bathtub plus sink) | 70 |
| WC and central riser | 100 |
Another issue is the length. On sale there are products from 1 to 6 meters. Practice shows that it is most convenient to work with pipes 2-3 meters long. The footage should be selected taking into account the used connecting elements (fittings).
Necessary equipment
To create a sewer system in a standard bathroom, you will need:
- sewer plastic pipes with a diameter from 50 to 100 mm;
- sealing cuffs for fastening parts of the system;
- plastic fittings of desired configurations (doubles, tees, elbows, and so on);
- compensator (its diameter for an apartment should be 110 mm);
- collars - serve for fixing of pipes of the sewerage and giving to them the necessary bias;
- hatch, allowing to control the state of the riser;
- sealant;
- cement mortar.
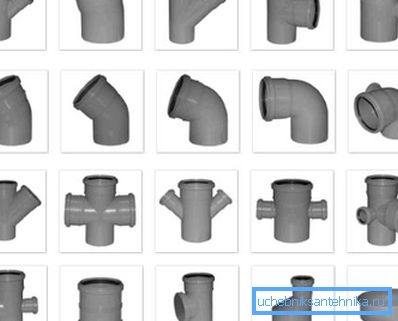
Also significantly facilitate the work of such tools:
- grinding machine;
- hammers;
- chisel;
- building level;
- measuring tape (tape measure);
- marker.
Installation of sewage
Stage 1. Preparation
If you are not too lazy and have drawn the scheme of the future sewer system, its installation will not cause difficulties.
Let us consider in more detail each stage of work:
- It is necessary to calculate and purchase the required number of fittings and adapters of different diameters.
- Then you should cut the pipe into pieces of the desired length. If you do not have much experience, it is better to do this immediately before installation. So you can try them on the spot.
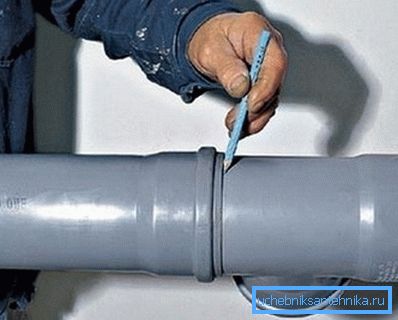
- Cutting is done with a hacksaw. Before this, it is recommended to mark the cut so that the end face is flat and the angle is 90 degrees. Otherwise, there may be problems with the joining of individual parts. The edges of the pipe should be carefully cleaned with a knife or emery paper.
- All pipes should be installed with a slight slope. Sewage waste is removed not by pumps, but by gravity. To fix the inclination of the pipe, you can use special brackets sold in hardware stores.

Stage 2. Installation of the riser
Replacing the central tube is the most crucial stage of the entire work. Before disassembling it, you should make sure that it is really necessary. In the case when the cast-iron riser is well preserved, it is better to leave everything in place.
A pipe with a size of 160 to 220 mm will be suitable for replacement (depending on the diameter of the cast iron drain used previously).
If your apartment is not on the top floor, additional fixings should be provided. Otherwise, the plastic can not withstand the weight of the cast-iron riser, located at the top of the neighbors.
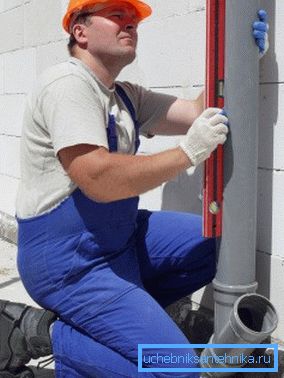
The replacement scheme is as follows:
- in the lower part is mounted tee or cross, secured with a rubber cuff, lubricated with a sealant;
- to hold the central sewer pipe used clamps supplied in the kit;
- do not forget to inspect the mounted riser for cracks and other damage;
- all sockets should be directed along the flow of water.
Stage 3. Pipe installation
At the end of the preparatory phase, you can proceed directly to the assembly of the finished system. Installation of sewer pipes in the bathroom takes about 2 hours. The construction of a complex waste disposal system in a large private house may require 2-3 days.
The assembly process does not require special skills or the use of special tools.
Work should start from the riser. Then, assembling section by section, pipes are brought to the plumbing fixtures.
Connections are made without the use of sealants, glue and soldering iron. It is enough to insert the pipe all the way, avoiding distortions. Hermetic gum, which is equipped with fittings, will not allow leakage.
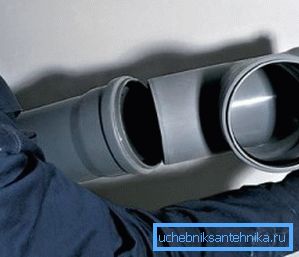
Note! Seal and pipe must be clean. Only in this case the connection will be reliable and durable. Otherwise, accidents are possible, the damage from which may be much more than the price of all repairs made.
Impairment of air tightness can also lead to an unpleasant odor. Because in the process of installation, be especially careful. You can even lubricate the rubber parts with soapy water or petroleum jelly to achieve a tighter joint.
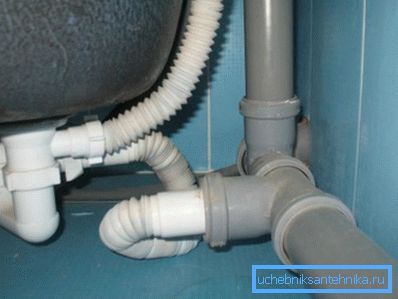
Once the entire system is assembled, you need to connect devices to it. Do not forget that for the bath and sink must have a siphon.
Stage 4. Testing
After finishing work, you should be convinced of its quality and reliability.
To this end, it is necessary to switch on all the appliances in the bathroom at full capacity. You can also take water into a bucket and drastically pour it into a bathtub, toilet or washbasin.
Only such actions can check the finished system for reliability. Inspect all connections thoroughly. If leakage is detected, the problem node will need to be re-assembled.
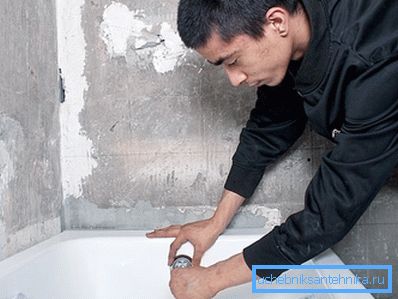
In extreme cases, you can use special plumbing glue. They are processed rubber seal, after which the pipe is inserted into the fitting and left for some time before the composition hardens. After this testing is repeated again.
Features dismantling the old system
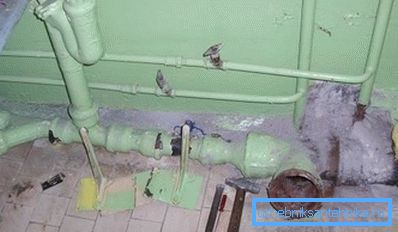
Before installing a new sewer system, it may be necessary to dismantle old pipes. During the work you may encounter significant difficulties. For example, it is difficult to work with sections of pipes tightly embedded in concrete walls.
Tip! Before dismantling, you should prepare for the pause between the removal of the old sewage system and the launch of a new one not too long. Indeed, at this time no one will be able to use the toilet and sink, which is very inconvenient.
Do not forget that apartment buildings are equipped with a common drainage system. When dismounting the riser, care should be taken not to damage the equipment from the neighbors.
Conclusion
If you carefully follow all the above recommendations, the sewage system you have installed will reliably serve you for a long time. For more information about installing a drainage system in the bathroom can be found in the video in this article.