Sewer riser - the main features of this type of construction
The sewer riser is the main part of the system, since it is through it that all the drains from sanitary equipment go into centralized communications or specially equipped septic tanks and septic tanks. Any errors during installation and replacement are fraught with blockages, therefore, in order to avoid a complicated question of how to clean the sewer riser, you need to equip it according to all the rules.
Basic construction elements
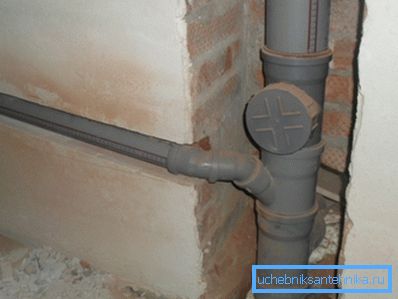
Any system, be it a sewer riser in a private house or in an apartment in a multi-storey building, consists of several main parts, the simplest construction looks like this:
| Main pipe | If previously only variants of cast iron were used, then nowadays they have been replaced by lighter and more durable PVC products, with which you can do the installation yourself, for this does not require any special tools and accessories. This is the option we will consider in our article. |
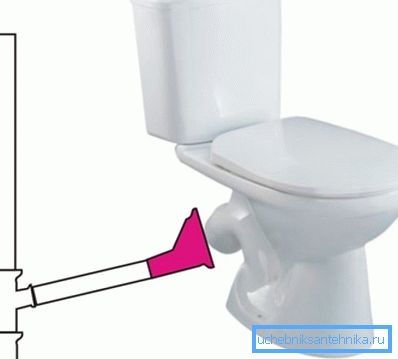
| Cross under the toilet | This element is installed at the bottom of the very first, below it can not be placed any pipes, otherwise during the flushing of water in the toilet will be broken water traps sewer system. The toilet should be connected separately, this is a very important factor, which should not be forgotten in any case. |
| Compensator | This node is used in cases when it is required to make the transition from one type of pipe to another, for example, if there was a cast-iron riser in the apartment, and plastic is used, then this product can not be dispensed with, the conjugation will be reliable and durable |
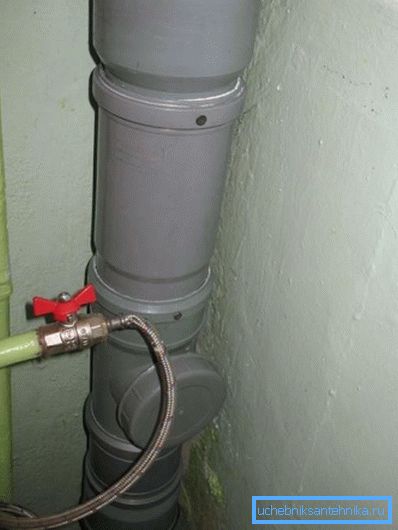
| Audit | It is a section of pipe of the required diameter, on which the hatch is located, which, if necessary, can be unscrewed in order to clean the system. Many people forget about this element, which leads to the fact that in case of blockages it is necessary to damage the pipe |
| Tee | If only a bath and a sink are connected to the system, then one sewer tee with a tap of 50 mm in diameter will suffice, and the diameter of the sewer riser should be at least 100 mm (most often the standard version of 110 mm is used) |
Tip! When determining the required diameter of the riser, it is worth remembering a simple rule: if there is a toilet in the system, then its diameter should be at least 100 mm, but if there is no toilet, then a thinner pipe with a diameter of 50 mm is sufficient.
Installation rules
It was noted above that the proper functioning of the entire system depends on proper installation. Therefore, you need to know and strictly follow a number of important recommendations.
Basic design requirements
To begin with, we will consider general recommendations on the location of the system, some of the requirements are set out in the norms of the SNiP and some in special instructions.
The most important of these are:
- The best option is to place the water and sewage pipes in the same mine, this greatly simplifies the work, due to which the cost of the project is markedly reduced.
- The construction instruction prohibits placing a riser in residential premises, kitchens and in room dividers, since the noise level from this structure is high enough, which will create a lot of inconvenience.
- If a sewer riser is being replaced with a pair of plastic and cast iron elements, then special attention is paid to the junction of the two elements. For this, it is better to additionally use a special sealant, and on top also apply a mounting tape.
- The slope of the sewer riser on the floor, or rather, the connections to it, must be at least 3 mm per meter for pipes with a diameter of 50 mm, and at least 2 mm for pipes with a diameter of 110 mm. Do not make too large slopes, it can lead to accelerated formation of plaque inside the pipes.
- If the pipe passes through the utility and utility rooms, then it must be closed with a protective structure to prevent damage.
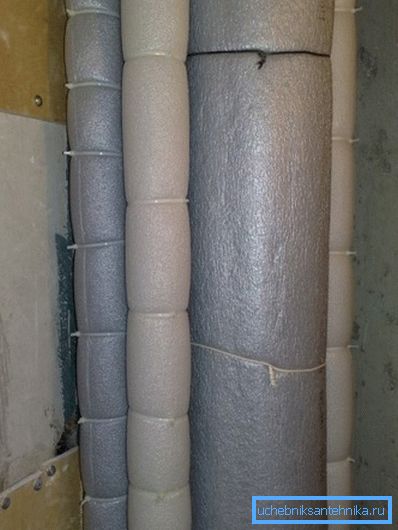
- If your pipe is open, the sound insulation of the sewer riser is highly recommended, this will significantly reduce the noise level.
- The correct position of the structure vertically is very important - it should not fall down on either side.
- The minimum allowable distance from the pipe to the wall is at least 2 cm, the indentation is regulated by means of metal fixing clamps.
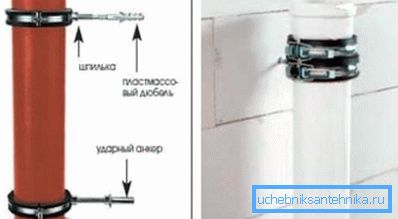
Installation Features
Installation of the system is quite simple if the work is carried out in a new building. If the cast-iron sewer riser is replaced with plastic, then there will be more work due to the fact that a complete or partial dismantling of the old structure will be required.
Installation of sewer risers as follows:
- First of all, the tee on the connection of the toilet bowl is put on the pipe inlet from the street or the interstorey socket., he should always be first.
- Further carts are arranged from other plumbing.: sinks, bathtubs, washing machines and so on, their number and configuration depend on the characteristics of your system.
- The next element is a revision hatch., its presence is mandatory for each riser, it should be located at the bottom of the system for ease of access, should such a need arise.
- Next is the pipe, if a pairing is necessary at the top, then an adapter is used; if not, then ventilation must be removed to avoid excessive pressure in the system.
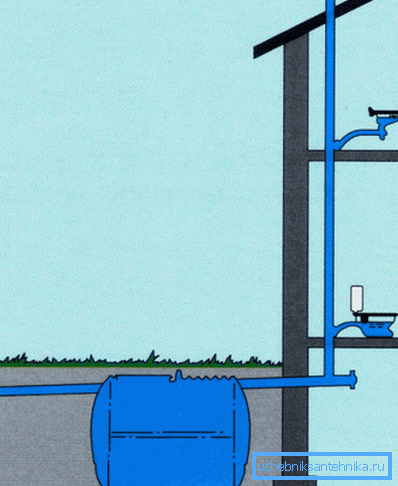
Tip! It is better to additionally seal all connections with sanitary sealant, it will make the joints even tighter and will become additional protection against leakages.
Conclusion
As you can see, in the construction of the structure there is nothing difficult, it is important to carry out all the work carefully and follow the recommendations. The video in this article will help to understand some of the features of the work even better.