Shower 120 by 80 cm: the proposed types and methods of
Immediately it should be said that a shower cubicle of 80x120 cm is suitable only for the private sector, or for large and spacious apartments - in the bathrooms of our “Khrushchev” and “Stalinok” rooms it is physically impossible to accommodate it, since there will be no room for other sanitary units.
But for those who have such an opportunity, that is, the bathroom is large enough, you can think about the fence with such dimensions, you just need to choose a suitable tray, on which the area of the entire device depends.
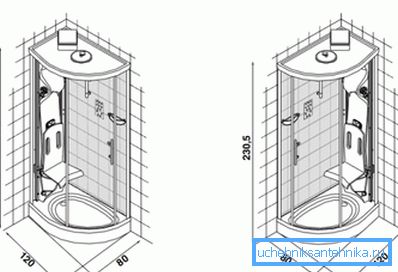
Now we will tell you what kind of pallets are and how such a structure is assembled, and also show the thematic video in this article.
Shower cabins
Pallets
Note. Installation of a shower cabin of any size is possible only if there is a pallet on which the fence is installed and by means of which water is directed to the drain. Cabins without pallets are possible only in those cases when the floor construction is specifically provided for this purpose, that is, there is a ladder and a slope to it.
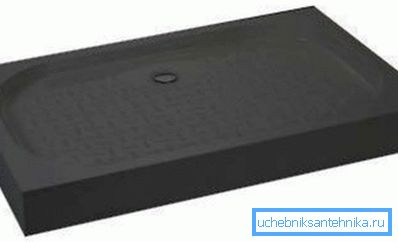
Let's start with the materials - pallets of the above sizes can be made of composite materials (artificial marble, granite or onyx), cast iron steel and, of course, acrylic, which has recently supplanted all other analogues and firmly entrenched in the leading positions.
This is not surprising, because acrylic bases are quite durable - a shower tray made of thin acrylic is designed for 160 kg of vertical load. They have a low weight and a fairly affordable price, they are easy to assemble, and such material is not very cold, that is, you do not need to wash it with hot water before bathing, however, the choice is always yours.
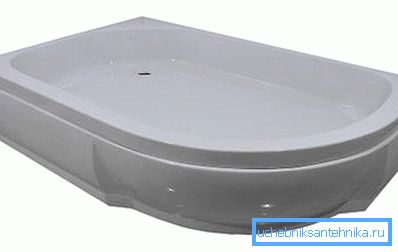
In addition, all pallets can differ in depth - they are shallow (up to 5 cm), medium (up to 15 cm) and deep (from 15 cm and deeper) - this is achieved due to you honeycombs, but small ones sometimes do not have any - they are made on the principle of a plate with a slope to the drain hole.
It should be noted that the industry, as a rule, uses only acrylic for deep containers, so if you need a shower cabin with a 120x80 cm bath, then you will acquire the device from this material. The standard height of a shower cabin is usually 200 cm ± 2-3 cm from the floor of the room and the higher the sides, the shorter the moving and fixed panels will be.
The difference in parameters, in addition to depth, is also in the form of a pallet, that is, it can be rectangular, which allows it to be mounted under a wall or in a corner, but it can also be in the form of a triangle with a semi-oval - only an angular setting is possible here. But in most cases it is just such an installation that all users choose, since this is the most suitable option for saving the usable floor space.
Installation
Note. We will consider the corner installation where the shower cabin of 1200х800 mm with the deep tray will be mounted. All actions will be considered step by step.
- First of all, you need to determine if the installation angle is 90? and this is not even an instruction, but common sense - any deviation will be accompanied by the appearance of gaps between the sides and the wall, and, the more such a deviation, the greater the gap in the failure of a 2-3? she will be critical. In such cases, they resort to trimming tiles to the sides of the boards in order to drown something that does not fit between the adjoining walls into the wall - this, of course, is a very important process and will be much better if the tiler does this.
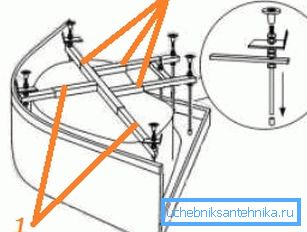
- If the pallet is well in the corner, that is, there is a full 90?, Then you can begin to install it and you should start with the legs. To do this, turn the container upside down and fasten the crosspiece there, and then the studs are screwed on it, which are fixed by lock nuts, and heels are rolled on their ends to rest against the floor. All these legs need to be set strictly according to the level, then put the assembled structure into a corner and check it with a level again - if you notice a failure, then correct it by adjusting the legs.
- After that, fix the siphon and insert its hose into the sewage system, and smear the sides from the outside with silicone and glue them to the walls. Now you need to fasten guides under the corner edges of the pallet, under which you also need to grease the silicone so that the water does not penetrate the room along the tile.

- Assemble the frame separately and insert it into the guides., but again, under the framework's lower arch, you push the silicone so that water does not leak into the room between it and the pallet's side. The frame is fastened from the inside with screws to guide profiles.
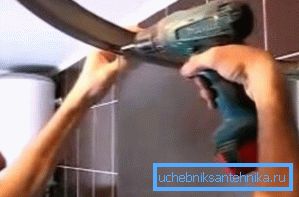
- Put seals on fixed panels (from the side of the doors they have an apron) and fasten them with brackets to the frame.
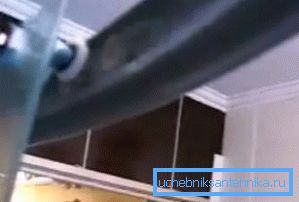
- On the door below and on top you wind two wheels, who will ride on the sled, only fix the top pair tightly, and the bottom pair - only bait. After hanging, fix the lower pair, giving it an optimal position with the help of eccentrics. On the sash put on a magnetic tape.
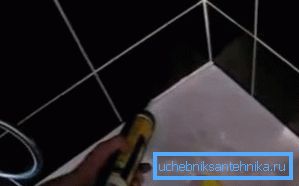
- Now it remains only to seal the silicone joint between the pallet and the walls, as shown in the top photo. Remove excess silicone with your finger - this will make the seam beautiful and tight. After 3-4 hours you can test.
Conclusion
You have made sure that it is quite easy to install a cabin with your own hands, if the room has a flat floor and walls, and the angle between the adjacent walls is 90 ?. But besides this, be sure to look at the manual - there may be some nuances concerning this particular model.