Shower cabin in a wooden house - installation features
Arrangement of a wooden house has a number of features, since wood is an unusual building material. In particular, the installation of a shower cabin in a wooden house deserves special attention, because a tree is known to be strongly affected by moisture.
In this article we will look at how to install the booth in detail to ensure the preservation of wooden surfaces.
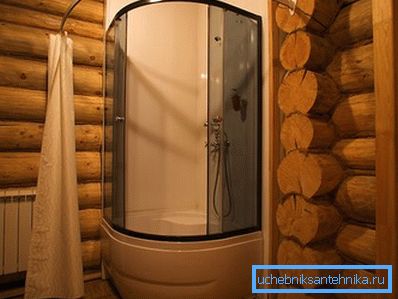
General information
Not so long ago, construction companies recommended installing shower cabins exclusively on the first floor of the building. However, thanks to the development of technology in recent times there are no restrictions. The only design is installed either in the corner, or simply adjacent to the wall.
The most important thing is to perform waterproofing correctly in order to prevent water from entering the wood. Otherwise, it will lead to its rotting. Below we will look at the rules of insulation and installation of a shower cabin.
Waterproofing rules
Floor treatment
So, before you make a shower cabin in a wooden house or install a finished structure, you need to prepare the site.
You need to start work from the floor:
- First of all, cement-bonded chipboards (DSP) should be laid on the floor.
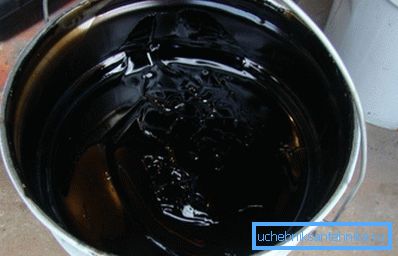
- Then over the DSP should be applied a layer of bitumen or other coating material. The compositions may be called differently, but most of them are based on bitumen.
- Roofing material is laid on top of bitumen overlapped, which will improve waterproofing.
- Next you need to lay ceramic tile on a special waterproof glue.
Note! Before proceeding to waterproofing, it is necessary to treat wood surfaces with antiseptic.
Wall and ceiling waterproofing
After preparing the floor, you should waterproof the walls and ceiling. There are several options for doing this work:
| Waterproofing options | Technology features |
| Plaster | In this case, a plaster net is nailed to the wooden surfaces, onto which a special plaster composition is applied, or ordinary cement plaster with the addition of liquid glass. After the plaster has dried, the surface is treated with a fungicidal composition. |
| Glass / Magnesium Finish | The installation of this material resembles the installation of drywall, i.e. sheets attached to the frame. Ceramic tiles or mosaics are usually applied over the sheets. |
Ventilation
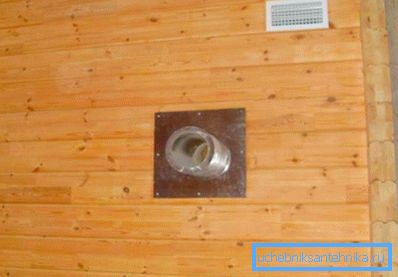
To protect the room from the harmful effects of moisture, waterproofing alone is not enough. In addition, you must also provide ventilation of the room.
If the house is inhabited, then it will be rather difficult to equip the supply and exhaust ventilation with your own hands. In this case, the solution is to install an exhaust fan, which will increase the intensity of the natural movement of air.
To do this, the fan is installed under the ceiling, and a small gap is created at the bottom of the doors. After taking the water treatment, the fan should be turned on for a few minutes, as a result of which the fumes will leave the room and the air humidity will be normal.
Cabin installation
Installation Features
First of all, it should be said that the installation of booths is offered by almost all plumbing stores that sell them. However, the price for this work is quite high. Given that the assembly does not cause any particular difficulties, it is more expedient to perform it yourself.
Tip! If the house does not shrink, it is desirable to fix the shower stall on the sliding frame. In fact, it is a metal profile with elongated holes, the length of which slightly exceeds the possible shrinkage.
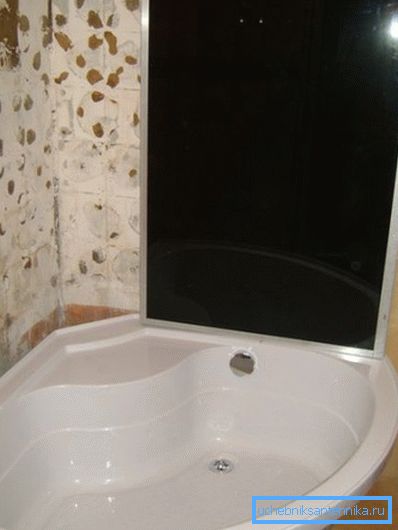
Before you begin the installation, you need to familiarize yourself with the following nuances of this procedure:
- First of all, you need to bring communications - electricity, water and sewage.
- Places adjoining the booth to the wall should be missed with sealant.
- Drainage must be carried out under an inclination, therefore the drainage pan must be above the sewer pipe.
Note! The order of assembly and installation of the cabin contains instructions that must be studied before starting work.
Work order
So, installation of the booth is carried out in the following sequence:
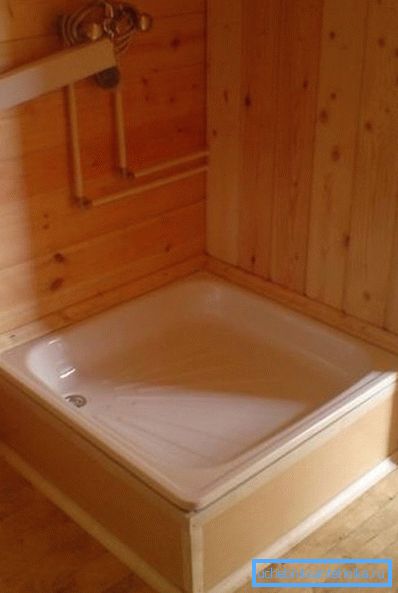
- Work begins with the installation of a siphon on a pallet.
- Next, the pallet is installed on the legs. His position needs to be checked by building level. Adjustment of position is carried out with the help of special feet-screws.
- After installation of the pallet siphon is connected to the sewer pipe. The joint must be missed with sealant.
- Further, according to the instructions you need to collect the glass enclosure of the shower. First of all, guides to the walls and doors are mounted on the pallet. After that, racks and crossbars are installed. As a rule, all elements are attached with screws.
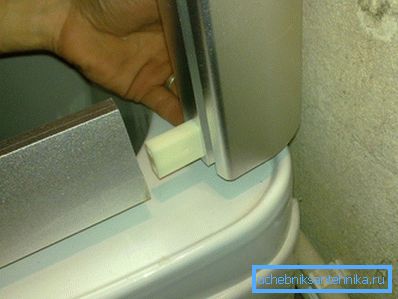
- Then, silicone profiles should be applied to the profiles and glass walls should be inserted into them.
- After installing the walls, the doors should be mounted.. To do this, you first need to install the upper and lower rollers.
- Next, the glass is fixed in the upper rollers.
- After that, the lower rollers are pressed and the glass is installed in the groove of the fasteners.
- Then, according to the scheme, the roof and other accessories are installed.
- At the end of the work, all communications are connected.
Note! After installing the booth, it can not be used until the sealant hardens. This usually takes several hours.
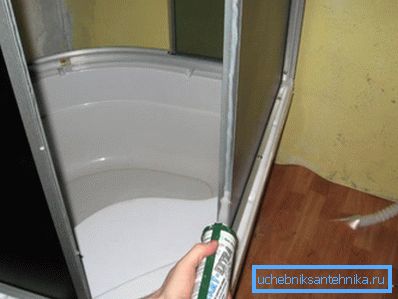
This completes the installation of the shower cabin. Now you need to check the performance of electrical equipment and tightness of the structure. If water leakage is detected at some sites, it is necessary to seal them with silicone.
Tip! Before putting a shower cabin in a wooden house, it is advisable to assemble it in a separate spacious area in order to understand how it is assembled. Dealing with the features of the assembly in the bathroom will be much more difficult due to the limited space.
Conclusion
In general, the installation of a shower stall in a private house is performed in almost the same way as in apartments. The only thing this procedure requires a more thorough waterproofing. In addition, to maintain normal humidity in the bathroom, it is necessary to provide high-quality ventilation.
From the video in this article can be found with some additional information on this topic.