Shower cabin in the private house: 3 stages of installation
Today, shower cabins are gaining more and more popularity due to their many advantages, among which not the last place is occupied by compactness, ease of use and economical water consumption. Such equipment will be an excellent solution for arranging not only the small-sized bathroom of a high-rise apartment, but also for the bathroom of a private house.
In this case, all installation work can be done independently, which will greatly save the family budget. How to do this, we will consider in this article.
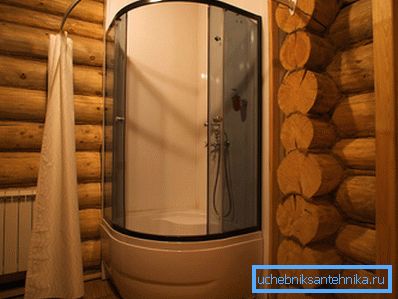
Installation progress
It should be noted right away that, of course, at any time you can invite highly qualified specialists to install all the necessary plumbing equipment, but the price of their services is high enough to think about the possibility of performing the task on their own.
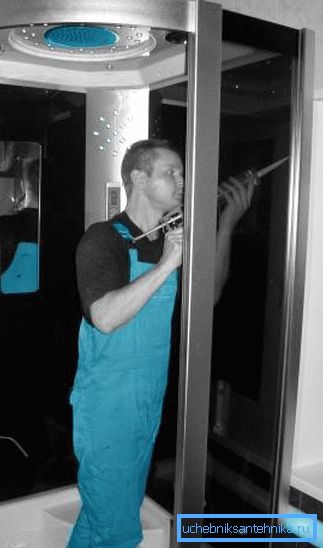
So, how to arrange a shower room in a private house by yourself? You should start by choosing the right cabin:
Stage number 1: the choice of shower
Let's figure out how to choose a shower for a private house. For this we need a general idea of its structure:
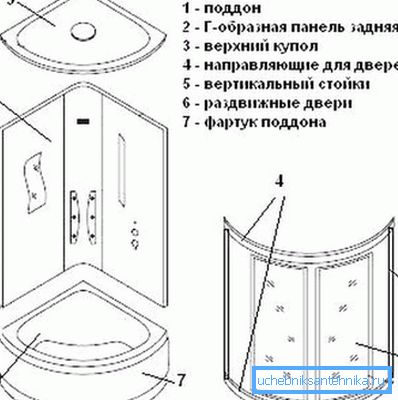
| Designation in the figure | Item Name |
| one | Pallet |
| 2 | Rear l-shaped panel |
| 3 | Roof |
| four | Door guides |
| five | Vertical racks |
| 6 | Sliding doors |
| 7 | Apron pallet |
The main factors to pay attention to:
- Footprint. You must feel free inside and without constraint, and at the same time the whole structure should be placed in the space reserved for it.
Tip: it is recommended to calculate the dimensions of the cabin in such a way that after installation there will be a free space between it and the walls of not less than 40 cm. This will allow you to fully maintain the equipment and maintain it.
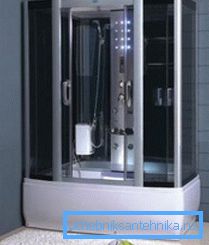
- The form. Semicircular and square fit perfectly into the corners of the room, leaving free most of the usable area. But round and rectangular usually have spacious shower trays that can fully play the role of baths.
- Material of walls and doors:
| Material | pros | Minuses |
| Glass |
|
|
| Plastic |
|
|
Tip: to reduce the care of the plastic doors, choose matte canvas. They are much less stamped.
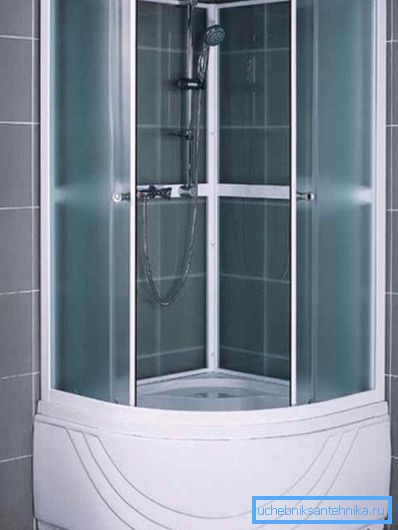
- The decor. There is already guided by their personal preferences and the interior of the room in which the installation of equipment.
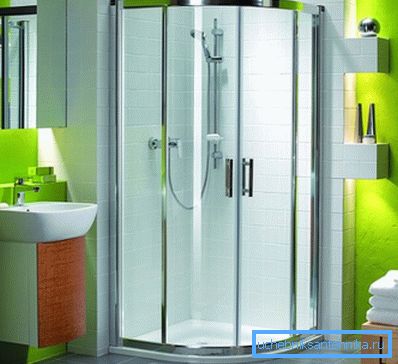
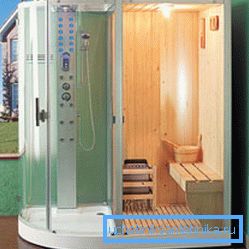
- Functional. Shower cabins can be additionally equipped with “tropical rain”, built-in sauna, hydro massage, contrast shower and many other devices that make taking water procedures an incredibly pleasant and healthy exercise. True, it should be remembered that each device increases the cost of the structure as a whole.
- Height. Consider the height of the tallest user, the height of the ceiling and add 30 cm of pallet.
- Pressure. For a private house the best option would be 3 bar.
Stage 2: preparatory work
To equip a shower in a private house with your own hands you will need the following materials and tools:
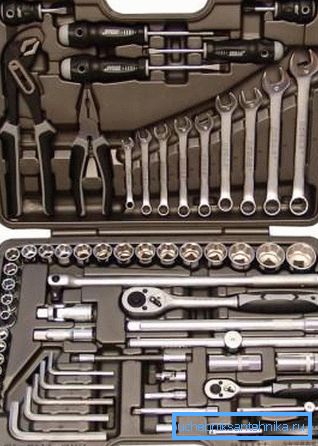
- A set of various keys, including pipe.
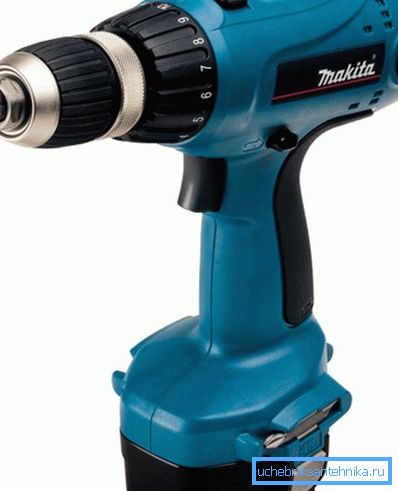
- Screwdriver. Facilitates the process of assembling the cab body.
- Mounting gun for sealant.

- Spirit level to control the horizontal structure.

- A set of screws.
- Metal pipes and hoses.
- Sewer siphon.
- Couplings for connecting water supply.
- Sealant.
- Insulating tape.
- FUM tape.

Next, the shower room in a private house should be equipped accordingly:
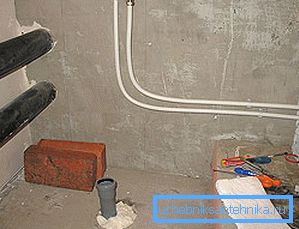
- We supply plumbing to the place of installation using metal-plastic pipes and suitable fittings, sewage with tee, allowing further connection of other plumbing fixtures, as well as electrical wiring, due to which all functions of the cabin can work.
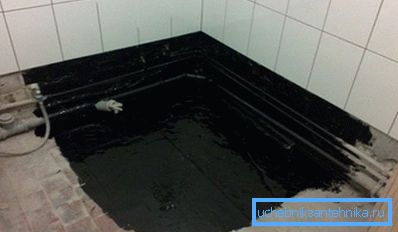
- Strengthen the floor at the place of installation with cement screed, since it will need to withstand the weight of the cabin and an adult, and a layer of waterproofing material to prevent the spread of moisture. In particular, it is important to do this in a wooden house, since wood is subject to rotting processes in conditions of excessive humidity.
- Also it is worth taking care of the floor covering of the whole room.. One of the best options would be to create a finished layer of ceramic tiles with high water-repellent qualities.
- Walls and ceiling are treated with antiseptic.
- We mount ventilation.
Thus, by the time you start to create a shower corner with your own hands in a private house, the place chosen for installing the cabin should be equipped with all the necessary communications, strengthened and protected from excessive humidity.
Stage 3: Cab Assembly
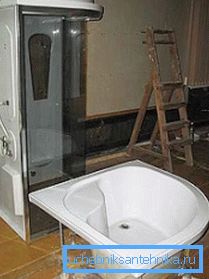
Now, finally, we proceed directly to the assembly itself, the instruction of which looks like this:
- We remove the apron from the pallet so that it does not interfere with the connection of communications.
- The drain hose is connected to the sewer drain and fix it with a sealant.
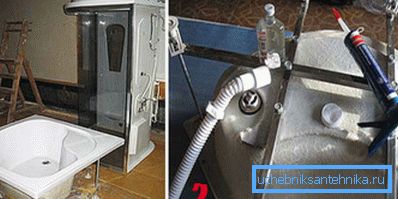
- Mount the gasket into the drain hole of the pallet, having processed it in advance with a sealant.
- We fix the entire waste unit with screws.
- We regulate the legs of the pallet with the help of a spirit level, we set it horizontal.
- Install the panels with the help of hardware on the pallet.
- We put the glass, smeared with sealant, into the guides, which are then fastened with screws to the rack.
- After the glue hardens, we mount the door guides, then insert the rollers into them and install the doors themselves.
- From above we fix the roof on which the watering can, the lamp and the fan are fixed.
- We check the performance of all equipment.
Conclusion
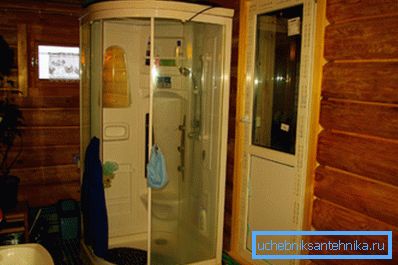
We looked at how to make a shower room in a private home. The shower cabin is an excellent solution to this issue. At the same time, its installation is quite feasible with its own hands without the involvement of expensive professionals. The main thing is to follow the above rules and recommendations.
The video in this article will introduce you to additional materials. Be attentive to details, and you will succeed!