Shower corner: an alternative to the usual cabins
If we are constrained in the means, but still we plan to reconstruct the bathroom, then instead of the usual stalls, you can install a shower corner 120 by 120 cm (or a model of other sizes). Such a system is indeed more compact, affordable and easy to use, but at the same time it has its own features that should be studied in advance.
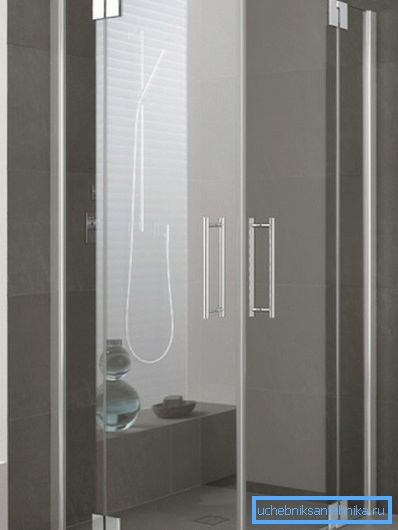
Description of construction
Main elements
The shower stall, which recently has seriously pressed the bath in popularity, still has a number of drawbacks. The most important among them are large enough dimensions complicating the installation of the structure in small bathrooms, as well as the high price.
An alternative in this case is the installation of shower corners:
- Corner is a square or rectangular area in the bathroom, fenced off from both sides by walls or doors of transparent or translucent material. The more tightly the fixing unit of the fence to the walls and the tighter the doors are closed - the less moisture falls outside the “wet” zone.
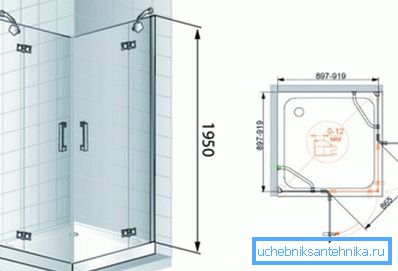
- A shower tray can be placed at the bottom of the structure.. At the same time, in order to save money, the pallet is sometimes refused, and then a shower corner of 70x70 cm or more is erected directly on the tiled floor.
Note! All surfaces in contact with the area must be trimmed with moisture-resistant materials, such as ceramic tiles. However, we will talk about waterproofing in the section dedicated to the installation of the structure with your own hands.
- A shower with a conventional faucet mounted on the wall is used as a source of water.. However, sometimes a separate shower stall is installed inside, allowing you to take water treatments in several modes.
- The sizes of a shower corner can be the most different. Since most often the structures are mounted in cramped spaces, the most popular on the market are compact (70x70 or 80x80 cm) models. However, if necessary, you can find more spacious (110 by 110, 90 x 120 and even 150 x 150 cm) products.
What to look for when choosing
When choosing a model of a shower corner, which you will install in the bathroom, you should pay attention to such moments:
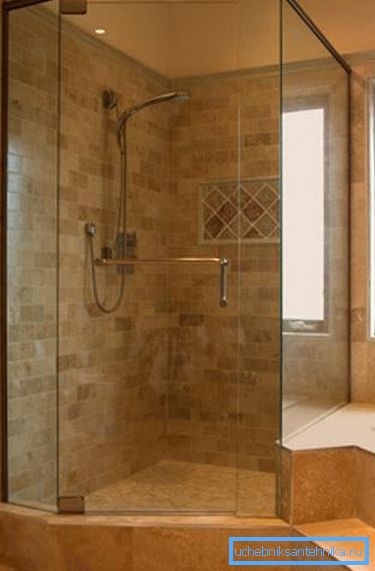
- Dimensions of the structure should allow its placement on a dedicated area, with particular attention should be paid to the possibility of completely opening the door. This is especially important if we buy a sufficiently large shower angle of 120 by 120 cm or an asymmetrical design.
Note! If there is not enough space, then it is worth choosing a model with a sliding door that moves along a special profile.
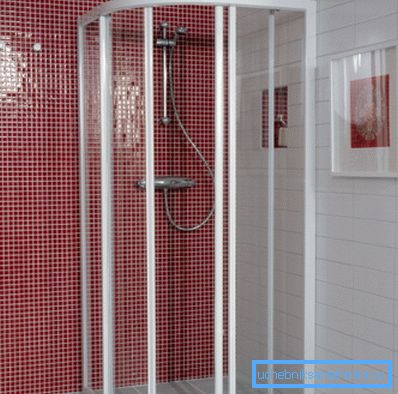
- If the set includes a shower for a shower corner, then preference should be given to stainless steel or brass models. Silumin mixers and watering cans are cheaper, but have a significantly lower margin of safety.
- Fencing, too, must be chosen rather meticulously. The budget segment includes models with doors and walls made of polycarbonate, but more expensive types are equipped with tempered glass or even triplex. The last option is the most expensive, but at the same time the safest: a broken triplex does not give fragments about which you can cut yourself.

- Also, the manual recommends carefully inspecting the pallet (if it is included). Preference should be given to metal models made of steel with a thickness of 2 mm or more, or products made of thick acrylic. Thinner steel trays are often deformed by the weight of a person, which leads to the destruction of the protective enamel layer and corrosion of the base.
However, this is not all tricks. Finally decide which corner is worth buying for your bathroom, you can only after a comprehensive analysis of all designs presented in the range.
Installation Tips
The installation process - it doesn't matter if we saw a shower corner 70 by 70 or a large structure 150 by 150 cm - is quite simple.
However, in order to get a decent result, you need to follow a certain algorithm:
- We begin work with the laying of communications. We install all the pipes of the water supply system in the strobes done in the wall and remove them so that we can later connect the mixer and the shower head.
- The walls and floor in the room are treated with a waterproofing compound. It is desirable to use impregnation with antibacterial components - so in conditions of high humidity, we will get additional protection from the fungus.
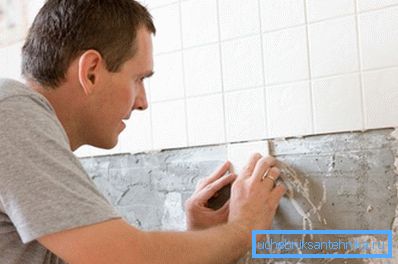
- We carry out wall and floor tiling. Inter-tile joints are filled with a moisture-resistant trowel mixture.
- Using adjustable supports, install the pallet on the floor. From below to the pallet fasten the siphon, which we connect with a sewer pipe to drain the water.
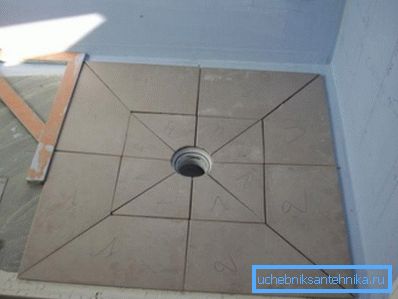
Note! If the corner is mounted without a pallet, just with the base, lined with tiles, then the drain pipe must be laid in advance by making a strobe in the screed or floor slab.
- Install the fence corner. To do this, on the floor or the upper part of the pallet fasten the lower guides, and on the walls - side. In the slots of the guides we fix sheets of glass or polycarbonate panels.
- Install the door, hanging it on the hinges or turning it into special slots. Carefully level the structure by level - this will avoid “mashing” of accessories when moving.
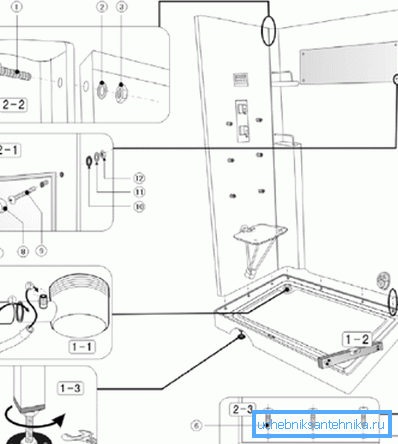
After the end of the assembly, we carefully seal all the joints with silicone, and then connect the mixer with the shower hose. Approximately 24 hours after the completion of the work, it is possible to test the structure, checking how tight it is.
Conclusion
The above recommendations on how to choose a shower corner and how to install it correctly will be especially useful to those who have not previously encountered such structures. We also advise beginners to carefully study the video in this article, which contains a large amount of additional information.