Shower corner without pan: well forgotten old
If recently we abandoned traditional baths in favor of high-tech shower cabins with hydro-massage, lighting and even a telephone, then the current trend is the refusal of the cabin itself, or rather of pallets and boxes. The shower angle without a pallet is notable for its lightness of forms, minimal design and increased practicality. In today's article we will look at this elegant solution in detail and give advice to those who are used to creating their own living space with their own hands.
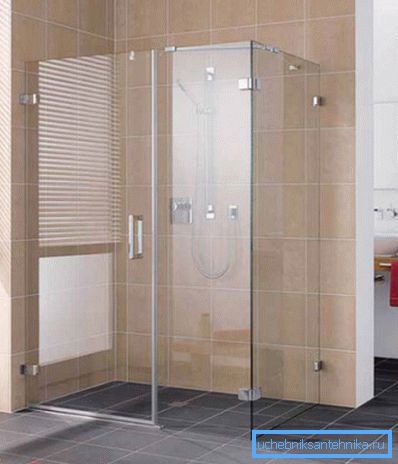
Shower without bathtub and shower tray
Special features
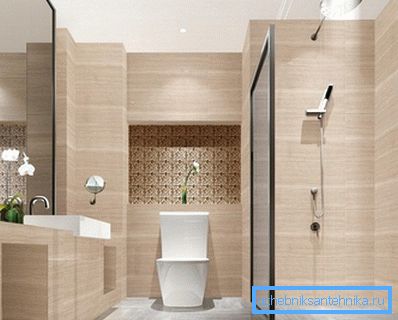
Minimalism and rationality penetrate into new areas of our life, and today we want to present you another example - a shower without a tray. This solution cannot be called a new one; rather, we are faced with a kind of reincarnation of a long-forgotten technology. In some public places, you can still find showers in which water flows directly onto the floor and collects into the drainage grate.
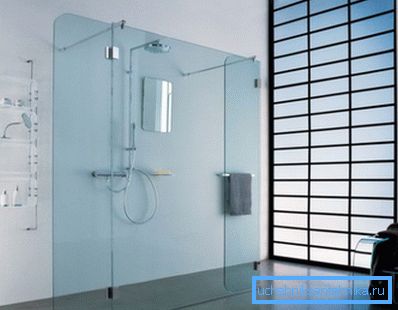
However, to arrange such bathrooms in apartments and even private houses was previously not accepted, but modern designers and builders are deprived of such stereotypes.
In practice, this approach gives a lot of opportunities and advantages, both visual and technical:
- You are not limited to the size and shape of the shower box, shower tray or bath.. You are free to choose the dimensions, boundaries and outlines of the shower area;
- Since the drainage system is built into the floor, you are insured against flooding the neighbors from below in case of an accident, sanitary equipment in the bathroom;
- The space of the soul is devoid of bumpers, pedestals and other heights. This is very convenient, especially for the elderly and people with disabilities;
- The shower can be entered into the room of any configuration and size: a new solution looks equally good both in spacious bathrooms with a complex architecture, and in small bathrooms of small apartments;
- You can experiment with enclosing walls.. Glass, polymers, wood, stone - even the absence of walls is considered as an option.
Note! It would be wrong to assume that this approach is necessarily associated with new trends in design and cutting-edge interior styles. He is equally good both in the classics and retro, and in the postmodern.
It is important to know
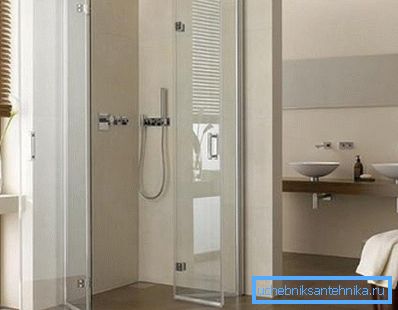
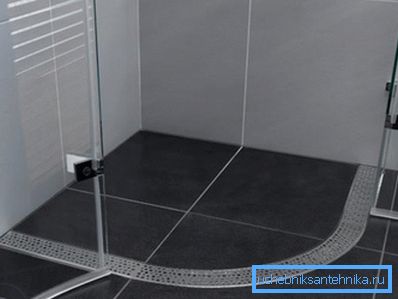
Before you make the final decision on the construction of a shower without a pan, you should know some important differences characteristic of this technology. The attentive reader could already notice that a place for installing sewer communications according to the classical scheme is not provided here.
The drain hole is on the same level with the general floor, which means that all drainage pipes are hidden in the screed. From this it follows that the most rational and justifiable approach will be the arrangement of the soul at the stage of interior work preceding the finishing.
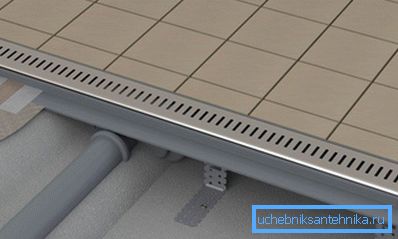
Otherwise, you will have to dismantle the floor covering in the bathroom, as well as remove the floor screed in the shower area. Removing the screed will be needed not only for the installation of sewage drains, but also for the formation of the slope required for normal water outflow.
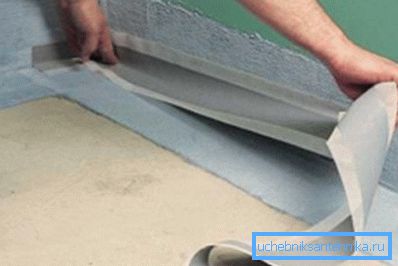
Moreover, it is also desirable to remove the trim from the bottom of the walls that are in contact with the shower. This is necessary for applying a waterproofing coating necessary to protect structures from damage due to constant contact with water.
Note! The most acceptable solution would be the construction of a floor shower at the stage of roughing the room, before pouring the finish screed in the bathroom.
Waterproofing work
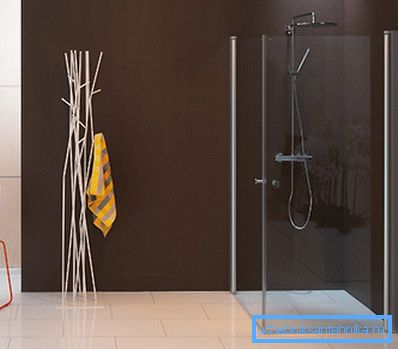
In the process of installation, it is especially important to properly prepare the room and perform reliable waterproofing. As you understand, without high-quality protection of structures against ingress of even small amounts of water, there can be no talk of floor draining.
Therefore, the whole process begins and ends with waterproofing works, which are carried out using complex multi-level technology. The basic principles of this technology are outlined in the table:
| Principle | Description |
| Continuity | The insulation layer should not be interrupted in any place. The build-up is performed with large overlaps, if it is a fabric or membrane |
| Solidity | No unglued joints are allowed. Mastic, paint or polymer cements are applied continuously throughout the treatment area. |
| Layering | Insulation is made on the floor slab, on the screed, on the lower part of the wall, in the corners between the floor and the walls, at the point of contact of the drain structure with the surface, on the seams of the facing tile |
| Effective coverage | Waterproofing should cover the shower area with a sufficient margin to prevent penetration under the lining even accidental sprays and drops |
Note! All sorts of popular and “grandfather's” methods are not suitable here. It is necessary to use only modern high-quality materials, and to perform the work in the manner required by the manufacturer of this or that product.
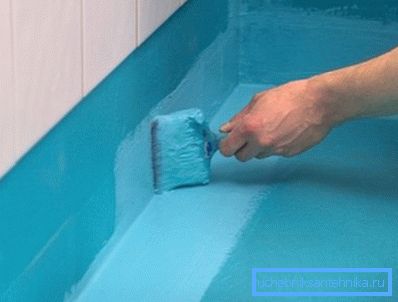
Typically, polymer cement mastics are used to process the concrete surfaces of the floor slab and screed. The use of bitumen mastics is also allowed, but bitumen, when heated, will emit odors and dangerous toxins that can cause allergies and other undesirable reactions.
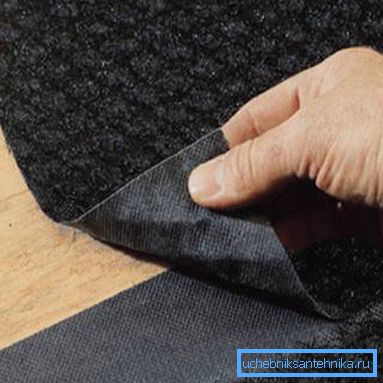
Before laying the screed, it is necessary to cut off with a waterproof membrane or roofing felt with rolling onto the walls to a height of 20 cm. Using roofing felt under the screed is generally not dangerous, this also applies to bitumen mastic. To insulate the joints of the walls and the floor of the shower, a waterproofing self-adhesive fabric (polyester, fiberglass) is used, or it is glued on its own using an adhesive-sealant on acrylic or silicone base.
When the screed is filled, the flanges of the waste grate are glued over with a waterproofing cloth impregnated with a sealant. The fabric should surround the drain hole on all sides for a width of 15 to 20 cm. The remaining surface of the screed is treated with mastic, compatible with tile glue, in several layers, and applied after drying the fabric with an overlap over the entire strip width.
Note! Read the instructions for the materials and pay special attention to the consumption of funds per square meter of surface. This will help withstand the manufacturer’s recommended insulation layer.
General assembly includes the following steps:
- Waterproofing floors;
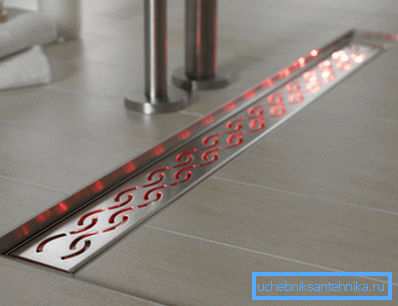
- Installation of a drain or drainage channel;
- Connecting the drain to the sewer;
- Laying screed with the formation of slopes in the direction of the drain;
- Waterproofing the drain hole and the surface of the screed;
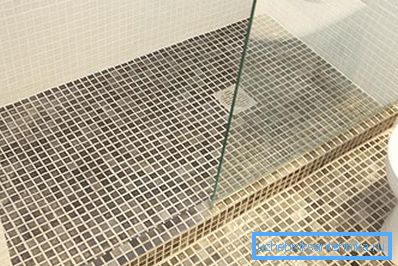
- Laying floor tiles, mosaics, pebbles or other flat stone.
Note! All communications must be executed and connected very responsibly, since their repair will require great efforts, and the price of work and materials will be high.
Conclusion
A shower without a bathtub and a shower tray is not only fashionable and modern, but also quite practical, beautiful and comfortable. When self-installation, special attention should be paid to high-quality waterproofing. For a more detailed acquaintance with the subject, see the video in this article.