Shower in the bath: the purchase of quality materials,
Many developers during the construction of a bath in advance provide for a shower compartment or the installation of a finished box. But in old buildings most often this design is not provided for, which is not very convenient, because after the steam room it is necessary to wash. Doing your own hands in a bathhouse is real, and this review will help you understand how to organize your work process in order to get excellent results.
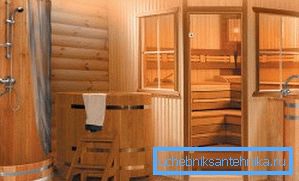
What is needed for the work
If you decide that a finished shower for giving is too expensive or does not fit into the overall situation, then you can make the system yourself. We will consider one of the simplest and fastest projects in the implementation, we need the following materials for it:
| Wooden bars and slats | The bar is necessary in order to build a strong and reliable frame, and the slats or lining used for sheathing structures. You can also use moisture-resistant plywood for this, as it resists water perfectly, which means that it is ideal for use as a shower finish. |
| Cast iron pan | We chose this option for a number of reasons: the low price of the design, ease of installation and high reliability. In addition, this option does not require the installation of legs or supports and can be placed in a specially equipped niche. |
| Pipes for laying communications | Here you need two types of materials: plastic pipes with a diameter of 50 mm and a set of specific connectors and pivoting elements will be required for wastewater disposal, if you do not have a septic tank, you must also equip it in advance. To provide water will require pipes, it is best to use products from PVC or metal-plastic. |
| Mixer and faucet | It is very important to choose a design with optimal characteristics, it can include a top shower, a hand shower, a spout and many other functions. You should decide what you want to get in the end. |
Note! If you want to make a door, you can do it in two ways: either buy a ready-made design of the desired size from tempered glass, or purchase a version from wood, it all depends on your preferences.
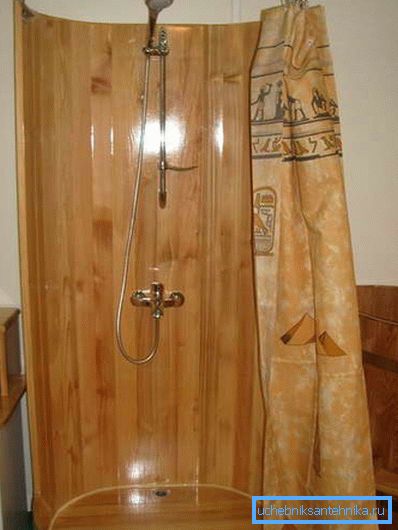
Installation Features
We will divide all the work into two stages - preparatory and main. Each of them is important in its own way, and it is worth noting that the first stage takes much longer than the second.
Purchase of quality materials
First of all, we will look at how to choose quality materials:
- To ensure strength, it is necessary to use a bar with a section of 50x50 mm or more, it must be smooth without knots, as they greatly reduce the strength and reliability of the elements.
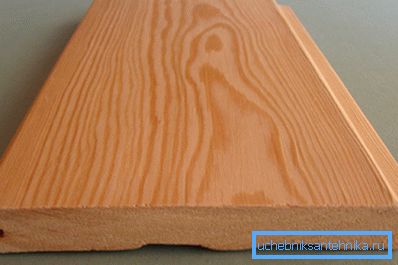
- Hardwood is best for plating., Ideal - larch or cedar, but you can use budget solutions, although their durability is lower, but constant processing with special compounds will prolong the life. It is important that the material is dry - this prevents its deformation after the assembly of the structure.
- To fasten was durable and did not spoil the appearance of the structure, it is best to choose stainless steel screws. They are much more expensive than usual, but they need not so much, but you will not think how to remove rust stains from the caps of the self-tapping screws.
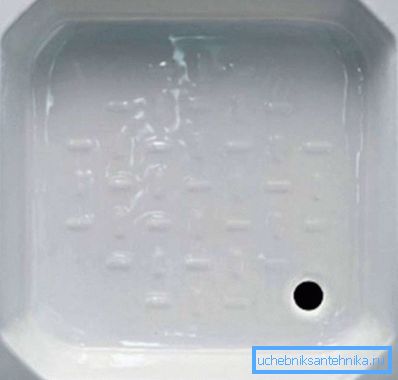
- It is necessary to choose the pallet, already knowing what size the compartment will be. Products made of cast iron can be square, rectangular and with a rounded side, it is important that their size is suitable for your bath, so learn in advance what modifications are on sale.
- Regarding pipes, we have reviewed all of the above, you are required to calculate the required amount of materials and fittings for them.. If the water is taken from a house or a well, then in the ground it is necessary to use a HDPE pipe, it costs a little and is of the highest quality.
- Mixer and shower should be made of brass, This material is distinguished by the best indicators of reliability and durability, which is especially important in places with high humidity and temperature changes.
Preparatory activities
Once you have acquired all the necessary, you can begin the work:
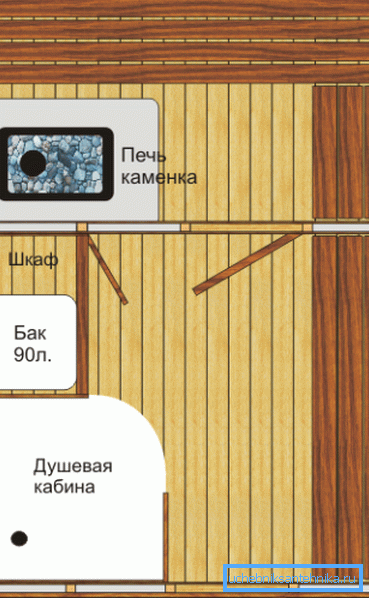
- First of all, you should draw a sample project. In this case, remember that the design of the shower in the bath should match all other elements. The most important thing is to determine the location of the future structure and calculate its dimensions, the space should be sufficient for convenient use.
- Work begins with the construction of a sewage system; for this, it may be necessary to partially destroy the screed on the floor if it is available, which is why we advise to provide for the laying of pipelines at the construction stage. Pipes are laid under a slope (2 cm per meter running), while it is important to withdraw the receiving neck exactly where the drain will be located. The system must be brought into the sewer well or a special sump.
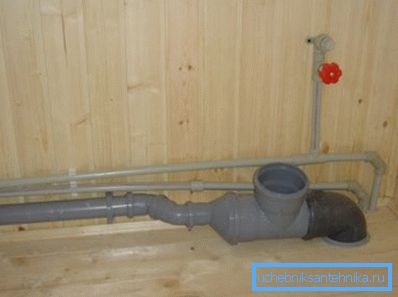
- The water supply system is displayed in such a way that you simply connect the mixer to the terminals, that is, it is important to correctly determine the height of the location and the distance between the pipes. If the surface is lined with clapboard, then you can put the built-in version, which has an attractive appearance.
- Next you should take care of the base. If the pan is deepened, it is necessary to strengthen it with cement mortar and create a configuration in which the structure will simply be inserted into the niche without unnecessary modifications and fixings. If the structure is located on an elevation, then it is necessary to build a small pedestal, it can also be built from wood to the size of the pallet.
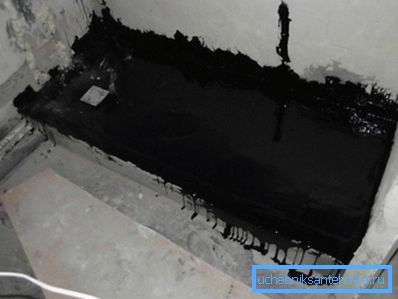
- It is important to additionally protect the base from moisture, it can be done in two ways - either by treating the surface with elastic bitumen mastic, or by gluing a special material - glass insulation, it is important to carry out the work as thoroughly as possible to eliminate any leaks.
Main stage
Shower cabin in the bath with his hands going in the following order:
- The pan is installed first, and it is important to securely connect the siphon to the neck of the sewer pipe.. If the design has become normal, you can begin the next step.
- To ensure the rigidity of the frame is attached to the walls, it is important to carefully measure all the parameters and only then cut the bar into the desired pieces.. First of all, wall elements are fastened, as well as bars adjacent to the floor (and the ceiling, if any). You should have a strong frame that is as tough and reliable as possible.

Note! If a door is present in the structure, it is necessary to use bars of a much larger section, since the load on the structure is much higher. At the location of the loops, it is best to install a double beam at all, so you can guarantee a high bearing capacity.
- After the assembly of the frame, you can proceed to the lining of the structure; to improve the thermal insulation of the structure, it is best to put moisture-proof insulation inside. The best option is extruded polystyrene foam, it has a solid structure and is not afraid of moisture at all.

- Finishing the shower in the bath is in its covering with wooden materials, for the best appearance it should be done both from the inside and outside. Moreover, inside it is better to use moisture-resistant types of wood, and outside you can get by with more budget ones. This simple tip will save you considerable money.
- If a shower cabin is going to be in a bathhouse in the country, then it may additionally be necessary to install a water tank and an instantaneous or storage water heater.. It is better to buy a ready-made version that you just need to connect to communications.
- The connection of the mixer and the shower is carried out as required by the instruction, it is important to ensure the reliability of the connections, therefore, after assembly, a test run is required.
Conclusion
We discussed in detail how to make a shower in a bath of the cheapest materials in a very short time. The video in this article will vividly show some important points of the process and help to understand the features of the work more thoroughly.