Shower tray 120 by 120: variations, selection, installation
The 120 to 120 shower tray is a necessary detail for building your own shower stall, which will save space in the bathroom and optimize its interior. We want to demonstrate different types of similar plumbing, tell about their features and show how to do the installation with their own hands.
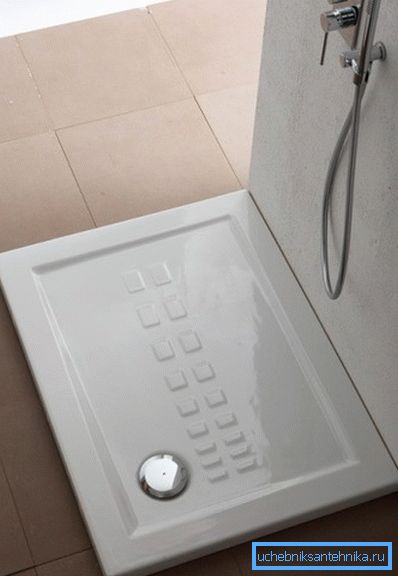
Shower trays as part of a modern bathroom
Species
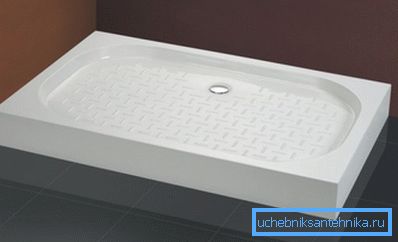
First you need to figure out what types of shower trays are available and relevant in the plumbing market. They may vary according to several criteria, and first we will look at the depth.
There are three groups:
- Flat. The depth of such models does not exceed 3.5 - 4 cm. They look very impressive, and also differ in increased comfort;
- Average. Products with a height of sides from 3.5 to 18 cm fall into this category, and those of them with a depth of more than 10 cm often belong to deep ones. This is the most compromising group in depth, combining acceptable design and convenience;
- Deep. This includes all models whose depth exceeds 18 cm. The maximum height of the boards can reach 45 - 50 cm, but such models are most often installed in monoblock cabs.
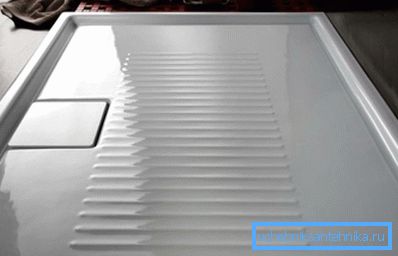
Another equally important criterion by which you can distinguish shower trays is their form.
Modern means of production can create a variety of unexpected forms, among which the most common are:
- Triangular;
- Radial (1/4 circle);
- Square;
- Rectangular, for example, a shower tray 120x100 cm;
- Round;
- Oval;
- Polygonal;
- In the form of a shell or snail;
- Complex curvilinear forms.
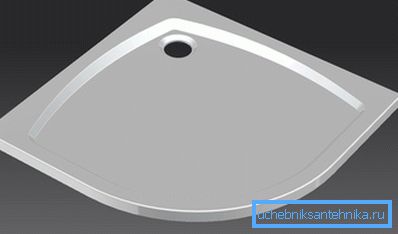
Note! When choosing a flat shower tray it should be borne in mind that the drain must have sufficient capacity, otherwise the water will pour out of the bowl. The capacity must match the water consumption, which is listed in the passport to your shower equipment.
Materials
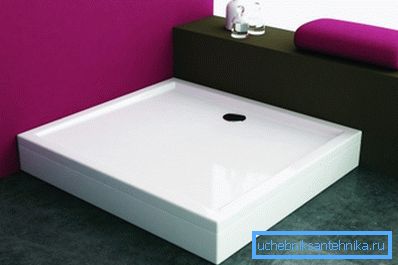
Finally, the most significant criterion for distinguishing shower bowls is the material from which they are made. We specifically brought this topic to a separate paragraph, since it should be given special attention.
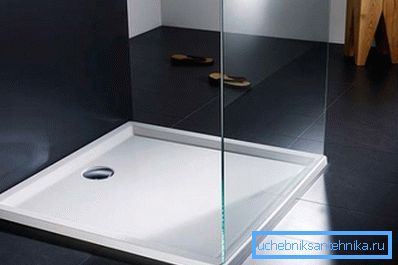
For clarity of perception, the features of the materials are presented in the form of a table:
| Material | Special features |
| Acrylic | The most common material has the best price / quality ratio. It warms up quickly, is easy to clean and does not corrode. The surface is prone to scratches, but they can be easily removed with the help of a repair kit, which often includes high-quality models. |
| Ceramics | Products made of porcelain and sanitary ware have become sanitary classics and do not need a detailed presentation. Durable, reliable, while warming up for a long time and have considerable weight. With careless installation may burst |
| Enameled steel or cast iron | Differs in the increased durability, the democratic price and durability. However, with damage to the enamel very quickly become unusable due to active electrochemical corrosion. Also marked by increased noise from falling water from the watering can. |
| Fake diamond | Casting marble, quarian and other types of composites have proved to be excellent as sanitary materials. Virtually no drawbacks, except for the high price. Unlike natural stone, they do not need thorough care, they do not absorb odors and color pigments. |
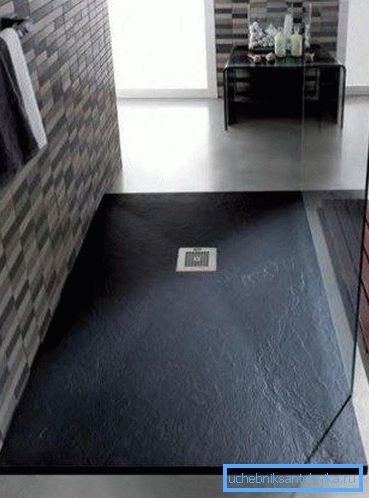
Note! We deliberately did not consider non-ferrous and precious metals, glass, expensive types of wood and similar materials, as their popularity is extremely low due to the very high cost and limited editions.
Installation
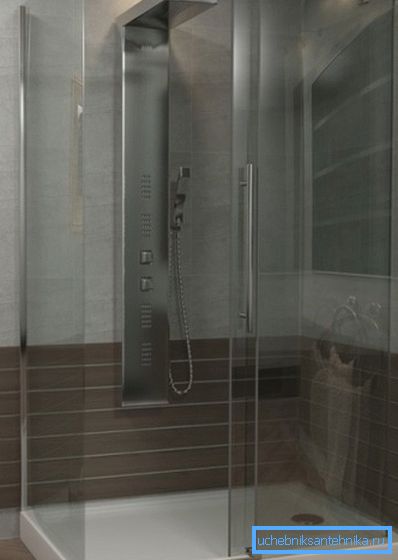
The installation instructions for the pallet depend on its model and material. The easiest way to work with acrylic products, as they are often equipped with an installation framework.
Turn the bowl over, collect the frame and mount the drain siphon with sewer corrugation. Then it is turned back, put in the design position and with the help of the adjusting screws on the legs of the frame set in height and level.
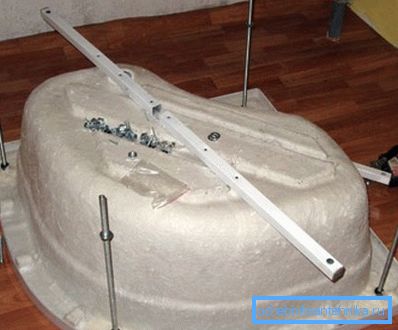
After that, the product is fixed, the corrugation is connected to the sewer riser with a slope of 2 cm per meter and the drain fittings are tested for tightness. If the drain does not leak, then all the joints with the walls are treated with a colorless silicone sealant and decorated with special plinths.
Installation of ceramic models is somewhat more complicated. Most often for them build a podium of bricks. To do this, lay out a side height of half a brick, and also make a support in the center of the bowl. Then, drain fittings and corrugations are mounted to the pallet, and the bowl itself is placed on cement glue over the podium.
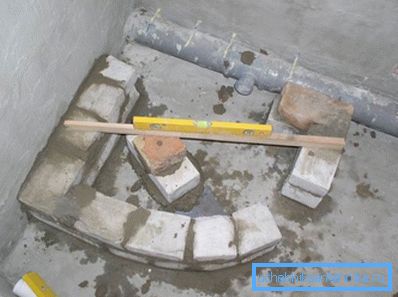
The brick is tiled with tiles, the corrugation is connected to the riser, the joints are treated with silicone. There are also models that can be placed directly on the floor, without a podium.
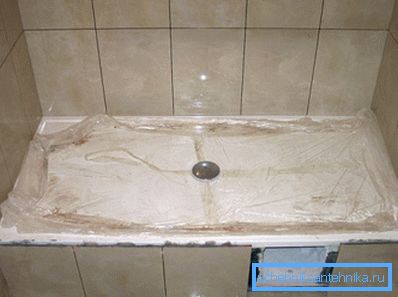
Note! Steel models are put in the same way as acrylic, and stone - in the same way as ceramic. Somewhat less often, installation on the podium can be done for an acrylic or metal tray for shower cabins, and installation on a frame for stone or ceramic.
Conclusion
The shower tray allows you to quickly and relatively easily equip the shower stall in your bathroom. A more detailed description of some features of the process is in the video in this article.