Shower tray 90x90 cm with fencing
Small and deep shower trays 90x90 cm for fencing can be different, that is, it is not only the height of their sides, but also the material from which they are made and the configuration is a square or a triangle with a semi-oval (corner version). The method of their installation may also differ due to the difference in the junction to the wall, which in fact is the carrier basis for the frame of the fence (the junction can be either to one or to two conjugate walls).
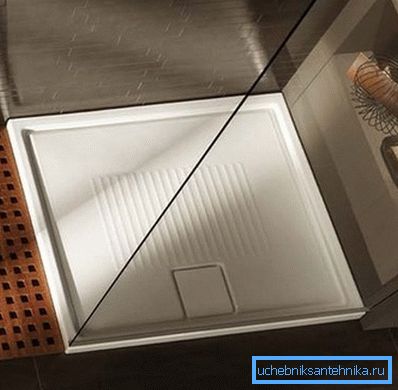
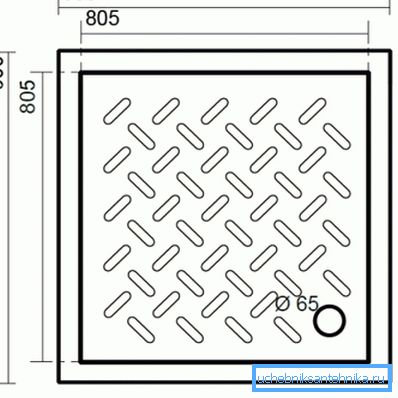
Let's try to understand this in more detail, and as a supplement, we invite you to watch the video in this article.
Shower enclosures with tray
What is the difference
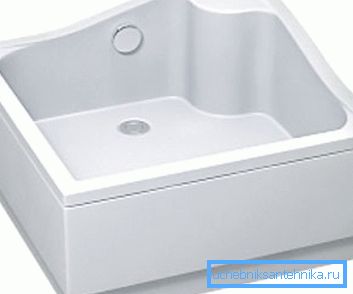
Let's start with the configuration - shower corners with a 90x90 cm tray can be either square or in the form of a semi-hidden fan and there is one paradox in the operation of the usable area. So, the square pallet takes up more space, but at the same time it has less usable space, since the corners of the booth are practically not involved.
At the same time, a semi-rolled in a corner of the room will take up less space, but inside the entire area can be fully used, thanks to the availability of each point.
In addition, the pallet can be steel (its price is less) or acrylic, which, for the cleaning itself, does not change anything from a technical point of view, but in the case of metal you have to become bare feet on a cold surface.
Of course, it is much easier to wash the metal surface of the shower tray - you can use almost any means, but now there are a lot of cleaning products marked “For acrylic baths” that you can always use.
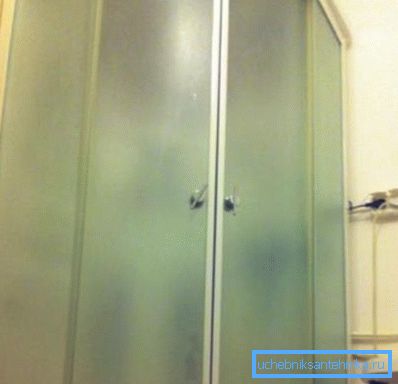
The movable and fixed panels of the booths can be transparent, tinted and matte - your freedom depends on this in relation to the demonstration of intimate places. Consider that in small apartments with shared bathrooms, someone may need to use the toilet, for example, your child during your bath - would you like it to see you without any clothes?
Glass panels for booths have a very dense structure and, due to heat, have high strength, but, nevertheless, they remain glass and a sharp blow can lead to cracking. Sometimes there is a factory defect (glass is red-hot) and only an experienced master can determine it by the color of the panel, therefore, always check the glass fence for integrity.
But the care of such fencing is extremely simple - for it means no means with abrasive elements, various solvents and so on, but the care of such a booth is usually carried out with the help of detergents for windows and mirrors, as well as skleza.
Plastic panels are good because even when falling (this, although rarely, but can happen during installation) on a ceramic tile remain intact, it is natural that the transportation of such booths is significantly different, and they are cheaper.
But here the porous structure, which is polluted by various trace elements, from which the booth loses its original charm, and the instruction prohibits the use of abrasive detergents and solvents - you can damage the surface. It is best to use household products with the mark "For acrylic baths" to care for such panels.
Note. Acrylic trays and plastic fencing will best retain their original charm if they are wiped with a dry cloth after each wash. So you warn the formation of lime and scale.
The nuances of editing
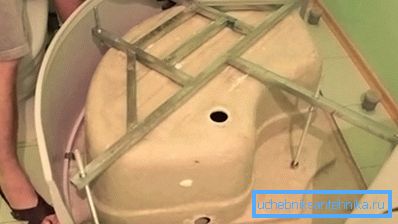
Attention! Check the angle where the booth will be installed - there should be 90 ?. Any deviations lead to the fact that a shallow or deep shower tray of 900x900 mm forms a gap from the wall, which you will have to fill up with silicone sealant.
- Installation of the booth begins with a pallet and in this case we have a 90 to 90 shower tray, which we need to turn upside down and fix the crosspiece, legs and decorative screen on it. First, the crosspiece is screwed (it can be different for different models) along with legs, which are studs with locknuts and nuts and plugs at the end (such as the heel) - you need to align them horizontally. After that, put on the screen (it can snap into place and / or be screwed on) and put the tray in the corner, having checked it with a level again - if necessary - adjust the legs additionally.
- If, when checking the shower tray 900 by 900 mm, it became even, then remove it back, wind the siphon, and cover the walls with plenty of silicone - then insert the siphon hose into the drain and glue the tray to the wall. Everything, now it is possible to mount a protection.
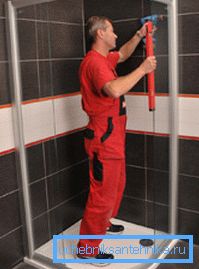
- First, focusing on the corners of the pallet, you fasten guide profiles to the wall, and you do it strictly according to the level, and under the profile you impose silicone - this will serve as a cut-off waterproofing for the shower. Then you assemble the frame - this is done separately, and it consists of two arcs and two vertical profiles connected by screws with each other, which are included in the configuration. The frame is inserted into the guides and fixed in them with other screws - they are also included in the box set.
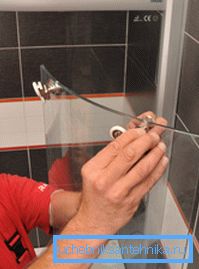
- After installation of the frame remains the final chord - hanging movable and fixed panels. First, they install blind glasses - put plastic seals on the vertical ends (on the side of the door, a seal with an apron that will rub against the moving sheet) and put it on the seat. Then it is pressed with special brackets with a rubber gasket (so as not to damage the sheet), but, nevertheless, it is necessary to twist it carefully so as not to overtighten the bolt.
- Two pairs of plastic wheels are screwed onto the doors, with the help of which they will drive along the frame sled, with the upper pair being clamped immediately and the lower one remaining free. After you hang the doors, the lower pair is adjusted with the help of eccentrics and then fixed in the optimum position. Special magnetic tapes are put on the edges of the valves, which ensures an ideal density of contiguity - the water will not leak there, even if you send a shower head there. After that, fasten the handles and can proceed to the tests.

Conclusion
In conclusion, it should be said that fungus and mold can form in various hollows on the pallet, therefore, such places should be minimized.
The most likely part of such bacteriological formations is the junction of the pallet with the tile, therefore, you should seal it with silicone - first you put a strip out of the tube, and then, with your own hands, more precisely, with a finger gun, remove the excess, while receiving a sealed joint at the same time .