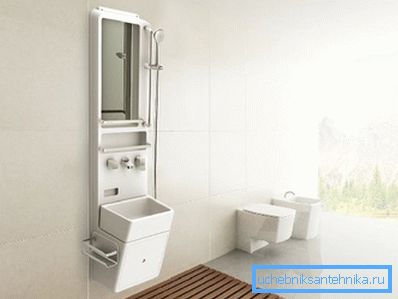
Shower without a pallet: the choice of the ladder, the main
Sophisticated multifunctional shower boxes are certainly a good thing, they are equipped with a lot of interesting options and, in fact, represent a whole bath complex, but in everyday life it is rarely used. It is often easier, cheaper and faster to equip a shower without a pallet in your own home. We, of course, do not undertake to assert that this is easy, but it is quite possible, if desired.
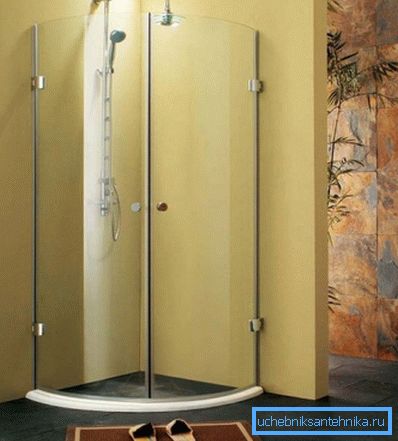
Why is this option attractive?
Such systems can not be called new, but rather it is well forgotten old. Only before they were used in public showers, swimming pools or baths. The installation of such structures in private houses and apartments became possible due to the free planning, expansion of the bathrooms and the emergence of a mass of new, interesting accessories for the shower.
- The design of a bathroom with a shower without a pallet changes beyond recognition.. The walls of such booths, as a rule, are made of tempered glass or transparent plastic. As a result, the space is perceived quite differently, a feeling of spaciousness arises. This option can be used for both classic design and modern minimalism.
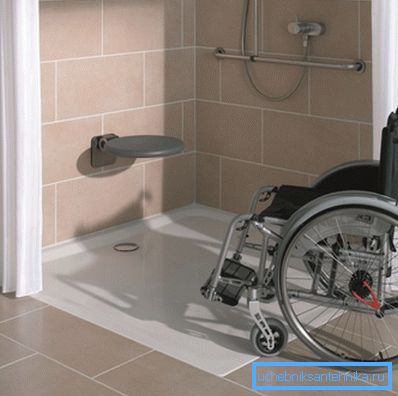
- A shower device without a tray is best suited for physically handicapped and elderly people.. Ideally, such a design is made on the same level with the floor, so no effort is needed in order to get into it. For wheelchair users, this is one of the few ways to take a shower without help.
- Although there are some limitations. So a shower in an apartment without a pallet can be equipped, but it is desirable that you have high ceilings. The fact is that the thickness of the base into which the drain is mounted is not less than 12 cm. If this option can be foreseen in a private house, then you will have to install a podium before making it in a city apartment.
What to look for when installing
Installation instructions such a cabin with their own hands, only at first glance it seems simple. In fact, these works are an order of magnitude more difficult than installing a standard pallet. You need to be especially careful if you decide to make it in the apartment with your own hands. In case of an error, the neighbors below will not be delighted.
Selection of the ladder
A ladder is a unit installed in the floor and intended to drain water into the sewage system. In this case, the ladder is almost the main component of such a cabin. The proper operation of the entire system directly depends on the proper selection and installation of this design.
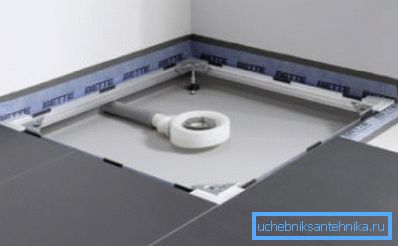
If a standard siphon is installed in the shower base pan, which can be easily replaced, then the foundation is concreted here, so it will be very difficult to fix or replace this unit. All these devices can be divided into two main directions, these are dry and wet ladders.
Dry systems do not provide for the presence of water in the structure at rest. Their work is based on the use of gravity or the unique properties of materials.
The most common are float, pendulum and membrane mechanisms. Now there are still ladders, whose work is based on the ability of the material to take its original form, the so-called molecular memory.
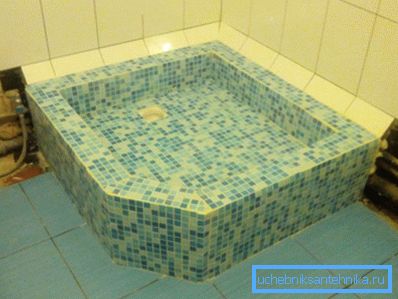
Tip: if you are going to install such a booth in the country or in another periodically heated room, then you better give preference to dry systems. Since there is a possibility that the water in the water seal will freeze in winter and the node will fail.
A slightly modified, classic water seal is used in the wet ramps. In essence, this is a pipe bent in a certain way, forming a water block that prevents sewer gases from entering the room. Often the water in such a "knee" dries up, opening the way for unpleasant odors. The reason for this may be an error during installation, pressure drop in the sewer system or a warm floor in the shower without a pan.
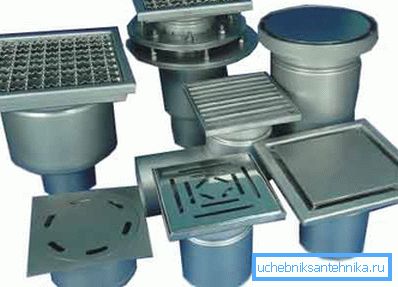
Tip: if you install a shower without a pallet with your own hands in the apartment, then it is better to buy a special ladder, 60 mm high. The price he, of course, will be more, but the height of the podium will be less than about half.
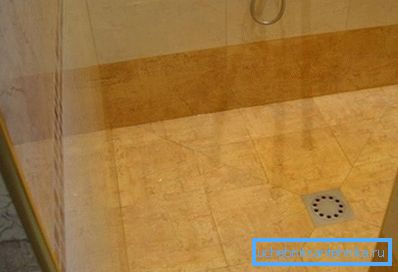
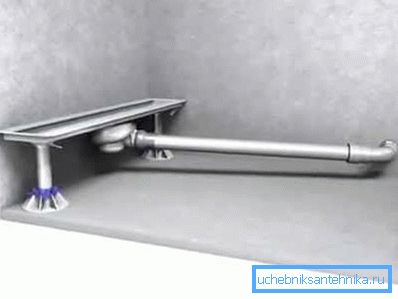
In addition to constructive differences, the ladders can be with a central drain and the so-called ladder-tray. The central drain is a design with a round or square hole, which is mounted in the center of the booth.
The drainage tray differs from the central drain only in that it has a long bath for collecting water, the mechanism itself is mounted in the corner of the bath. Trap is installed, usually under one of the walls, although there are options for installation in the center.
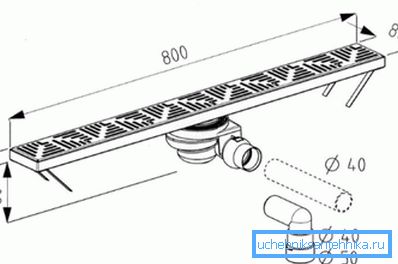
Highlights in arranging the drain
The device floor in the shower without a tray can be different. If you want to save, then you should pour concrete monolith. Such work is rather dirty, plus it will take a lot of time, because concrete gains strength within 28 days.
In addition to mixing the solution itself, without having the knack, you will have to pretty much tinker with arranging the formwork and installing lighthouses. Lighthouses will be needed for a clear alignment of the slope to the ladder.
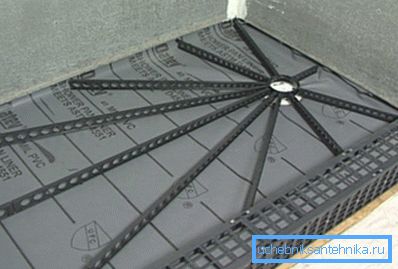
But if you do not have high professionalism in the field of concrete products, we recommend using a slightly different installation technology. The fact is that now standard foam polystyrene sets are sold on the market. This material resembles foam plastic, only the plates have a more dense structure and are able to withstand quite large mechanical loads. These sets are always detailed instructions.
Among the shortcomings here you can point to a higher cost compared to a concrete monolith. But then you really can equip the floor in the shower for a couple of days. The drain knot itself goes standard, the necessary angle of inclination to the ladder is already maintained in it. But if you want to make a large booth in size, then there is always the possibility to purchase plates and build up the missing blocks.
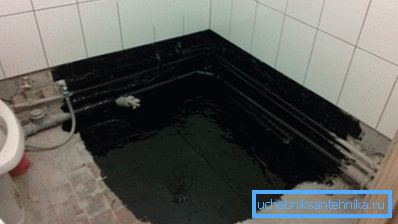
Regardless of what material for the floor you decide to use, work begins with marking the future cabin, preparing the base and installing a high-quality waterproofing layer. The base itself must be clean and dry. All roughness and irregularities should be knocked down. If there are cracks in the floor, they should be puttied and only then proceed to the imposition of waterproofing.
Initially, the surface is primed, after which you can begin to cover the niche with mastic. In the recent past, bitumen mastic was used for this, which was covered with roofing felt on top. This approach is certainly cheaper, but there is always the likelihood that in a few years such a coating will begin to crack and the bath will gradually begin to leak.
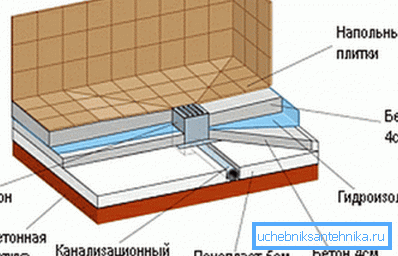
Now produced a lot of different waterproofing compositions, both in dry and in liquid, ready-to-use form. The square of the booth is not so large, so it is worth paying a bit more and be confident in quality. Apply a layer of mastic and glue on it a special waterproofing membrane you need to approach the walls. Moreover, the overlap is made above the level of the future floor by at least 20 cm.
If there are joints between waterproofing canvases, then they need to be re-lubricated with mastic and glued to them with tape. But experienced builders advise, if possible, to take a solid canvas and cover them with a bath with overlapping walls. At the same time, the cuts in the corners should not be done, the bends simply fold and stick to the wall.
The video in this article shows a detailed floor installation technique.
Conclusion
Competently assembled and elegantly designed cabin without a pallet in its beauty can significantly exceed the serial factory boxes. As for the availability of additional options, the installation of a modern shower panel will provide all the necessary functions.
