Sink mounting: overview of the different ways to install
Efficient and reliable attachment of a sink to a pedestal, tabletop or wall console is one of the prerequisites for its reliable and durable work. The bowl of the sink should be fixed as rigidly as possible, and we can achieve such a result only if we choose an installation technique that is ideally suited for our conditions.
What you need to pay attention to and how to install the sinks of various types is described below.
Types of sinks by installation method
Today, the market offers many models of sinks for kitchens and bathrooms. They differ not only in appearance and dimensions, but also in the method of installation. To make it easier for you to understand, we presented the main characteristics of the most sought-after varieties in the form of a table:
| Type of kitchen sink | Design features and installation |
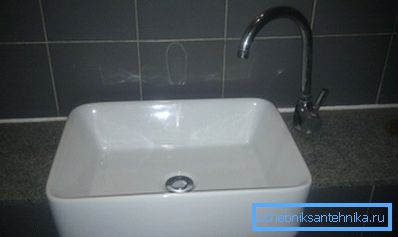
| Tabletop | Products of desktop type are practically not used today. As a rule, such a product is a bowl that is installed over the table top and contacts it only at the location of the drain hole. A small number of desktop sinks are presented by premium models, so that the price will be appropriate. |
| Waybill | Overhead copies are mounted on the cabinet without the upper part: the flat areas around the bowl replace the missing countertop. As a rule, such models are made of stainless steel, and therefore they are characterized by relatively low cost. |
| Mortise | In contrast to the consignment note, the mortise design “sinks” into the worktop, which significantly complicates the installation. The attachment for the mortise sink is installed from the wrong side and reliably presses the sides of the bowl to the kitchen furniture. |
| Subtopic | The bowl, as the name suggests, is placed below the countertop level. As a rule, models of tables made of artificial stone have such a design. To fix the product, special brackets are used, in addition, the junction of the bowl with the lower plane of the tabletop is sealed with special glue. |
| Integrated | The most expensive variety. The bowl is installed on the tabletop in such a way that the gap between them is minimal. As a rule, products made of synthetic stone have such a design, however, you can find professional varieties made of stainless steel. |
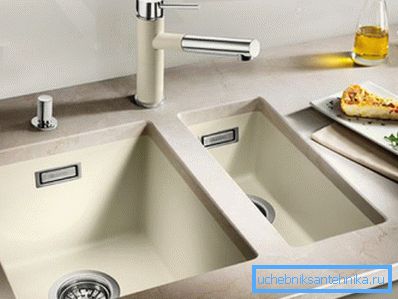
It should be noted that fixing the sink to the countertop made of artificial stone or installing an integrated structure is a rather laborious task that should be entrusted to professionals. But the fastening of the wall-mounted washing to the cabinet or the installation of the cut-in product can be done by any craftsman with sufficient skill.
Installation technology
Surface mounted design
The installation instructions for the shell sink will be the easiest, so let's begin our review from there.
You should act according to this scheme:
- To begin with, we put the cabinet under the basement. The more stable this structure is, it will be easier for us there in the future.
Note! In some cases it is allowed to mount the sink on a movable bollard, but before connecting the mixer it will still need to be fixed and leveled.
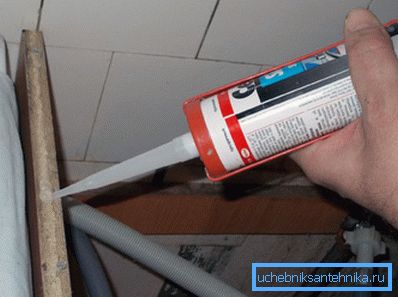
- If the dimensions of the base perfectly match the dimensions of the sink, then an adhesive technique can be used.. To do this, we apply a layer of silicone sealant on the ends of all the walls of the underhead. On top of the silicone lay sink, carefully align and press for 12 hours. After this time, the cargo can be removed.
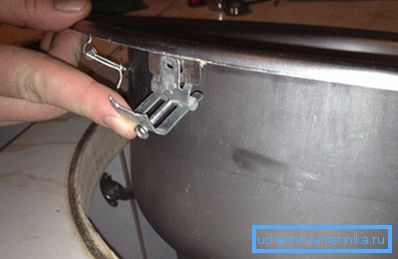
- The staff attachment of the wall-mounted washing to the tabletop is a special bracket that is installed on the inside of the cabinet. Installation is quite simple: we bait several brackets with self-tapping screws (4 or 6 depending on the size of the parts), install the bowl, snap the brackets on the protruding parts of the rim and finally tighten the self-tapping screws.
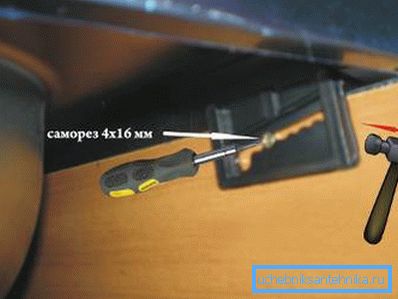
Tip! Fastening for invoice washing should be tightened by hand, and not with a drill or a screwdriver - so we minimize the risk of deformation of a sufficiently thin metal.
- Instead of brackets you can take wooden bars with metal corners attached.. The sequence of actions in this case will be the same as when using standard fasteners: install the sink on the bolted bars, which we then press with corners.
Mortise design
Mortise design can also be installed by hand, but here you need to be more careful:
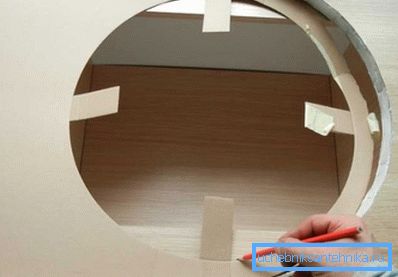
- We apply a template which goes complete with a bowl to a table-top.
Note! If necessary, you can make your own template from cardboard.
- We apply marking lines according to the pattern, and then cut out a part of wood or MDF using an jigsaw. To make the cuts more accurate, you can pre-drill several holes with a drill in wood.
- Apply silicone sealant to the edges of the hole, and put butyl tape around the perimeter.
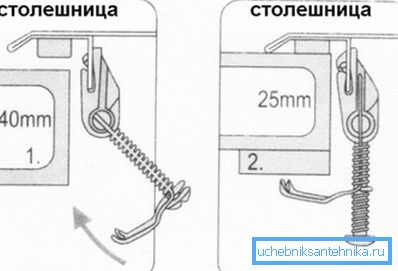
- Install the part, carefully align it and press it to the lower plane of the tabletop using metal brackets.
- Also, if necessary, we drill through an additional hole and fix the fixture for the mixer to the sink, if its presence is provided by the design. In most cases, the valve is simply attached below the clamping nut.
Wall mounting
In some cases it becomes necessary to install the sink directly on the wall.
In this case, we act like this:
- To begin with, we apply the markings on the wall, choosing the optimum height for fastening the bowl.
- Then we take the brackets (their dimensions should correspond to the dimensions of the product) and apply them to the selected section of the wall. Mark the points at which the fastener will be installed.
- Using a perforator, we make holes in the wall. Installation of sink fixings is made using anchor bolts with a metal sleeve.
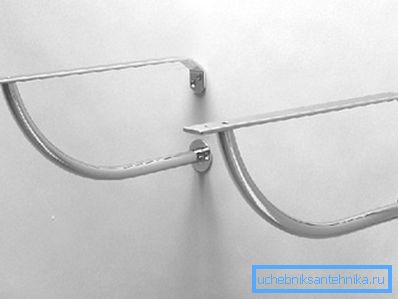
Note! The heavier the bowl, the thicker the anchors should be and the deeper they need to be embedded in the wall.
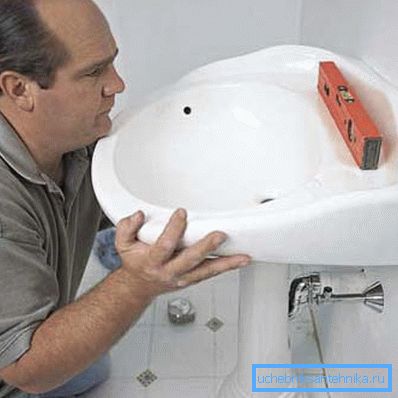
- On the brackets install the sink, if necessary, fixing the bottom with special fasteners. The junction between the sink and the wall is sealed.
- Next we attach the siphon, which we mask with the help of a decorative console: it will also serve as an additional support.
Conclusion
Fastening a stainless steel sink to a pedestal or tabletop, as well as the installation of sinks from other materials should be carried out according to a strictly defined algorithm. Only in this case it is possible to guarantee that the construction will be sufficiently durable. For a more detailed acquaintance with the techniques of installation, you should carefully read the video in this article.