Sink without a hole for the mixer features mounting hardware
Currently, you can find sinks on sale that do not have holes for the installation of a mixer. When buying such plumbing many people have a number of questions about installing a crane. Therefore, below we consider all the options for mounting the mixer and their features.
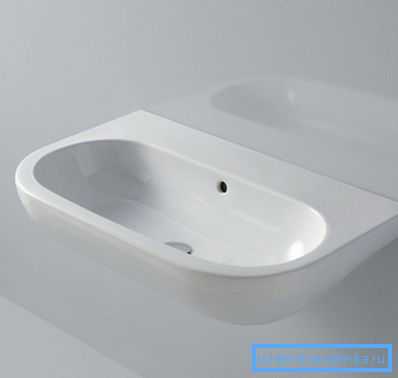
Types of sinks
Before proceeding to the installation of the crane, first of all we will consider the types of sinks, since the installation method largely depends on this. So, first of all, this plumbing is divided according to its purpose on:
| Car wash | Installed in the kitchen |
| Washbasins | Mounted in bathrooms |
In addition, these plumbing fixtures differ in the method of installation, they exist:
| Suspended | Attached to the wall on the brackets |
| Cupboard sinks | In turn, are divided into:
|
Below we consider the possible installation of the mixer for all the above devices.
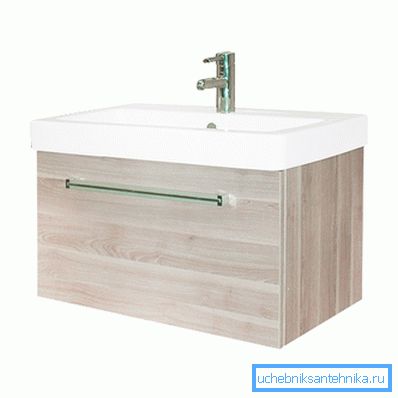
Mixer mounting options
Wall mounted washbasin
If a hanging sink without a hole for the faucet is installed in the bathroom, the tap can be mounted in two ways:
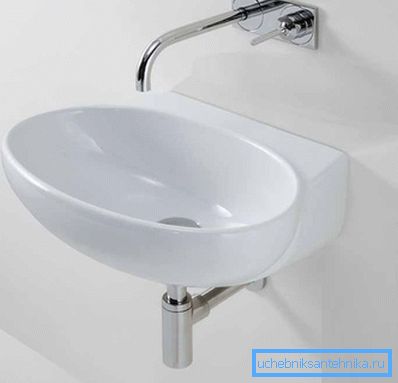
- On the wall - in this case, all communications are hidden in the wall. This option provides a stylish appearance, besides the washbasin shelf remains free, however, the installation of communications is quite complicated.
Depending on the type of construction, it can be implemented in two ways:
- by laying pipes in the wall - for this special strokes are made, after which the pipes are hidden under the plaster. The disadvantage of this installation is that in the event of an accident will have to damage the finish.
- by laying pipes in the installation - is applicable if the bathroom sink without a hole for the faucet is mounted on a special metal structure.
If the sink is located close to the bathroom, then you can use one faucet for two plumbing fixtures. This installation option can be considered a classic, since it was used in Soviet apartments. However, in terms of operation, this option is not very convenient.
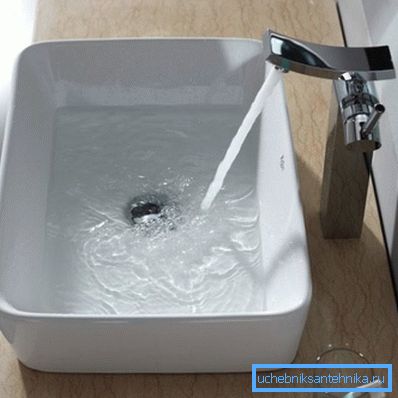
- On the washbasin - in this case, you need to do a hole for the installation of a crane with your own hands. To make it easier than to hide the communications in the wall to install the attachment. Below is a detailed look at some ways of drilling ceramic sanitary ware.
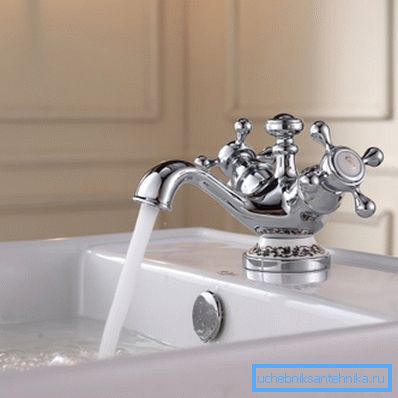
Tip! Some models of sinks have at once three openings for the crane. In this case, a special sink mixer with three holes is used. Its body is located under the washbasin shelf, and valves are installed on top, between which the spout is located.
Cabinet with sink
Most often sinks with a cabinet are used in the kitchen, but sometimes they are installed in the bathroom. If the construction of the invoice, you can use the above methods of installation.
If you use a sink without a hole under the faucet with a mortise type cabinet, the tap can be installed on the table top. Make it easier than drilling ceramics, if only the tabletop is not made of stone.
The only thing you need to correctly determine the location of the device, so that the jet falls into the center of the bowl, and not on the wall. This parameter depends on the length of the spout of the crane.
Note! There are special sinks in the bathroom without a hole for the faucet, which are designed to be installed under the washing machine. In this case, the absence of a tap is designed to save space under the sink.
Bore hole
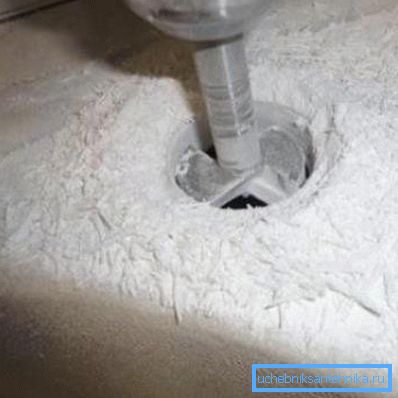
So, as we found out, one of the most optimal options for installing a mixer is to mount it on the sink. Therefore, below we consider how to drill a hole in the sink under the faucet.
If there are no problems with drilling a metal sink, then it is very difficult to work with ceramic sanitary ware, as it cannot withstand shock loads. Therefore, in the process of drilling, even with all care and diligence, the product may break.
This is also due to the fact that ceramics is an extremely hard material. In the case of drilling with a conventional drill, the tool will bounce off the hard layer and hit it hard. Even a cutting edge with increased hardness does not change the situation.
However, there is still a way out of this situation, and not one. But before you start drilling, you need to determine what should be the diameter of the hole for the mixer in the sink. Therefore, it is possible to start work only after the crane is purchased.
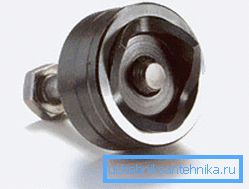
The easiest way to drill with a diamond bit on ceramics.
In this case, the work is carried out very simply and quickly:
- The first step is to map out the location of the crane.
- Then the crown is inserted into the drill chuck.
- After this is done drilling. In this case, the result is usually ideal - smooth edges without chips and cracks.
I must say that the price of a diamond crown is quite high, so it does not make sense to purchase it for the sake of one-time use. Therefore, if it is not possible to rent such a tool, it can be replaced with a conventional pipe and abrasive paste.
Tip! Buying a sink in a large store, you can also order to make a hole in it. In this case, the experts themselves will select the optimal diameter in accordance with the mixer, and perform drilling with a professional tool.
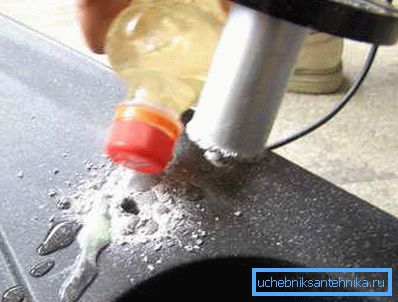
Instructions for the implementation of this work is as follows:
- The first step is to find a cylindrical tube with a diameter that fits the drill chuck.
- Then the pipe needs to be fixed in the cartridge.
- Further to the place of drilling it is necessary to apply abrasive paste of average granularity.
- After that, you need to drill with a tube. Pasta all the time should be in the right quantity. Since it is quickly removed from the recess, it should be added periodically.
Tip! If the seat needs to be expanded, you can use a round metal file. The only thing that should be previously carefully to peel the top layer of glaze from the ceramic surface.
Some home craftsmen perform the hole with the help of a victorious drill. To successfully cope with this task, it is necessary to constantly cool the place of drilling.
Otherwise, local overheating may result in cracks in the ceramic. To solve this problem, you can use a spray with cold water.
Tip! If the edges of the treated area turned out uneven, they can not align, as they will be hidden by a gasket that is installed under the mixer.
Here, perhaps, all the main points that you need to know before installing the sink without a hole under the mixer.
Conclusion
Washbasins without a hole for the mixer, as we found out, provide a certain choice of its location - you can either make the hole yourself or install the mixer on the wall. The only thing to connect such a sink will have to spend a little more time and effort.
From the video in this article, you can learn some additional information on this topic.