The cesspool of brick itself
Summer houses or country houses more and more meet the requirements of civilization. The organization of sewage and sewage into an ordinary cesspool in the ground does not meet modern requirements and environmental and sanitary standards. Sewage should not fall into the ground, pollute it and groundwater. To do this, the walls of the pit should be isolated from the effluent, which must be further utilized or recycled.
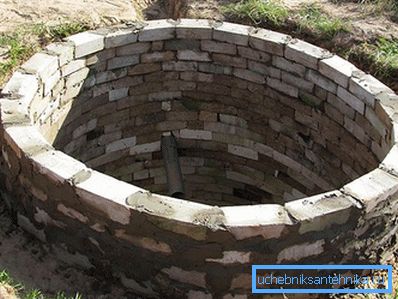
Methods of construction of structures for the collection of liquid waste differ in labor costs, time, materials, the use of auxiliary equipment and labor. A cesspit of brick with your own hands may well be built, it is the best solution for organizing the collection of wastewater from a small house and a family of 3-4 people.
Site selection and calculations
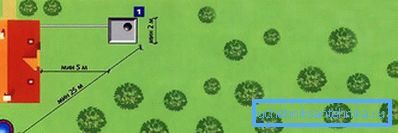
The place where the pit will be located must meet sanitary standards. The minimum possible distance from the pit to the house is 5 meters. Water supply sources should be 25–50 meters (the distance depends on the density of the soil and the groundwater level) - this is necessary to avoid contamination of the aquifers and further water bodies, wells and wells. In addition, it is necessary to provide free access for cleaning the pit by an ashenizator machine.
Each additional meter of pipeline increases the cost of building a sewer.
Before starting work, it is necessary to calculate the volume of the pit based on potential conditions. All water consumption parameters are taken into account:
- the number of residents;
- seasonality of living;
- presence of shower, bath.
The average amount per person per day is 2 m3. A family of 3-4 people will need a 7–9 m pit3 - this is with a margin. The form of principle does not matter.
With or without bottom
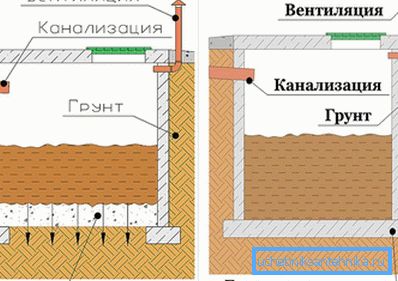
Depending on the loading conditions of the pit, it can be constructed completely airtight or without a bottom. If living in a country house will be seasonal and periodical (on weekends), then it is more profitable to build a brick pit without a bottom. A drainage layer of rubble and sand is poured over the ground at the bottom of the pit. This will be enough to filter the effluent. Small amounts of sewage will accumulate and decompose under the influence of bacteria. With a large volume of effluent, it is more expedient to make a hermetic bottom and periodically clean the pit with an ashenizator machine.
Advantages and disadvantages
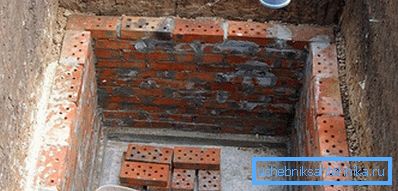
Autonomous sewage in the form of a cesspool of brick has advantages and disadvantages.
Advantages:
- environmental friendliness of the system of collection and disposal, because sewage is either disposed of by an after-suction machine, or recycled by anaerobic bacteria with a small amount of effluent;
- the absence of a contaminating factor, since all the structural elements are made of environmentally friendly materials;
- simplicity of design;
- no need to attract special equipment and additional labor;
no requirements for high qualification in the performance of work.
Disadvantages:
- there are restrictions on the arrangement of the pit with a high level of groundwater;
- discharge of unpleasant odors;
- small service life of bricks in an aggressive environment; repairs are required as the brickwork is worn;
- silting;
- with a large level of wastewater, periodic cleaning is required.
Building
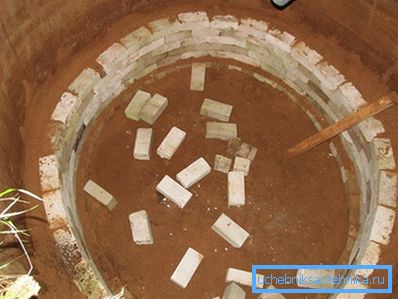
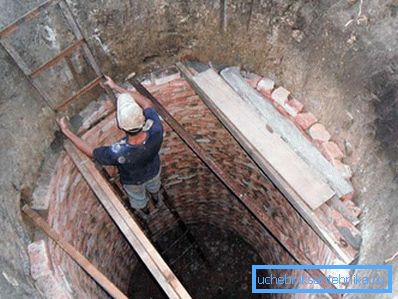
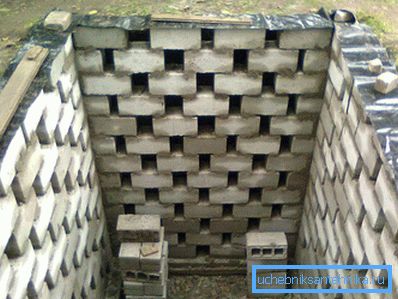
Before you make a cesspool of brick, determine the location of the drive, carry out the markings on the surface of the site. For a sealed container, the perimeter of the pit should be with a small margin in each direction. This is necessary to backfill clay (get a hydraulic lock), and prevent the soil from shedding. If the container is leaking, the laying is made along the walls and a small gap is left between the bricks. The process of digging the pit is the most laborious and takes most of the time. To reduce digging time, you can bring assistants or hired workers to work. The depth of the pit should be below the depth of freezing and half a meter below the design bottom of the pit. It is also necessary to take into account the depth of the inlet drain hole through which waste will flow. As a filtering layer, layers of sand and crushed stone 20–30 cm each are poured at the bottom of the excavation.
For an airtight container on top of the cushion of sand and rubble, the bottom of the cesspool is cast from concrete. The thickness should be 20–25 cm. Before re-casting, should the rebar mesh be laid at the bottom? 8–10 mm with a mesh size of 200–250 mm. The armature is placed on supports 3-5 cm, since it must be in a layer of concrete. Concrete for casting should be class B10 – B15.
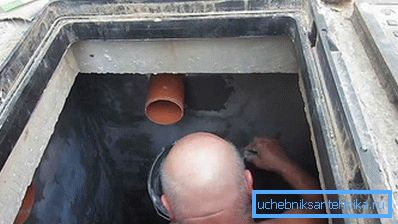
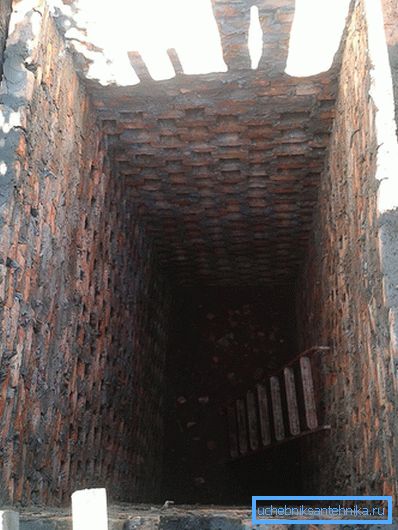
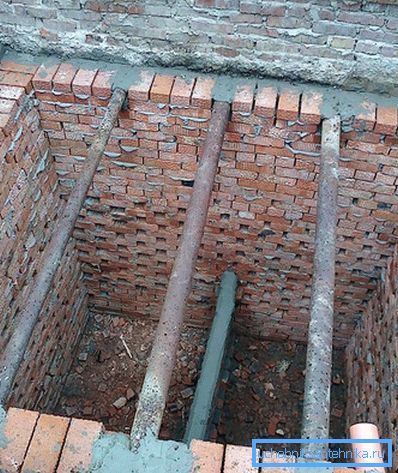
Two weeks after pouring, when the concrete reaches its basic strength, you can begin to lay brick walls. Ligation of rows is carried out in a staggered manner. The walls of the pit are laid out either in brick or half-brick, if the soil is non-refractory. Sand-cement mortar for laying is prepared from the ratio of 3 parts of sand to one part of cement. When laying, it is necessary to completely fill the joints between the bricks so that the waste cannot seep into the ground through the gaps in the laying. When laying do not forget to leave a hole for the inlet pipe.
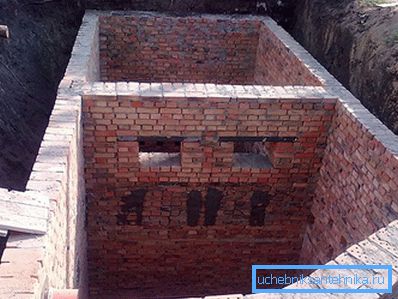
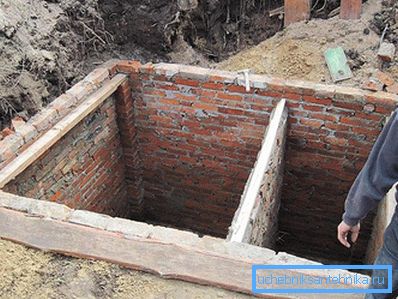
When constructing a two-section pit, a partition is laid out with a hole for the overflow of liquid effluents and a hole for the overflow to the drainage well.
When laying out the walls of a non-hermetic pit, the space between the brick and the ground is filled with non-rocky soil: coarse sand, fine gravel, and a brick battle. If the pit should be sealed, then wake up with clay and ram it.
Having laid out the walls, at the bottom they make a coupler from a sand-cement mortar with a bias to the side, where the hatch will be located for pumping out the waste by an after-recovery truck.
To increase the service life of the pit and reduce the likelihood of contamination in the ground will allow waterproofing cesspool. It is carried out either by bitumen materials or by waterproofing solutions. Waterproofing materials are applied to the inner walls, which must first be leveled with plaster.
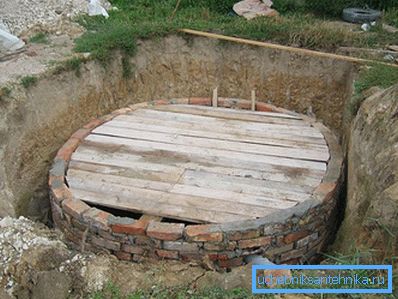
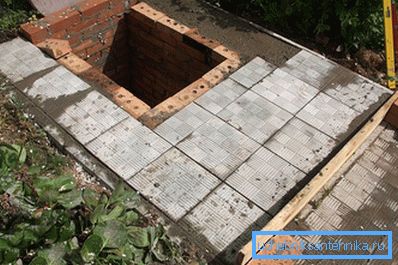
Overlap pits carry reinforced concrete slabs, logs, wooden shields. The area of overlap should be significantly larger than the area of the pit. The edges of the ceiling should overlap the outer edges of the walls by 40–50 cm. In the ceiling they arrange a ventilation pipe and a viewing hatch, which can simultaneously serve as a hatch for pumping out the sewage.
With a deep level of soil freezing, an insulant is first laid on the hatch, and then it is covered with soil, clay, slag.
Video
In this video about the construction of a cesspool of bricks with you will share the secrets of construction:
A photo
