The hole in the sink under the faucet - as if you need to
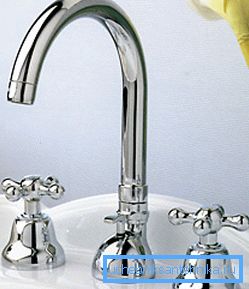
As you know, most of the sinks and sinks are sold with a ready-made hole for the installation of sanitary equipment. But some options have a symmetrical shape that allows you to set the water supply from different sides, in addition, if you purchased a sink faucet for three holes, then most likely, two of them will have to be done independently.
This issue will be devoted to this review.
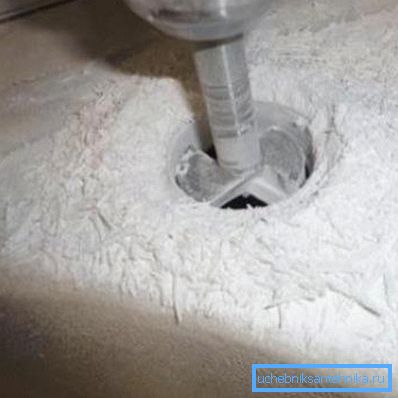
Basic requirements for the work
Even before you start work, you should know some of the requirements, compliance with which will provide a quality result. Do not forget that any mistake is fraught with damage to the shell and its destruction, so you should not ignore the following recommendations (read also the article How and where the sink is mounted without a hole for the mixer).
| The presence of the necessary power tools | It is unlikely that you will be able to make holes manually, so you should take care in advance to have a drill or a powerful screwdriver on hand. At the same time, the equipment should be not only powerful, but also convenient - it is unlikely that you will be able to drill ceramics with a heavy drill |
| The right tooling | In no case can pottery be machined with drills for metal, concrete or wood. It is necessary to purchase a crown with a special tungsten coating, which will allow you to carry out work efficiently and quickly, will help you choose the right option in the store, the main thing is to know indicators such as the diameter of the elements and the depth of drilling |
| Careful measurements and markup | It is very important to correctly mark the position of future holes, as in case of errors they cannot be repaired. In addition, do not forget about the convenience that should be provided, sometimes the mixer is located on the side and it is inconvenient to use it. |
| Accuracy at work | The drilling process itself must be done very carefully, below we will look at this part of the work in more detail, as it requires the closest attention. |
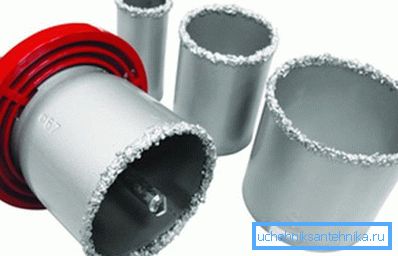
Tip! It is better not to save, but to buy crowns of well-known companies, since cheap options often have a low quality of spraying the abrasive edge and wear out literally before our eyes. Therefore, choose a product at least from the middle price segment.
Features of the work
Consider how to drill the sink with your own hands. This is a simple matter, but it requires accuracy and precision, so proper preparation is as important as the main stage.
Preparatory activities
Everything is pretty simple and clear:
- You need a drill or a screwdriver, if there is no tool, you should not buy it - you can rent it for an hour or two. The price of this service is low, so you can save a lot of money, since buying a drill for the sake of this work alone is at least impractical.
- You also need a crown, the diameter of the hole for the faucet in the sink usually does not exceed 34 mm, devices with a size of 35 mm are on sale, they will fit. So the installation will be convenient, especially since the connection is sealed with a rubber ring (if not, you can use a fum-tape).
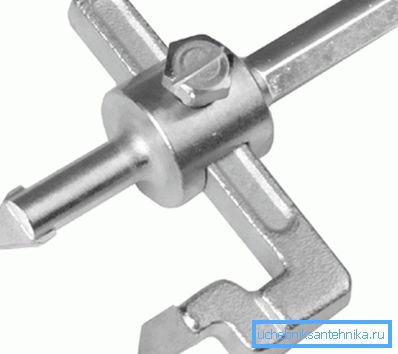
- Another option - the so-called "ballerina" for ceramics, it is a design at which the distance from the cutting segment to the center can be adjusted. This option will suit you only if the shell thickness at the drilling site is small.
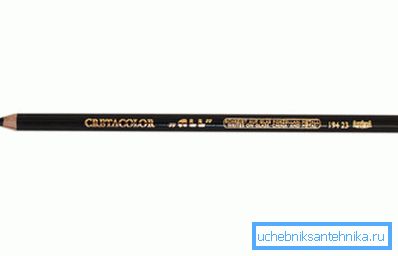
- Do not forget about the measuring and marking tools: a tape measure, a ruler and a pencil will allow you to carry out all the work. Of course, it is best to use a special pencil on ceramics, but in a pinch, you can do with simple construction.
- You should also equip the place of work, the sink should be put so that it is as stable as possible. Either two wooden bars are suitable, or a wooden pallet on which you can conveniently arrange the products.
The working process
Drilling is carried out in the following order:
- The first is the marking of the location of the future holes or holes. On some plumbing products there is an indication of the places that can be drilled, namely those areas should be used. If there are no marks, the right place is selected, where everything necessary is marked.
- Next, the crown is carefully fixed in the drill, and the shell is placed so that it does not move in the process of work, if necessary, you need to attract an assistant, so that he would hold the structure and ensure its immobility.
Tip! On some crowns, a centering drill was installed, with its help it is much easier to get into the markup, so for those who have not had experience in carrying out such work, this option is recommended.
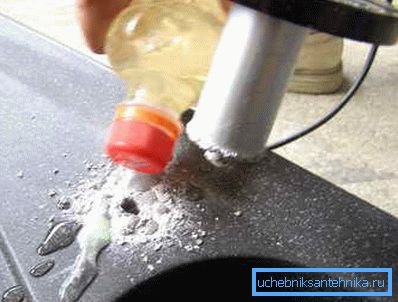
- Drilling is done carefully - without pressure, the abrasive itself deepens under the influence of high revolutions of the drill. If you press too hard, you risk damaging the crown or even spoiling the ceramics, which will simply crack due to excessive load.
- You should not listen to pseudo-specialists who claim that the place of drilling must be constantly watered. Modern nozzles do not require this, so do not be distracted by unnecessary surgery, which, among other things, can ruin the crown.
Conclusion
Everyone can drill a ceramic sink, but any mistake leads to damage and destruction of the product, keep this in mind. The video in this article will vividly show some important features of the workflow.