Toilet fixing: the most reliable ways
The fastener for a toilet bowl should be as reliable and durable as possible, since the ceramic bowl can break when falling and cause injury to a person. Therefore, the kit for fixing the toilet bowl should be chosen carefully, giving preference to the highest-quality fixtures and methods of fixation.
We will tell how to fix the toilet, depending on its design and conditions in the toilet room.
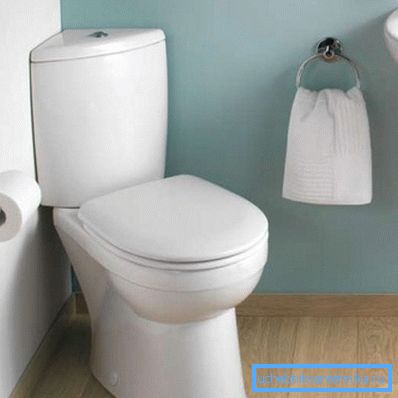
Floor mount
With dowels
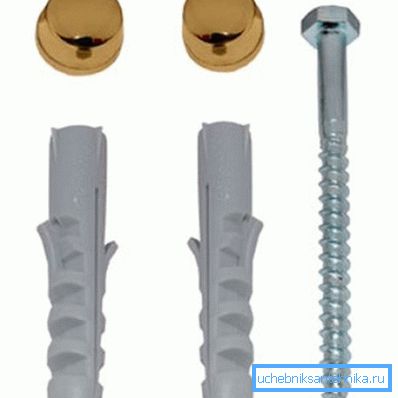
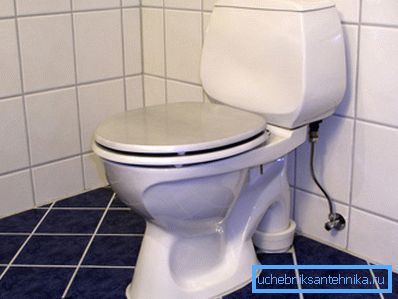
Most modern models of toilet bowls are equipped with fixing sets consisting of dowels, anchor screws, washers and linings.
This is a simple and reliable method of fixing the bowl on the floor, which has several advantages:
- Durability and Reliability. The main force is directed along the vertical axis of the frame of the device, and fasteners keep the bowl from moving sideways or falling, however, those efforts that are directed at an angle to the vertical, do not have a serious effect on screws and dowels;
- Quick installation. Unlike adhesive bonding, you do not need to wait for the glue to harden. The device can be used immediately after fastening to screws;
- The ability to easily and quickly disassemble the mount. Screws are easily unscrewed, and the toilet is removed for repair or replacement. In other cases, it can only be broken;
- Cheapness of parts. Like the fastener for the toilet seat, the dowels and screws are included or bought at any hardware store for a penny.
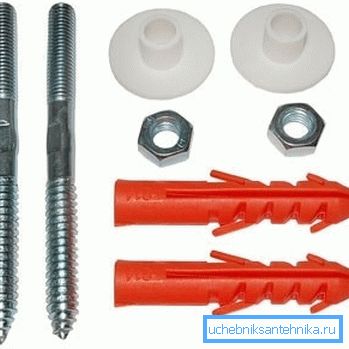
To do it yourself, this is one of the easiest and most acceptable ways.
The instruction looks like this:
- Install the bowl of the device on the floor and choose the most convenient location, both in terms of connecting to communications, and in terms of operation. We connect the drain with a fan tee with the help of corrugations, and if you are satisfied with the position, we draw a pencil around the base and mark the mounting holes on the floor;

- Remove the bowl and remove to the side. We drill holes at the marked points using a perforator and a drill for concrete with a diameter of 5 mm to a depth of 75 - 80 mm. On the tile of the point, we first beat off the core;
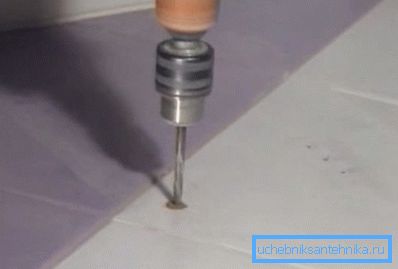
- Take the dowel 0 mm and hammer into the holes with a hammer;

- Along the border line of the base of the bowl we apply a strip of silicone sealant, carefully install the toilet with your own hands.. We take anchor screws 5x70 mm and twist them into the mounting holes. Tighten with a key very carefully, so as not to damage the ceramics;
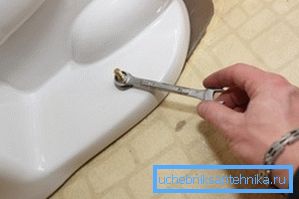
- Close the anchor caps with plugs and seal the joint between the frame and the floor with silicone.
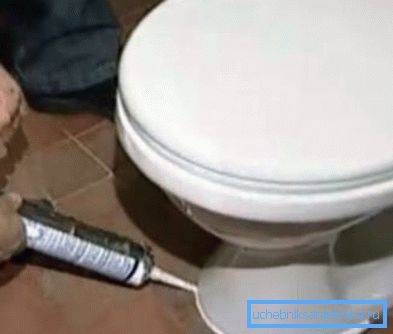
Note! Be sure to use rubber washers or gaskets, the metal should not be in contact with the ceramic bed.
With glue
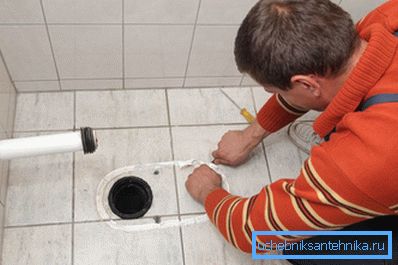
How to fix the toilet without bolts? You can use fixation on glue.
Three types of glue are usually used:
- Silicone adhesive;
- Liquid Nails;
- Epoxy resin with hardener.
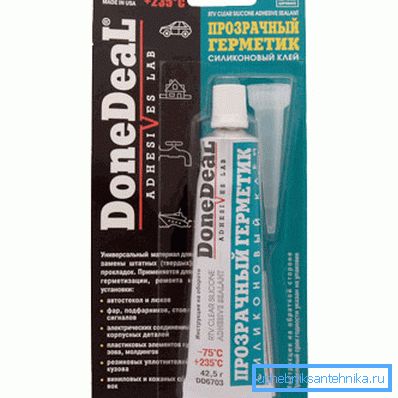
It is important to properly prepare the glued surfaces. Ceramic tile is better to clean with the help of a grinder with a metal brush to a rough state to increase adhesion. Surfaces should be thoroughly cleaned and degreased with alcohol or acetone.
Next, we act similarly to the previous chapter: draw a pencil around the base of the bowl after the most optimal arrangement of the device has been selected, remove the bowl and begin fixation.

Apply a layer of glue on the tile over the entire area of contact, as well as on the bottom surface of the toilet bowl. The contact area must be at least 20 square centimeters. After applying the layer, carefully place the device in the installation position and press it firmly to the floor.
Note! The use of epoxy resin requires strict adherence to the recipe of preparing a mixture of resin and hardener. It is specified in the instructions for the material and requires strict compliance.
Wall mount
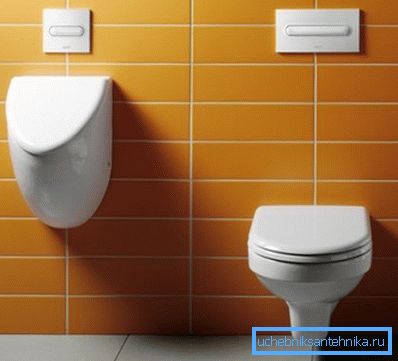
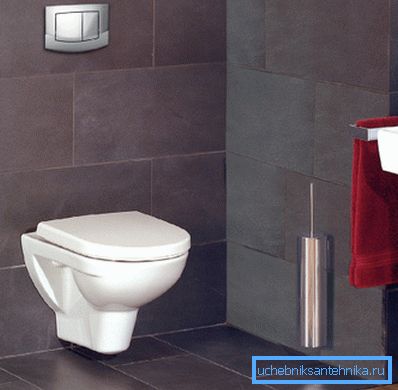
Fastening for a suspended toilet is more complex.
There are several ways:
- Fastening the toilet to the installation;
- Fastening to the stone wall through bolts;
- Installation on a chemical anchor - reinforcement is hammered into the wall with glue.
The installation is a special steel frame that hides behind a false wall. It can cover the entire height of the wall or only part of it.
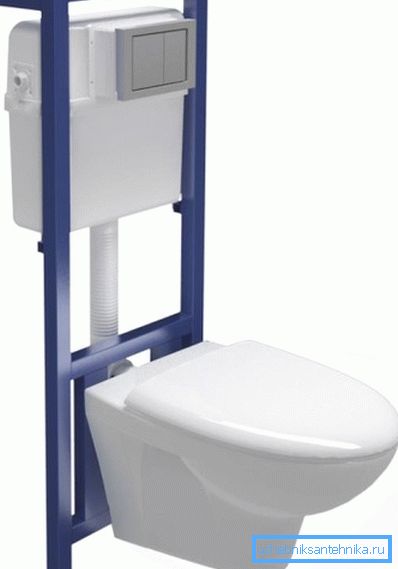
Included is usually a hidden plastic tank, a drain button, mechanics and connections for connecting communications.
Such a fixture for a suspended toilet can withstand a force of up to 800 kg, which ensures complete safety and reliability, but the cost of this design is too high for a wide consumer mass.
In the case of through-bolts, through the wall-mounted toilet, through-holes are made in the wall.
Then they insert the pre-cut threaded anchors into them and tighten them from the outside with nuts. After that, the bowl is worn with mounting ears on the anchor and fixed with nuts.
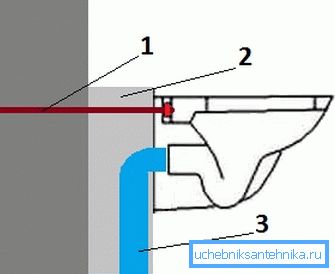
If you have strong concrete walls, then installation on a chemical anchor is possible.
To do this, use a threaded element, which is driven into a hole in a concrete wall to a depth of at least ten diameters with a special concrete glue. This method of fixation ensures reliable operation of the device with a weight of up to 400 kg.
Note! Walls made of aerated concrete, shell rock, foam concrete and other heat-insulating structural units for anchoring the toilet bowl are not suitable.
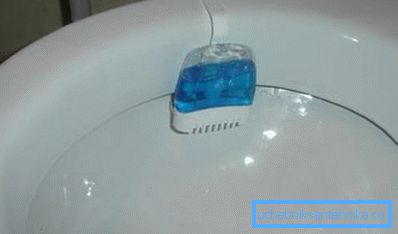
At the end give some tips. To prevent deposits and deposits from under the rim and on the surface of the bowl, use hygienic blocks that are simply hung on the rim. They secrete special chemicals that decompose deposits.
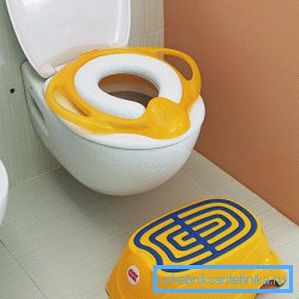
If there are children living in the house, use children's linings. They are easily fixed with special clips or velcro, and the child feels comfortable and comfortable.
Conclusion
Fix the toilet on the floor or wall on their own. You do not need to have any special knowledge or years of plumbing experience, it’s enough to follow the instructions and video in this article.