Underframe under the sink - cheap and cheerful
Modern kitchen can not be imagined without at least the simplest sink. Recently, designs that are one piece with a tabletop or mortise counterparts have become popular, but simple models with a sub-base remain in demand. One of the main reasons for this popularity can be considered ease of manufacture, for example, the underframe for washing 800x600 mm can be easily made independently.
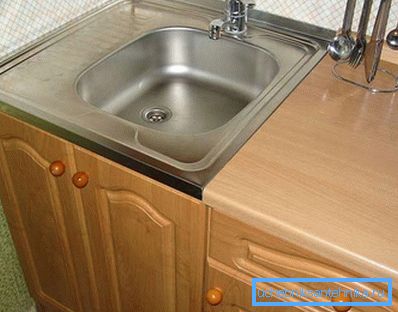
Ways to install the sink in the kitchen
In the kitchen, there is almost always a shortage of free space, so when installing, they strive to maximize the use of storage space.
You can select such types of installation as:
- separate washing installation - in the kitchen almost does not occur (just because of the inefficient use of free space);
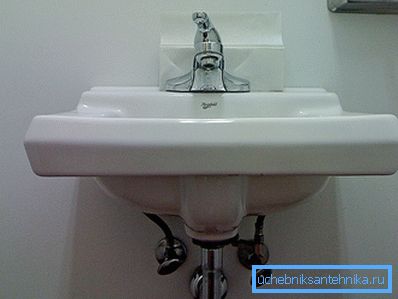
- under-table mounting involves installing it on a specially assembled frame (for details on assembly, see below). This approach allows you to minimize costs, because all the work will be done independently, besides you can choose the design of the cabinet for the sink to fit your needs. For example, a plurality of drawers, etc., can be provided.
Note! The key feature of this type of installation can be called the fact that the stand is made in exactly the same size as the sink itself.
- Mortise models are also popular. - the sink is simply inserted into the hole in the tabletop, with its edges resting on the tabletop. This method of installation is good because the water does not fall on the wooden parts of the pedestal;
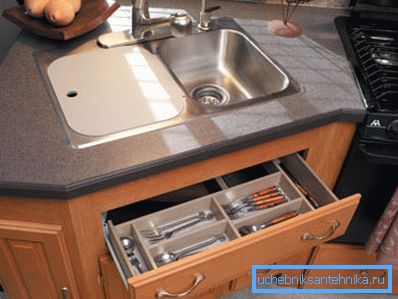
- sinks, combined with countertops good because the table top and sink are one. Very convenient to use.
If you try to compare the listed types of installations of sinks, then the option with a base is often called too simple. In fact, this is nothing more than a delusion, even on your own you can make quite a nice cabinet under the sink.
Details of the manufacture of the base
In order to make the underframe with a sink for the kitchen, you will need a minimum of joinery tools (saw, drill, screwdriver), accessories (handles and fasteners for the door and guides for the pull-out drawer).
Material selection and sizing
As for materials, the cabinet is made of wood, can be used:
- DSP or MDF - from the point of view of durability is almost the same;
- wood - usually a solid frame is assembled from square bars of an array, which can then be sheathed with the same chipboard. Although, if you want to create the impression that this kitchen is located in a remote village, you can leave a simple wooden frame. However, in this case it is necessary to disguise the connection of the sink to the sewage system, the price of such a construction will be minimal.
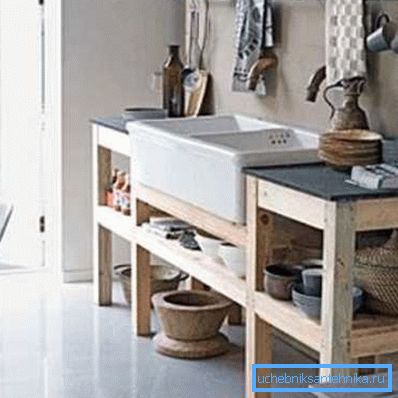
The design of the base depends on the method of heating the room. If the “warm floor” system is used, then it is not recommended to bring the underframe to the floor itself, with time this will necessarily lead to material distortion. In this case, the suspension model or the addition of legs with a height of 5-10 cm to the usual design would be optimal.
Regarding the size, the basic requirement is one - in terms of the size of the cabinet for a sink should correspond to the sink. Moreover, it is desirable to regulate the dimensions of the sub-table in accordance with the size of the sink, and not vice versa - the sinks of the desired size may simply not be on sale.
If the dimensions of the sink are, for example, 500x600 mm (on the outside), then the dimensions of the base should be slightly smaller so that it can be supported after installation on the edges of chipboard sheets.
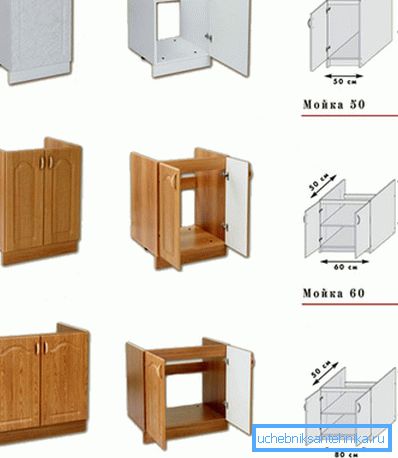
As for the height, it is chosen so that the sink after installation is flush with the table top and other kitchen equipment.
Selection of the type of base and its assembly
You can select several types of sub-table:
- pendant - does not contact the floor at all;
- on the legs, the gap between the floor and the bottom of the cabinet can be closed with a narrow strip of chipboard, but if the floor in the kitchen is warm, it is better to leave it for ventilation;
- solid - when the design rests its bottom on the floor.
When cutting the material with your own hands, you need to remember that the back wall of our cabinets will not. Firstly, the back of the sub-platform will not be visible, and secondly, the sink will need to be connected to the sewer pipe, so free access to it will be very useful.
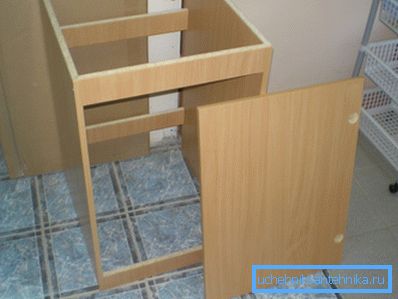
If chipboard is used as a material, then it is necessary not to forget about stiffening ribs, sheets themselves fastened with euro-screws are not the strongest connection. Even if the connection is strengthened with metal corners. Usually, 1 stiffener is arranged from the front part flush with the top and 1 - from the back, it goes down a little.
The assembly instructions for the frame will look like this:
- first, chipboard sheets are cut out and connected with euro screws;
- then guides for drawers, door awnings are installed;
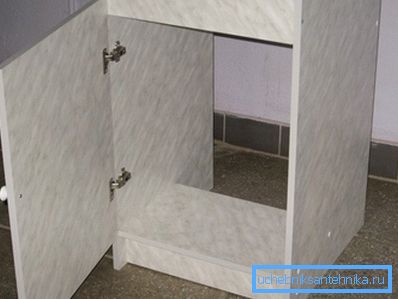
- after that you need to prepare the sink for installation. By preparation is meant the connection of the siphon, so that after its installation on the underframe it remains only to connect the outlet from the hydraulic seal to the sewer pipe;
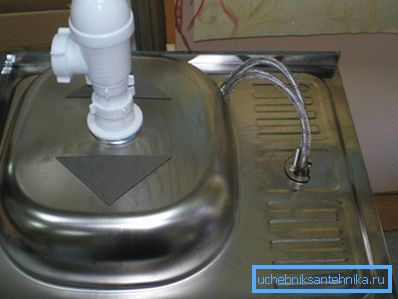
- The under-table sink is installed on the cabinet so that it does not contact directly with the chipboard. For this purpose, special plastic L-shaped fasteners are used, on one side of which there is a slanting slot for the screw. First, the attachment is applied to the wall of the underframe and the cut is cut around, then the screw is screwed, the attachment is put on it and fixed in the desired position;

- washing after installation will rely on plastic fasteners;
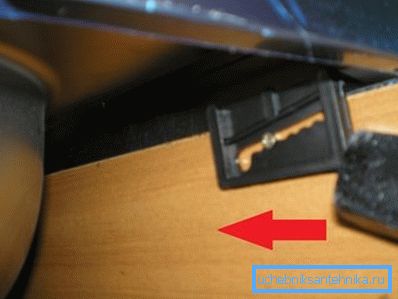
Note! To protect the chipboard from moisture, ordinary sealant can be applied to the edges of the sheets, thanks to which the stand for washing will not swell.
- the final stage can be considered the installation of the whole structure at the location of the dislocation and the connection of the sink to the sewage system.
In the case of a suspended structure, the assembly steps are the same, but it will be necessary to fix the brackets in the kitchen wall, to which the weight from the underframe will fall.
In conclusion
To be able to make a basement under the sink in the kitchen is a useful skill for every homeowner. Purchased products do not always fit the interior of the kitchen, and there is no point in spending extra money. Fortunately, there is nothing difficult in this, and the questions raised will help to solve the proposed material.
The video in this article proposed the original design of the underframe from plastic scraps. The design is the same, just to save used apartment repair waste.