Wall-mounted toilet - design features and basic installation
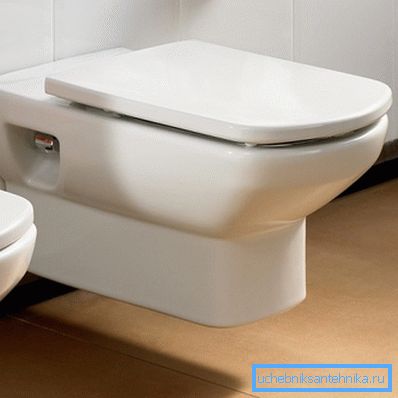
Plumbing structures, fastened directly to the wall, are becoming increasingly popular due to the fact that the floor surface is free and the room itself looks very stylish and modern. The simplest solution is to purchase a wall-mounted toilet with an installation (this is the name of a special panel that carries the main load). To save money, the work is best done independently, especially as it is quite capable of even those who do not have such work experience.

The main advantages of this option
The popularity of mounted structures is due to a number of factors, the most significant of which are the following:
| Mobility | The installation system allows you to position the structure where it is needed. The most important thing is that sewer communications are brought to that place, the rest of the connections can be made independently to any place of the room. This is especially appreciated by designers who create original designs. |
| Aesthetics | Installing a hinged toilet allows you to hide all components of the system: eyeliner, pipes, locking devices, etc. Only the bowl is visible, everything else is hidden behind a special partition, thanks to which an ideal order reigns in the room without any connections and pipes |
| Convenience finish | This is especially noticeable when laying tiles on the floor - now you do not need to do the calculations and try to cut the tile in the shape of a pedestal. The entire floor will be neat, without unnecessary cutting and marking. In addition, this flooring looks much better. |
| Easy to clean | Any owner will confirm that the space around the toilet and behind him to clean the most difficult because of difficult access and inconvenience. Suspended options eliminate this problem and greatly simplify order maintenance. |
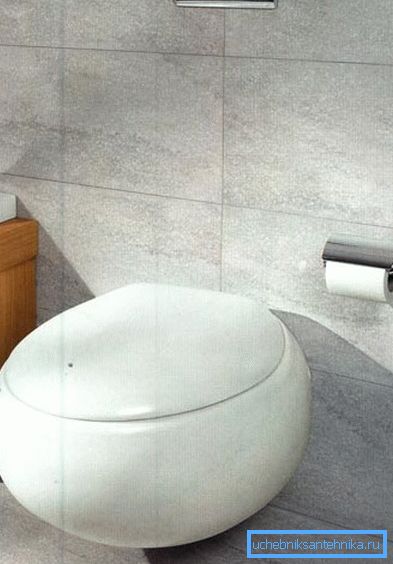
| Originality | If you wish, you can find the products of the most bizarre shapes and colors and embody the most original and daring designs. |

Installation work using the installation
Consider how the installation of a hinged toilet using installation. The price of this option is somewhat higher, but you, even without a construction experience, can do everything efficiently and reliably.
Preparatory activities
At this stage it is necessary to carry out the following work:
- First of all, a sewer pipe with a diameter of 110 mm is supplied to the installation site.. It is very important to bring it as accurately as possible, since any bends contribute to clogging up the system afterwards. If necessary, a strobe is made in the floor, and the pipe is concreted.
- The water supply is also supplied in advance, the pipe can be hidden in the wall or in the floor, in this case there should be a minimum number of connections (the ideal solution is metal-plastic, it can be bent and laid at all without joints from beginning to end).

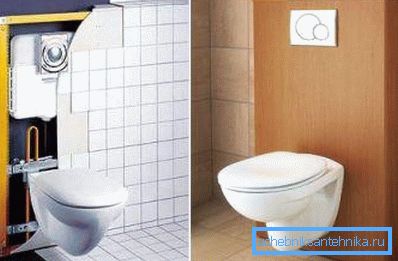
- The next stage is the installation installation, which is a frame capable of withstanding hundreds of kilograms of load.. Its advantage is that it has already fixed the tank and removed the studs for quick installation of the toilet bowl afterwards. The work begins with a clear display of the system using a level, it is very important that the design is perfectly aligned.
- Dowels or anchors are used for fixing through special holes in the frame, for concrete and brick foundations, special screws with hexagonal cooking with a thickness of 10 mm are used for wood.. It is important that at the same time ensure maximum rigidity and immobility of the structure.

Note! It is worth knowing that the toilet itself and the frame with the cistern are purchased separately from each other, this is due to the fact that the width of the installation may be different, and you simply choose the right option for each specific case.
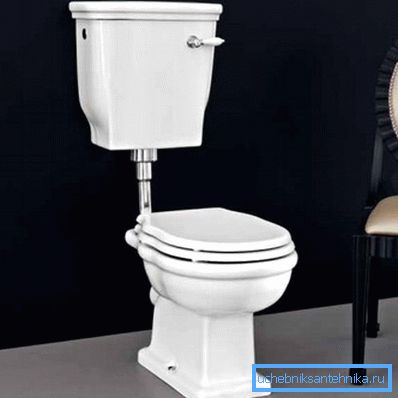
- Wall mounted toilet cistern differs from the classic version. It is made of plastic and has a thickness of 8 to 20 cm, this allows you to occupy a minimum of space during installation. Some people confuse this option and the toilet with a cistern, but these are different things.

Installation of system components
After the frame is attached, it is necessary to connect all communications and put the system together:
- First, the water supply system is connected to the tank; this can be done using a soft or hard liner. It is better to use the second option, since it is much safer and more durable.

- Further the toilet bowl joins, it is inserted into special branch, at the same time installation height can vary from 40 to 43 cm over the level of a floor. The system is connected to the sewer pipe by means of corrugations, after which a test run of water is made. If everything is normal, the bowl is removed and set aside, its fastening will be the last.
- The next stage is the plasterboard installation plasterboard. This requires moisture-resistant sheets with a thickness of 12 mm. They are attached to the frame and installed profiles with screws. In this case, you can sew up the wall, both at full height, and partially, in this case, you get an improvised shelf.

- Instructions for assembling a structure provides places for cuts on sheets for installation of a panel with a button in the future.
- Next, the wall is either plastered or veneered with ceramic tiles. Lastly, a special toilet bowl is fastened on special heels, and the work has been completed.
Installation on a homemade pedestal
This option is more budget, you can do it yourself, although you have to work a little. The tank is installed either in the wall, in which the cavity is pre-knocked out, or in a specially assembled box from the profile, which is subsequently sheathed with drywall and finished.
For the toilet, it is necessary to build a special pedestal.
Instructions for its construction is as follows:
- First of all, two pieces of hairpin are cut off, the length of which must be such that they enter the wall 15 cm, pass through the formwork frame and extend to a length sufficient for fixing the toilet bowl.
- Further in the wall two holes about 150 mm deep are drilled along the width of the mounting holes. The pieces of pins are inserted into them, and the void is filled with a special compound: a chemical anchor that provides the highest reliability of fastening and resistance to loads.
- The next stage is placing the coupling for the drain, it should be placed at the required height, and its location depends on the studs, because later the toilet should be on the studs, and on the drain ideally exactly and exactly.
- After this, the formwork is assembled from a solid board or any other sheet materials, it must be fairly durable and reliable, with holes for studs and drainage of the sewers made in it.
- The resulting structure is filled with M200 concrete; during these works, you should ensure that the coupling does not move and does not change its position, otherwise you will have to completely break the pedestal and carry out the work again.
Note! Before starting the concrete work, once again double-check the position of the studs and sewer coupling, put a toilet - it should ideally match the fixings. This will eliminate the possibility of mistakes and time-consuming alterations in the future.
- After pouring the concrete, you need to give time to grab, it must take at least several days for the material to gain initial strength. After that, the formwork can be removed and proceed to further work.

- Next, you need to finish the construction, you can paint it, cover it with decorative or ordinary plaster or coat it with ceramic tiles, it all depends on your preferences.
- Lastly, a toilet bowl is hung on the fasteners, fastened with nuts and checked for leaks. If everything is normal, the design can be used.
Conclusion
We looked at how to install a wall-mounted toilet in two ways. Choose which of the options suits you better, and if you have questions, watch the video in this article - it will visually show some aspects of the workflow.