Wash basins in a bathroom: types, sizes, installation
What sizes of wash basins for a bathroom are optimum from the point of view of convenience of their use? What materials should pay attention to when buying? Finally, how are these products installed? Let's figure it out.
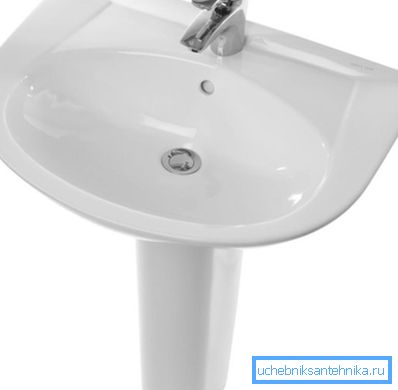
Selection
We have to choose a new sink in three parameters:
- The size of the bowl.
- Material.
- Mounting method.
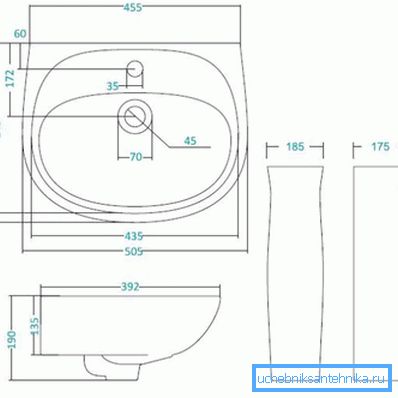
Dimensions
The optimal sizes are:
- When choosing the height of the bowl of the sink (the distance from the release to the edge vertically), the simplest instruction is: more is better. Increasing this size means less splashing on the floor and walls.
- The depth (more precisely, the distance from the front edge of the sink to the mixer) should allow the strongest member of the family to reach the lever or taps without leaning forward.
To clarify: for obvious reasons, you should not focus on the growth of children of preschool age. Children grow quickly, and the sink is selected for many years.
- The width should ideally be in the range of 40 - 65 centimeters. The reduction of this dimension will again lead to the fact that the walls and the floor will be constantly splashed with water; a further increase will not make washing more convenient, but the precious bathroom space will be occupied.
Material
Let's summarize the key properties of the most popular materials in one tablet.
| Material | Short description |
| Faience | Resistant to aggressive media and moderate mechanical stress. It is quickly contaminated by rust and lime deposits, but is easy to clean. |
| Porcelain | The smaller pore size of the surface provides greater resistance to dirt. Other material properties are completely similar to the characteristics of earthenware. |
| Acrylic artificial stone | Easy to pollute; unstable to acids and alkalis. |
| Tempered glass | The performance properties of the material are similar to those of porcelain. |
About the listed materials it is useful to know a few more things.
- With the same dimensions, the price of faience washbasin will be minimal. Porcelain is 10-30% more expensive.
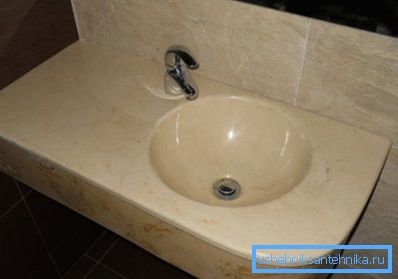
- Washbasin made of artificial stone in the bathroom due to the viscosity of the binder (acrylic resin) is most resistant to shock loads.
- Glass washbasins for bathrooms require the most frequent cleaning - simply because on the transparent walls any contamination will be evident.
Mount
- Shells with a wall mount and a pedestal, which removes some of the load from fasteners and hides communications, have earned the greatest popularity.
- Washbasins on consoles (brackets) are convenient when installed above a low pedestal, hiding communications box, miniature boiler or laundry basket.
- Laid-in washbasin in the bathroom with a cabinet is good in that it allows the most efficient use of the space under the sink. However, the cabinet is not very convenient from the point of view of ergonomics: when washing, knees are constantly resting on it.
In addition: cheap cabinets under the sink for the bathroom are often made of laminated chipboard, which is strongly contraindicated in high humidity.
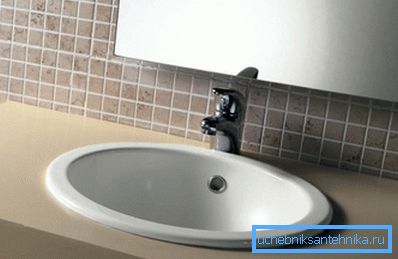
- In addition to overhead sinks with a cabinet, a separately installed washbasin and a cabinet without a bathroom sink can be used. The washbasin is installed in the cut-out of the tabletop and held in it by its own weight; to protect against leakage of water at the edges using a conventional sanitary silicone sealant.
Installation
Let's find out if it's hard to install a sink in the bathroom with your own hands. How built-in washbasins for the bathroom are mounted on the countertop - we have already mentioned. Now let's analyze the most typical case - the installation of a wall-mounted washbasin with a pedestal.
Preparatory work
What should be done at the time of installation:
- Tiled on the floor and walls.
- Derived water supply piping. It is better that they are as close as possible to the center of the sink: in this case the hoses and valves will hide the pedestal.
- Sewerage system. For a washbasin, a 50 mm diameter outlet is sufficient.
Tools and materials
We need to prepare:
- Drill and hammer drill.
- 10 mm drill bit on the tile and 8 mm drill.
- Adjustable wrench.
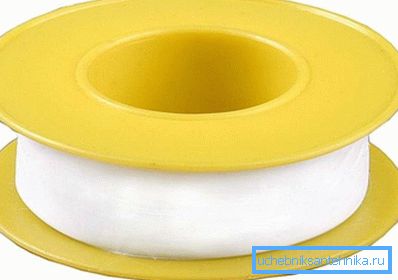
- FUM tape.
- Hammer.
- Building level.
- Transparent sealant. It is transparent - because, unlike white, it does not darken with prolonged contact with water.
Order of operations
- Screw flexible liner into the body of the mixer, reel them with tape FUM. It is better not to rely on regular rubber seals: they are often shifted during assembly.
- Install the mixer. Both the top and the bottom of the washbasin shelf should have rubber gaskets. They not only protect against leakage, but also protect ceramics from chipping.
- We put the issue and, if available, overflow. Siphon is set aside.
- Set the sink on a pedestal and set it to the wall.
- Align the sink shelf to the horizon along the axis parallel to the wall. Perpendicular to the axis of the sink is installed with a slope of 2-3 degrees to the edge. The bias is needed so that water does not linger on the shelf.
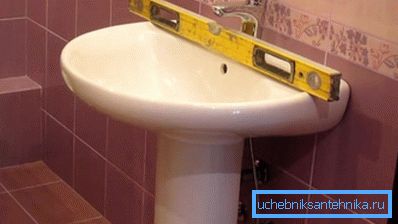
- Mark up the holes.
- We remove the sink and drill them. Tile passes at minimum speed; the drill is periodically cooled with water. Then the hole is drilled by a perforator to a depth equal to the length of the plastic dowel from the standard fixture kit.
- Hammer dowels and wrap anchor.
- Apply on the back of the sink a couple of strips of sealant. He will perform the role of a damper between ceramics and tiles.
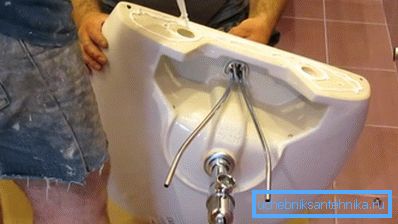
- We hang a sink on an anchor, put on plastic liners and tighten the nuts by hand.
- We connect flexible hoses to the supply lines, put siphon in place and check the communication by opening the water.
- Slightly loosen the nuts, lift the edge of the sink and put the pedestal in place., then again tighten the mount - still only by hand.
- We seal up the joint of the sink and the wall.
Conclusion
We hope that our material will be useful to the reader in choosing a washbasin and will help to avoid mistakes when installing it. Additional information can be obtained by reading the video in this article. Successes!