Washbasin installation - basic installation options and
If you need to install a new sink or replace an old structure, you can call in specialists, or you can do the work yourself, so you can save significant funds and work as soon as possible, because the plumbers can come in a week. The installation process may seem rather complicated at first glance, but in reality everything is simple, the main thing is to know the technology and have all the required devices on hand.
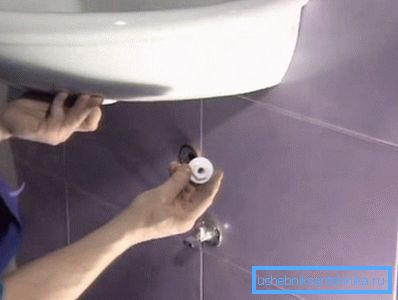
Preparatory work
Regardless of which design of the washbasin will be used by you, you should hold several important events in advance and stock up on everything you need:
| Fastener | Its list depends on the installation option of the system, if the built-in models use special clamps with screws, then for the wall options the metal mount for the washbasin is most often used, and in structures with a pedestal an additional connection with the stand |
| Tool | Again, it all depends on the design, if it is an embedded model, then you need a jigsaw for cutting the tabletop, if the wall is a drill or a puncher for drilling holes in the wall under the dowel. In addition, there should be a plumbing key, screwdrivers, sealant, as well as a set of rubber seals |
| Accessories | If you are installing, you need to additionally assemble the mixer and siphon, they should already be available. Features of their assembly will prompt the instruction, which must necessarily go in the package. If the mixer is wall mounted or built into the tabletop, then it can be installed in advance, as it will not interfere with the work |
| Preliminary preparation | This includes several operations: first of all, the old sink is removed if a replacement is made. Also check the condition of the connection to the mixer, perhaps the hoses also need to be replaced. It is important to prepare a place for the work, remove excess garbage and everything that may interfere |
Note! And remember that before starting work it is necessary to shut off the water supply and drain the remaining water from the system.
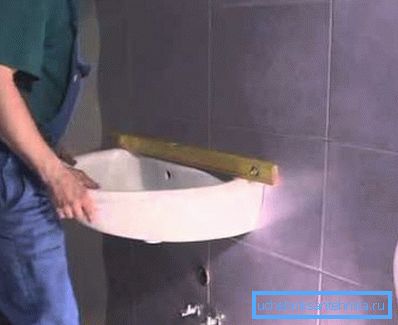
Installation of various designs
There are several basic types of shells, each of which is mounted in its own way, we consider the most popular and common ones.
Sinks on the brackets
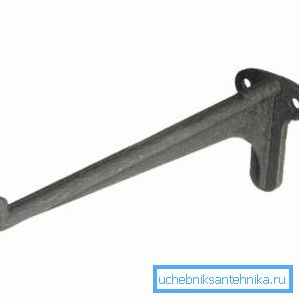
Fastening the washbasin to the wall by means of brackets is one of the most common and popular options due to its simplicity and reliability:
- First, the installation level of the structure is determined., As a rule, the optimal height is about 85 cm. To keep the line as flat as possible, a building level is used to hold it, this will ensure guaranteed correct measurements.
Tip! If the sink is adjacent to the wall, then you should measure the distance equal to the width of the structure, and also mark it on the surface, it will also simplify the work, because you will see how the sink will be located.
- Further the sink is put, and the places of future fixing of brackets are marked on the wall.. It is better to do it this way, since you can make inaccuracies in the measurements, and you will have to re-drill the holes afterwards.
- Choosing a washbasin bracket - cast iron, plastic, steel or some other, the most important thing to remember, this constructive fit sink, it is very important that the elements are ideally suited to each other, insufficient length can cause weak structural stability, which is unacceptable.
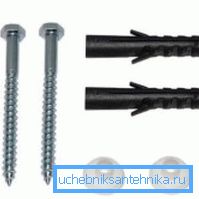
- Plastic dowels are used for fastening; it is for their diameter that a drill is selected for a drill or a perforator. For fixing, durable hexagonal screws are used, which are durable and convenient.
Mortise design
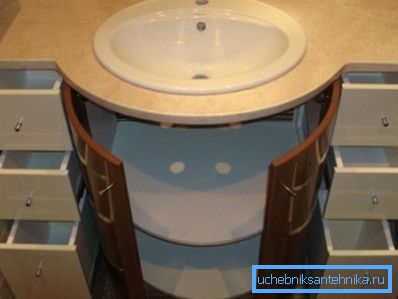
Another widespread option, characterized in that the sink is located in the countertop or in the cabinet.
Mortise washbasin is installed as follows:
- First of all, it is necessary to cut a hole in the tabletop, if it is already there, then a sink will fit to it.
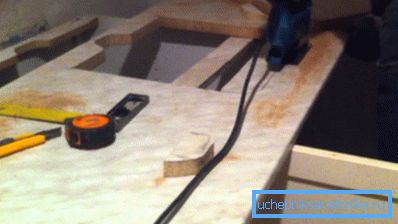
- The design is established quite simply: the end of the tabletop is sealed with a silicone compound, the design is inserted and fixed on the reverse side with the help of special fasteners that come in the kit.
- Sometimes a special sealing tape is used, which allows sealing the joint as reliably as possible.
Shells on pedestals and semi-pedestals
This solution looks very attractive, so it is often used in bathrooms and sanitary facilities:
- First of all, a specific model is selected, which should be combined with the situation. The shape of the pedestal can be different, it is important that it is quite roomy to accommodate the drain system.
- It is important to draw water with flexible connections and drainage system so that it is closed by the pedestal, otherwise you will have to redo the work again.
- Many people mistakenly believe that the sink rests on a pedestal, in fact it is attached to the wall and does not exert pressure on the bottom. Fastening is carried out either with the help of brackets, or directly to the wall with screws with special gaskets, with this method of fastening it is important not to overdo it, so as not to damage the ceramics.

- The semi-pedestal is attached in two ways: either through the use of a special spring mount, which is placed on the sink and assembled according to the instructions, or using a pin mount, which is first mounted in the wall, and then with nuts and rubber washers, the design is fixed on the wall. And in fact, and in another case, the work is carried out after fixing the sink.
- The washbasin stand is also fastened last, it can be fixed in various ways. Therefore, when buying, ask about the features of the installation work.

Conclusion
You can install the sink without help, the main thing is to choose a suitable design and understand the features of its installation. Video in this article will allow to understand the question even better and to carry out work at the highest level.