Washbasin with pedestal: selection and installation
What are the signs of choosing a new sink in the bathroom? How to install a washbasin with a pedestal without the risk of splitting it? In the article we will try to answer these questions.
Selection
What characteristics of a washbasin with a pedestal we have to pick up when buying?
- The horizontal size of the shell and its depth.
- The material from which it is made.
Dimensions
What should be the size of the sink with a pedestal? A simple instruction can help determine the optimal distance from the front edge of the sink to the mixer installed on it: when you stand close to the sink, your straight arm should rest on the taps or handle. In doing so, ideally, you should neither bend your arm, nor bend down.
Tip: it is clear that for people of different height this distance will be different. When buying a better focus on the smallest family member.
What is the width of the bowl?
- Reasonable minimum, which is worth sticking in a small bathroom - 40 cm. At a smaller size, a substantial part of the water during washing will be on the floor and walls.
- The maximum size, which should be oriented in a spacious bathroom - 65 cm. Large dimensions will not increase the comfort of using the sink; Is it worth wasting space?
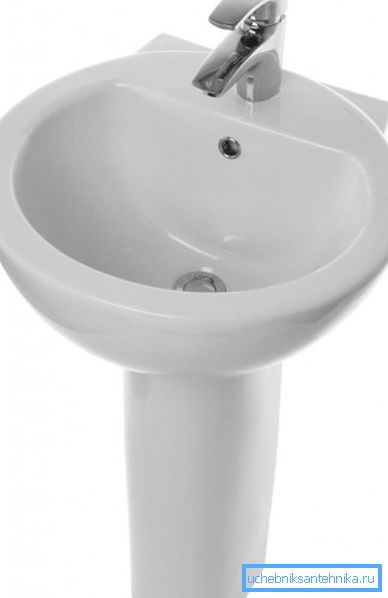
With the depth of the shell, a simple rule applies: the more, the better. Unlike a sink for dishes, a low-lying bottom here will not force you to bend down to pick up a fork or glass. Small sinks can be exquisite externally, but they perform their direct function out of their hands very badly: a strong stream of water is sprayed on the walls.
By the way: the dimensions of the washbasin faucet should ideally be such that the jet falls directly into the outlet. In this case, the number of splashes will be minimal.
Material
What can a wash basin be made of - a tulip with a pedestal?
If we discard rare and expensive exotics such as natural stone, red-hot glass and stainless steel, in the bottom line we will find only three materials:
- Sanitary ware
- Porcelain.
- Artificial stone (he is - polymer concrete).
The average price of products grows in the same manner: faience is the cheapest; a bit more expensive than china; Finally, the imitation of natural stone is the most expensive.
We do not in any way want to impose on the reader any particular point of view on the choice of material, therefore, we present only the bare facts.
- Faience and porcelain equally resistant to any detergent, including abrasives, solutions of acids and alkalis. Artificial stone can be washed only with soft means: acrylic binder is unstable to mechanical stress, and stone powder - to aggressive media.
- Porcelain has a minimum pore size.. As a result, it is slightly polluted and easy to wash.
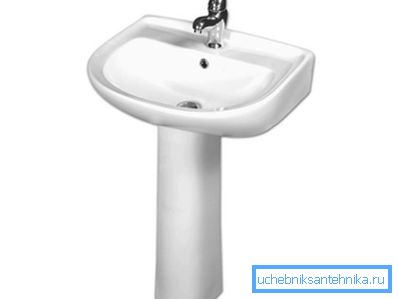
By the way: on the non-uniform colored surface of the polymer concrete sink, insignificant dirt is almost imperceptible.
- Artificial Acrylic Stone Resistant to moderately severe impacts due to viscosity of the binder. Chopping faience or porcelain is much easier.
Installation
So, the pedestal for the washbasin and the washbasin itself are safely acquired and brought home. Half the battle is done; left to mount this design.
Preparation of the bridgehead
What should be done before the installation of the washbasin with the pedestal begins:
- Completed wall and floor trim. In particular, laid screed and tile. If you do this work after the sink takes its place, its level relative to the floor is likely to be too low for comfortable use of sanitary fixtures.
In addition: a tiled pedestal will not be extended. Replacing a cracked siphon in this case is an order of magnitude more difficult.
- Sewerage system. For a washbasin, a diameter of 50 mm is sufficient. If the sewage system was installed earlier, it is enough to break the solid pipe with an assembly from a straight tee, coupling and compensating pipe.
- Derived liner hot and cold water. It is advisable to provide the conclusions with a separate pair of valves: this will make it possible not to suffer from a lack of water throughout the apartment in case of a mixer malfunction.
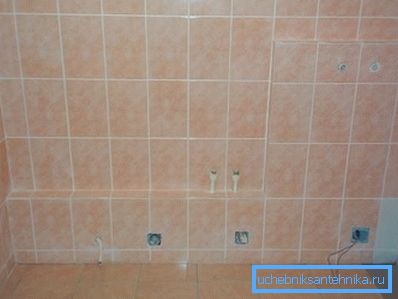
Please note: ideally, both the sewage tee and the outlets should be located as close as possible to the wall exactly in the center of the sink. In this case, after installing the pedestal, they will be completely closed to them.
Tools and materials
We will need:
- A drill with a drill on a tile with a diameter of 1-2 mm more than plastic dowels from the standard fixing set.
- The puncher with the drill. The diameter is the same as that of the dowels.
- Adjustable wrench.
- Building level.
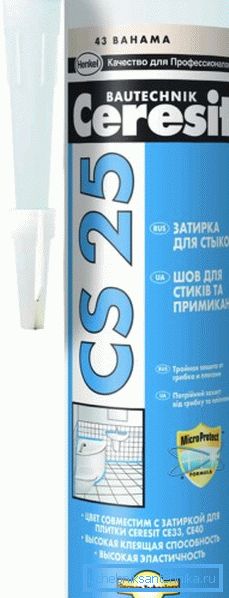
- Sanitary or universal silicone sealant. Better - colorless: unlike white, it does not darken with time.
Operating procedure
So, how to do the work ahead with us?
- Install the sink on a pedestal close to the wall so that it is tilted forward by 2-3 degrees. A slope is necessary so that water does not linger on the shelf. Horizontalness on the second axis is checked by level.
- Mark up the holes.
- Drill them with a drill on tile, periodically cooling it with water.
Attention: the tile is drilled with moderate pressure and only at low speeds.
- We deepen the hole with a perforator.
- Install the mixer on the sink and release. Flexible piping into the faucet is screwed only with an adjustable wrench: when you try to screw the hose over the braid, you are guaranteed to tear it from the sleeve.

- We put dowels in holes and screw in the anchor.
- Apply to the back wall of the sink two thin strips of silicone. They will play the role of a damper between the sink and the wall.
- We put the washbasin on the anchor, insert the plastic liners and carefully tighten the screws by hand. Efforts here are unacceptable.
- We connect the flexible connections of the mixer to the threads; then put the siphon in place.
Useful: it is better to seal the connection between the knee and the sewage system with a rubber cuff. It can be a source of unpleasant odors.
- After loosening the nuts, push the pedestal under the sink and tighten them again.

- Seal the washbasin with a wall of silicone. The work is done; You can proceed to the operation of the product.
Conclusion
We hope that our simple recommendations will help the reader to make a successful purchase and avoid mistakes when installing the purchased structure. Additional information can be found in the video in this article. Successes!