Washbasin with worktop: installation of sinks
Sinks can be classified not only by materials, but also by the way they are installed, for example, in a bathroom (or kitchen) it can be a washbasin that can be built in or on the countertop, although both types can be embedded.
Behind the set of definitions that stand behind such tanks lie clear concepts by which to navigate when the choice of sanitary ware of this kind is made. In more detail we will tell about it below, and also to your attention video in this article is offered.
Classification
Note. In this case, by the word sink, we mean a washbasin, which can also be called a sink or sink. In any of these cases, sanitary ware can be used for both body hygiene and dishwashing.
According to the materials
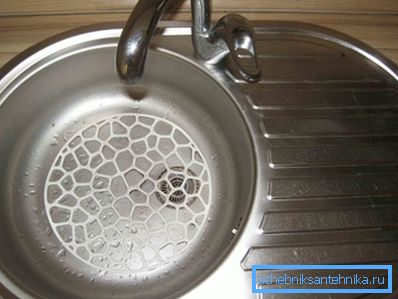
- Stainless steel sinks, as a rule, have a type of installation and are used for the kitchen, that is, for washing dishes - this material is most resistant to sudden temperature changes, which is inevitable in such situations. Most of all, we are accustomed to seeing such containers mounted on the cabinets, but the instruction also allows them to be mounted on the tops of cabinets, as can be seen in the top photo.
- Such sinks are made from a single sheet of stainless steel, with a thickness of 0.4 to 1.2 mm - the thicker the walls, the less the possibility of bending or dents on the structure. In its form, the sink can be square, rectangular, triangular (angular), round and oval, and also very often a pedestal (corrugated table) for storing dishes is mounted on either side of the tank. The depth of such a sink can also be different and the price depends on it in many ways.
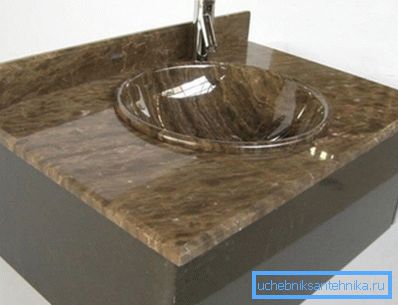
- Composite materials that imitate natural stone, such as granite or marble, have become very popular now.. For example, a sink on the countertop in the bathroom of the composite will weigh much less than natural stone, and its cost will also be several orders of magnitude lower. In addition, artificial granite and marble are much easier to process (sawing, drilling, grinding).
- Composite material consists of 80% mineral fillers - this is granite or marble aggregate of medium or small fraction (the texture of the product largely depends on this), and 20% of the total volume is made up of polymer resins and dyes. The whole composition is thoroughly mixed and poured into the desired shape, after which it sits on the vibrating table. When it comes to complete curing after release from the mold, the product is polished with a polishing machine.
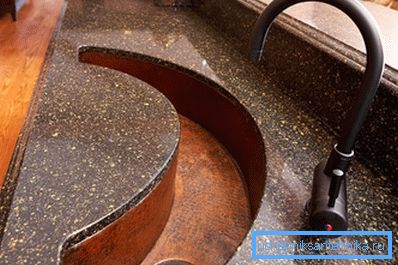
- Among the composite materials, artificial onyx is also known (an example of a shell made of this material can be seen in the photo above), but the method of its manufacture, as well as its composition, differs in many ways from the above-described composites.. Thus, the structure of such an artificial stone includes about 65-67% of aluminum dioxide, 2-7% of colored powder of mineral paste (depending on the design), and the rest of the volume is occupied by mineral resins with catalysts.
- Just like marble with granite, the mixture for onyx is processed in the form on a vibrating table, and then, after complete solidification, is ground, but in this case the bowl is pasted over with a special film that protects it from scratches and impacts.. The fact is that the hardness of stone chips is higher than that of aluminum oxide.
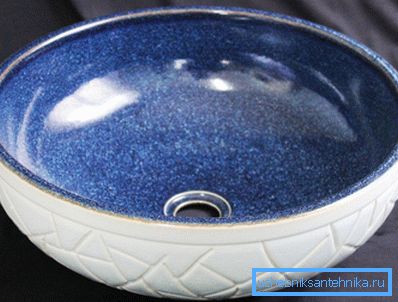
- At first glance, ceramic sinks differ only in their shape and color, but in fact, they can be made of different materials - either porcelain, as in the top photo, or faience.. Porcelain itself has a more dense structure and, with proper processing, the surface of the product is mirrored, but at faience the structure is porous, therefore the specularity of the surface is achieved by the method of glazing.
- Such shells are afraid of large mechanical loads in the form of sharp shocks, strong compression and temperature drops, from which they can burst or crack.. In connection with such technical capabilities, these containers are usually used for bathrooms, and for kitchens only when there is a dishwasher.
By installation
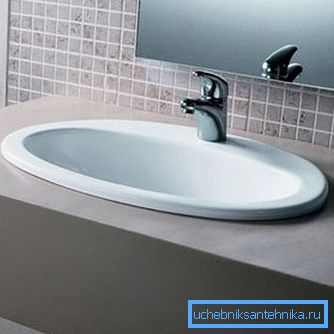
Sometimes the countertop under the sink in the bathroom can be with a ready-cut, but in some cases this cut-out needs to be done on its own, or you can resort to the help of an outsider.
Consequently, overhead bowls can also be mortise, but the capacity itself is distinguished by the presence of protruding horizontal edges around the perimeter, due to which it rests on the cabinet or table top.
In addition, as an exclusive option, the washbasin can be made in the form of a hemisphere and just fit on the table in a small mounting hole through which the siphon is drained.
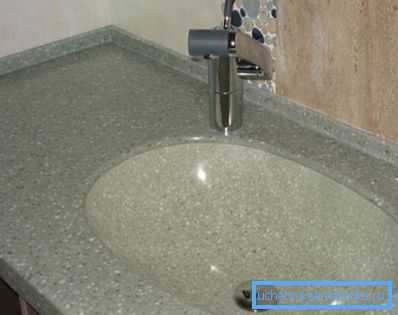
If we are talking about an embedded sink, then the logic should suggest that such a container needs to be built in somewhere, in this case it is a tabletop, where again there can be a finished mounting hole from the store, or it should be cut out by yourself.
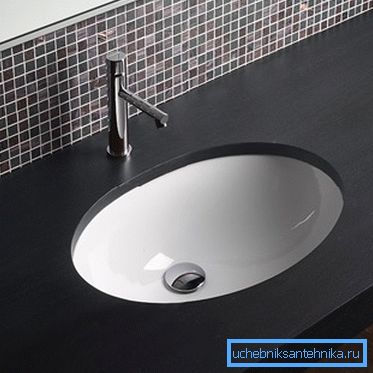
The essence of this installation is that the upper edges of the tank can be either flush with the tabletop, or below it, as seen in the photo above. In cases where the hole is provided from the factory, the sink fits very well and is planted on glue and / or special clamps, but now, if you have to cut it yourself, then this turns out to be much more difficult.
Shell insert
Note. If the inset is done with your own hands, then we can talk only about laminated chipboard - you cannot cut the composite materials yourself - this is done either on factory equipment, or you need a specialist with a good tool here.
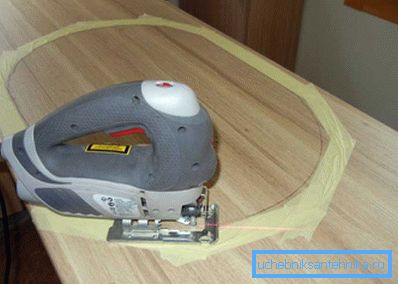
Under the invoice version of the sink, you can mark the hole on the tabletop either on the very side of the bowl, then retreating inwards for the width of the side, or in the packaging by the manufacturer provides a cardboard stencil, which will be your template.
After you outline the perimeter, glue masking tape on the outside of the line - this will protect the surface from black stripes, which the heels of the jigsaw will leave.
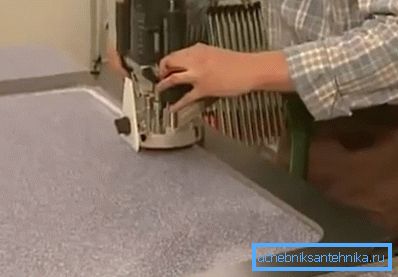
But in those cases when the washbasin needs to be built in and at the same time to cut the hole itself - you will need a rigid template, which usually has to be bundled, although it depends on the manufacturer (they may not deliver). For the tie-in here, you do not need a jigsaw, but a router with an end cap, in addition, you will also need a radius attachment to remove the edge.
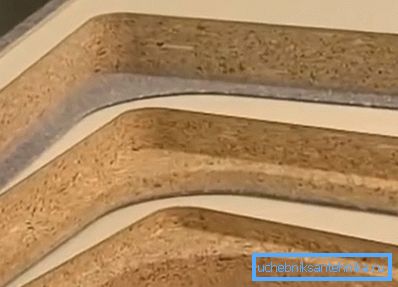
In the upper photo you can see how the grooves are chosen, if the washbasin is built below the surface of the table top - in this case, the bottom view is shown - the notch follows the configuration of the edge of the washbasin.
After that, the sink is placed on a polymer glue and pressed with clamps until the composition hardens, stabilizing over the joint from below with epoxy resin.
Conclusion
By the same principle, you can cut the tabletop under the washing machine - the main thing is that the edge should be clear, and there should be no gaps and chips. But even if small gaps still remain, seal them with silicone, this will be a buffer zone when the washing machine vibrates.