We create a washstand-washstand for personal use.
Russian land has never depleted the craftsmen and those who want to become such, therefore, to make a dacha washstand with their own hands under the power of many people, if there is a desire for it. Of course, the matter will not be limited to reflections alone, since some more details, a container and, of course, a plumbing tool, which most likely will be found for each owner, will be needed.
But how to do it and from what, we will tell you below, and in addition we will provide you with the video in this article.
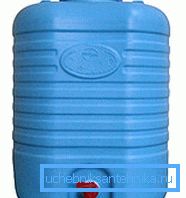
Do it yourself
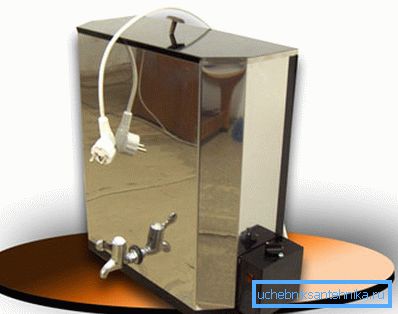
Note. Of course, the summer washstand can simply be purchased in the store - it is inexpensive, although if it is heated, then its price will increase markedly. The same warm sink can be made independently, but here you will need certain skills - you will need to weld the container and install a tap there. But we present to you a model that is available for manufacturing, practically, for every person.
Materials and tools
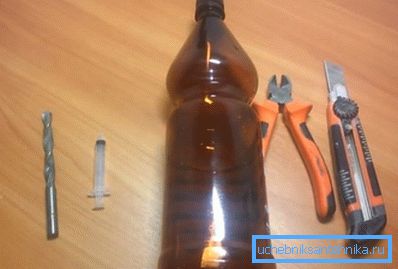
- For the design of the washstand (capacity), we need a plastic bottle - almost any of its dimensions are suitable here, but as the best option, you will have to choose between 1.5 and 5 liters volumes, depending on the need (number of people using the wash basin). We will also need a piston that will serve as a drain and for this, as well as possible, a 2-liter medical one-time (plastic) syringe is suitable.
- Now let's move on to the locksmith tool, which is also very small - these are side cutters (although they can be replaced with scissors), a sharp knife (it is convenient to use a paint knife with a replaceable blade, as in the photo above) and a drill bit (of course, complete with a drill or screwdriver). The diameter of the drill should be slightly smaller than the diameter of the syringe - as a rule, drills of 8-10 mm are most often suitable.
Getting Started
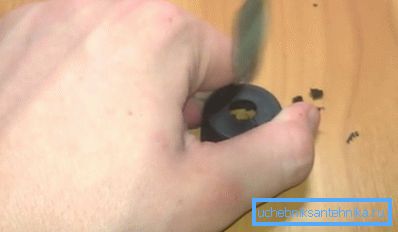
Let's start with the most important part - from the drain mechanism. This is a bottle cap with a syringe, but you need to start from the first - with a cork, which we need to drill exactly in the center, and the hole diameter should be 1-1.5 mm smaller than the flask syringe
After drilling from the back side, there will always be burrs that need to be removed, since the cuffs (flanges) of the syringe will need to be pressed as tightly as possible.
After the hole is ready, test how the cone will enter the hole - most likely, the protruding edges of the oval flange will need to be cut as they protrude and will interfere with good pressure - bite the excess with a side cutter.
If the hole is too small - do not rush to take a 2 mm drill bit - it is better to flare it with the same drill that you have already used - just tilt the drill at 45 when drilling? and so around the perimeter of the hole.
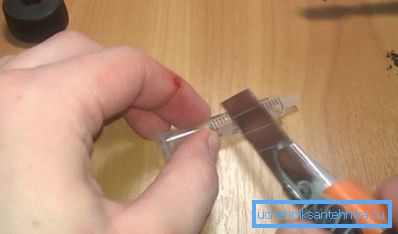
Now we need to make a neat spout and for this we cut the syringe in half - look at the scale and use for cutting 1.5 ml - this is the best option. We will use the back of the tube where the flange is, but after that small burrs will remain on the inside of the cut - carefully remove them with the blade of the knife so that the edge is smooth.
Now insert the cut part of the cylinder into the hole of the tube so that the pipe flange is pressed tightly against its inside (if you wish, you can put this joint on the polymer glue or PVA).
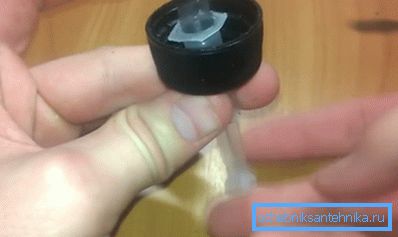
We continue to do the washstand of a plastic bottle with our own hands and go to the very nozzle, which will serve as a piston - in modern disposable syringes the piston is made of plastic with rubber o-rings and it all rests on a plastic rod.
We will need to turn the piston rod down and push it through the cylinder so that it goes beyond it - so the rod will act as a check valve. The water from the bottle will exert pillar pressure on it, and it will overlap the syringe flask, resting on the flange - the system is exactly the same as a regular washstand.
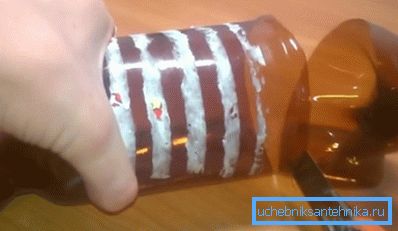
Now we proceed to the formation of the tank — our instruction prescribes to cut the bottom of the bottle, although this will no longer be the bottom, but the upper part of the washbasin, where we will subsequently pour water.
If you want the container to be with a lid, then for this you can use the cut part (bottom) - make something like tulip petals on the hem - squeezing them, you can use the bottom part as a cork.
Made of cork and details of a single syringe, screw the spout onto the neck of the bottle and now you can begin to install and test the structure.
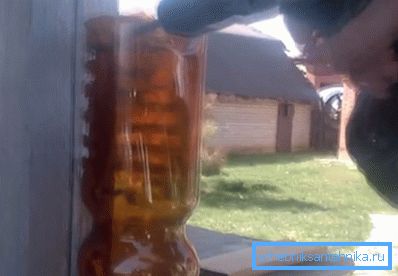
You can fix your product anywhere - on the wall of the utility room, toilet, shower, on a pole, a tree and even on the fence - the most important thing is that the height of the spout should be handy when washing your hands - approximately 1 m (+ -20 cm) from the ground .
If you attach the structure to a wooden surface, then everything is simple - nail the top of the bottle wall with a nail or screw it with a self-tapping screw, and if you need a dowel to a brick or concrete.
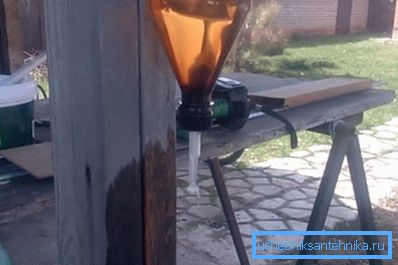
Fill the tank with water and try how it works - there should be no failures, the main thing is that the structure is in a strictly vertical position, otherwise, due to the law of gravity, the rod will deflect, dragging the piston head. This will cause poor contact of the check valve with the drain hole - it seems to open up on one side, and water will flow in there.
Recommendation. In view of the imperfections of such a construction, the water will still leak, although it will not be noticeable, but the bottle may turn out to be half empty until the morning. To prevent this from happening - just pull the plunger into the drain hole of the sink, the constipation will be tight and the water in the washbasin will last for a long time.
In the same way, a washstand can be made from a 5-liter bottle, only here the cross-section of the container will be much larger, and under the weight of the liquid it will deform. Therefore, in order to give the bottle stiffness - make it in its upper part (where you pour water), a rigid frame - even thick steel wire will do.
Conclusion
By and large, any washstands and sinks for giving have a fairly simple design, because they are the usual bulk vessels with a drain at the bottom. The clarity of such containers will always depend primarily on the good design of the spout on the drain.