What is a mortise wash and how to install it
Recently, mortise sinks, including kitchen sinks, have become particularly popular. Their main feature is the method of installation and appearance. In this article we will take a closer look at what this sanitary fixture is and how to install the mortise sink yourself.
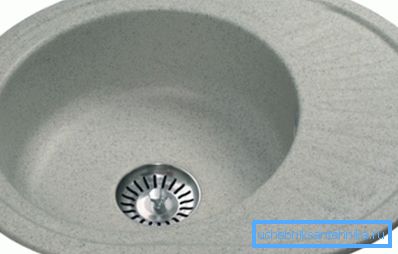
Features mortise washing
General information
Recently, sinks have ceased to be just a sanitary appliance designed for washing dishes and products. In modern kitchen, they are still part of the interior and even its decoration. This is connected with the popularity of mortise devices that look much more stylish and attractive than, for example, overhead.
Mortise they are called because their installation involves cutting openings in the countertop under the bowl sanitary fixture. In this case, the rim of the device can be located almost flush with the tabletop or rise several centimeters above it.
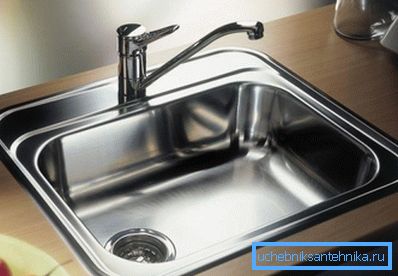
Often, when mounting such a structure, an additional hole for the mixer is required. However, despite the apparent complexity, installing a mortise car wash with your own hands is a relatively simple job that every home craftsman who can work with a jigsaw can do.
Merits
Mortise washers have quite a few positive qualities, and this applies not only to their appearance, but also to such moments as:
| Excellent compatibility with kitchen furniture | Thanks to this, the interior design of the kitchen looks more attractive. |
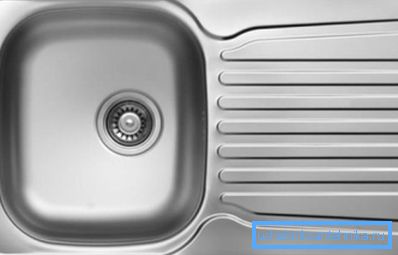
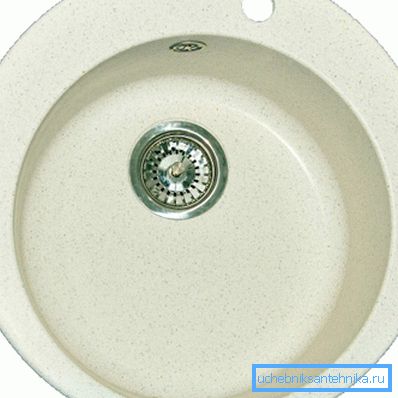
| Large selection of forms | This allows you to choose the most suitable sink in each case. For example, if the dresser with the table top is located in the corner, the corner sink will fit perfectly. There are also oval, square, rectangular and asymmetric products. |
| Large selection of materials from which plumbing | Depending on individual preferences and features of the interior, you can purchase a sink made of stainless steel, artificial or natural stone, ceramics, etc. |
| With proper installation there are no joints and gaps. | Due to this, furniture remains longer, as water does not penetrate into the cracks. |
As for shortcomings, only the high price of the product applies to them, however, it is fully justified by its qualities.
Installation
As mentioned above, it is easy to install the mortise washing yourself.
It is necessary to begin work with the preparation of the following tools and materials:
- Ruler, pencil, tape measure and stationery knife.
- Jigsaw (if the power tools are not available, you can use the manual).
- Silicone colorless sealant for sealing gaps and joints.
Note! The bowl should be located at a distance of at least 50 mm from the front edge of the tabletop, and at least 25 mm from the rear.
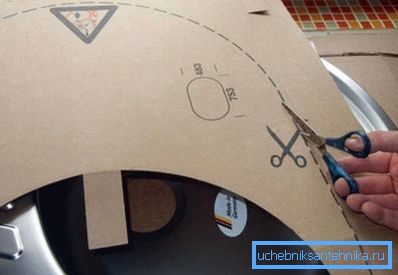
Instructions for the implementation of this work is as follows:
- Begin installation by marking the worktop.. This stage is one of the most responsible, as an error can lead to the fact that the sink will be inconvenient to use or the tabletop will irrevocably deteriorate altogether.
As a rule, complete with plumbing there is a special pattern of cardboard, which you just need to cut with scissors, and then attach to the table top. The contour can be circled in pencil or marker. If there is no template, you should attach the device to the tabletop and circle the bowl.
- After the marking is done, you can proceed to cutting the hole. To do this, you first need to drill a starting hole, which should be located right next to the contour, but do not go on it. If the sink is rectangular or square, it is necessary to make such holes at all corners.
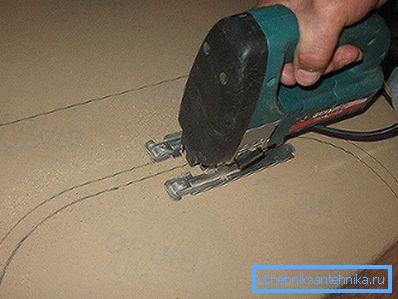
- Then the jigsaw is inserted into the hole and a cut is cut along the contour.
- Next, you need to insert your own sink into the hole and make sure that it is done correctly. If necessary, you can sharpen the cut file.
- Then the cut point must be cleaned of sawdust and dust, and then smeared with silicone sealant. This is necessary so that the tabletop in the place of the saw cut does not get wet. You can perform the operation with a rubber spatula or even just put it with your finger.
- After this, the cut-off area is covered with foam polyethylene seal.. As a rule, this material comes with the device. The protruding edges of the seal should be carefully cut with a knife.
It must be said that the installation of the sink can be done without filler, but in this case more sealant will be needed, since it is necessary to completely fill the space between the sink bowl and the table top.
- Then the edge of the seal should be degreased and put on it another layer of sealant.
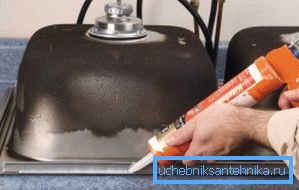
- At the end of the sink should be inserted into the hole and strongly pin down to the tabletop. After several hours, when the sealant hardens, it can be exploited.
Tip! Before installing the sink, it is necessary to attach a siphon and a mixer to it, since after installation it will be more difficult to do this.
Here, in fact, all the features of mounting the mortise shell.
Conclusion
Mortise sinks are modern sanitary equipment that can make the interior of the kitchen more attractive. Their only drawback is the relatively high cost and complexity of installation. However, adhering to the above recommendations, every home master can cope with this work.
From the video in this article, you can read some additional information on this topic.