Do-it-yourself ventilation: simple solutions
The subject of this article is the installation of ventilation with your own hands. It will not be abstract reflections and complex calculations: this material is an attempt by the author to share his modest experience in equipping a ventilation system in his own house. So let's get started.
Prehistory
Some time ago, the author moved into a new house. It was a one-story building with a large and high basement, which was immediately positioned as a home gym and workshop. Later it was planned to build a residential warmed attic.
The main problem of the first residential floor was the complete absence of a ventilation system.
The consequences, already apparent at the beginning of the first winter, were quite predictable:
- The air in the room, despite periodic airing, quickly became stale and damp.
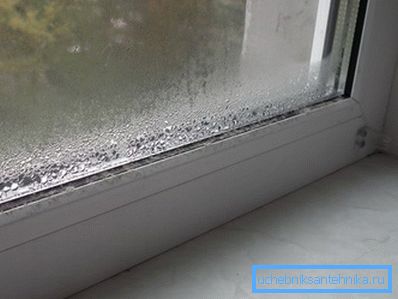
- Single-pane windows were constantly covered with condensate, which dripped down the glass and formed puddles on the windowsills.
- Finally, subjectively, the house was very cold. Despite the fact that the thermometer showed quite reasonable +18 degrees.
Reference: with an increase in humidity, the heat capacity and thermal conductivity of air increase. That is why in cold climates it is very difficult to tolerate cold and heat.
The task was obvious: it followed with minimal time and money (with which, after buying a house, of course, it was not so very good) to provide normal ventilation.
A year later, during the construction of the attic, we had to design and build another separate ventilation loop. Since each of the floors had a separate entrance, it was undesirable to combine air ducts.
Calculations
For a start, it was necessary to estimate the expected ventilation performance. Instructions for its calculation were found in the current SNiP:
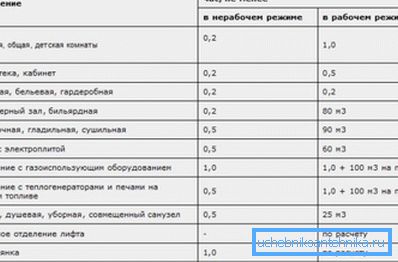
| The room | Minimum ventilation capacity |
| Living rooms | 3 m3 / hour per square meter |
| Kitchen | 60 m2 / hour for a kitchen with an electric stove and 100 m3 / hour for a kitchen with a gas stove |
| Bathroom, toilet, combined bathroom | 25 m3 / hour |
An alternative estimate of planned performance is based on the number of people who are constantly in the room. One person in the waking state should account for at least 60 m3 / h; for a sleeping person - 30 m3 / hour.
Counting according to the first algorithm gave a result of 240 m3 / hour, according to the second - 100 (average air consumption by two people, based on 8 hours of sleep and 16 hours of wakefulness).
Taking into account the specifics of the layout of the house, a capacity of 120 m3 / h was chosen as the starting point.
Ground floor
Schematic diagram
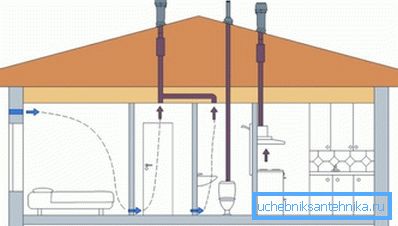
After thinking about possible solutions, the choice of the author focused on exhaust ventilation with forced induction and air extraction into a common canal from several rooms — a bedroom, a combined bathroom, and a kitchen-dining room. It was decided to make the air inflow passive, and not from the street, but somewhat unconventionally - through the basement.
There were several reasons.
- Almost ready ventilation duct along all the rooms that were planned to ventilate, already existed. The builders in the process of finishing finished with a drywall groove a groove between the bolt, which was used to support the floor slabs, and the outer wall. It only remained to organize the selection of air from the canal and cut grates into it.
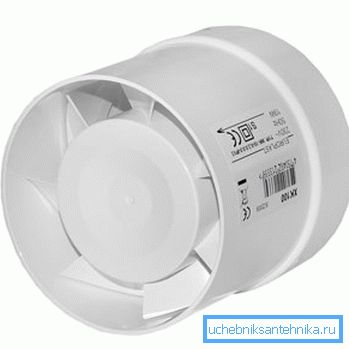
- Natural ventilation was unattractive due to unpredictable performance. Strong winds characteristic of the region would cause a sharp acceleration of air exchange; but in the summer heat, with a minimum temperature delta between the street and the house, it would fall to almost zero. A duct fan, on the contrary, would pull its 120 m3 / hour, regardless of the external conditions.
- The minimum price of components. Slightly running ahead, it is worth mentioning that the total expenditure on purchases did not exceed 1,500 rubles.
- Symbolic operating costs. Here is an approximate relationship between performance and power consumption of a duct fan:
| Productivity, m3 / hour | Power Consumption, W |
| 100 | 12 |
| 200 | 25 |
| 300 | 35 |
Separate comments require the circulation of fresh air through the basement.
There is such a thing as geothermal ventilation. The loud name hides a simple scheme, according to which, in particular, ventilation is often constructed at a country house with its own hands: supply pipes of considerable length are buried in the ground slightly below the level of its freezing.
Reference: at a depth of one meter from the level of frost penetration, the temperature of the soil does not depend on the region and is +8 - + 14С.
As a result, the intake air has a stable temperature, which is little dependent on the season and weather conditions. In summer, the houses are relatively cool, in the winter - warm. And all this with minimal energy consumption: electricity is spent only on the transport of air.
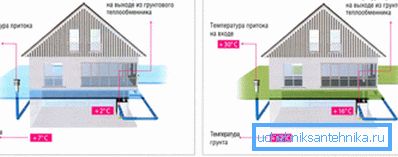
However, in this particular case, under the house there was a ready air source with a constant temperature of about +14 degrees - a dry cellar with an area of 75 square meters, recessed far below the level of freezing. Connecting it with a pair of channels with living quarters at the top was much easier than laying several tens of meters of pipe beneath the ground.
No sooner said than done.
Implementation
- From the side of the street through the outer wall a hole was pierced into the canal. For work needed punch with a crown.
- An assembly was prepared from a standard sewer pipe with a diameter of 110 millimeters, a corner, an umbrella (deflector) and a compensating pipe. The latter allowed to install a channel fan and fix it, leaving the connection dismountable.
- Under the fan installation site, a hole is cut into the channel into which a plastic hatch with a lid is immediately installed. In the future, it will be useful for maintenance and / or replacement of the fan.
- An assembly of a pipe, a corner, an umbrella and a fan with the power wire connected is inserted into a hole in the wall and sealed. The grasped foam is sealed with acrylic putty: polyurethane foam does not like ultraviolet radiation and quickly begins to crumble in the light.
- Power to the fan is brought out from the nearest outlet through the cable channel and opened with a switch.
- In the drywall, closing the channel, several ventilation grilles are embedded and a pipe is drawn from the hood above the kitchen stove.
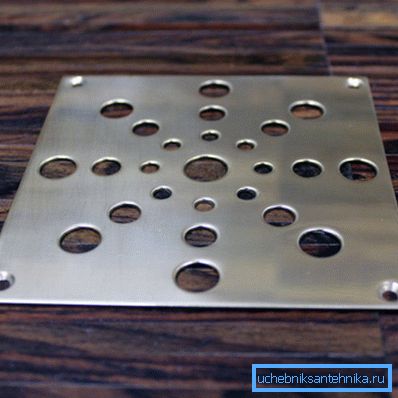
- In the floor openings are chosen for air extraction from the basement. They were closed by grids with nets to protect against insects.
results
Dampness and condensation on the windows are forgotten, like a bad dream. The air in the house became fresh and moderately dry.
Due to the influx of warm air in the winter, the house with the heating turned off completely maintained a temperature of +12 degrees. To maintain a comfortable temperature of + 20-22 degrees, there is enough operation of one inverter air conditioner with a thermal power of about 3.2 kW.
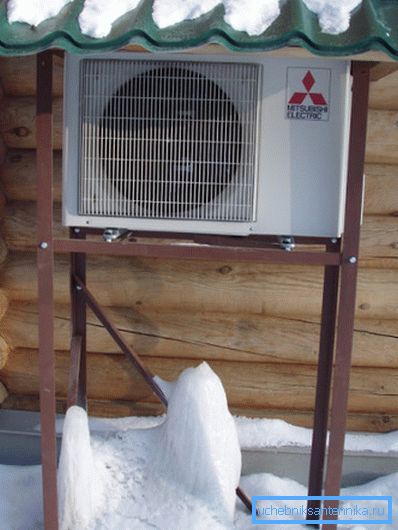
Nuance: the scene - the coast of Crimea. It is clear that the heat flow of 3 kilowatts will not be sufficient anywhere in the Far East. In addition, inverters in heating mode remain operable at best at -25 ° C.
Concrete ventilation channel, wired with drywall, works as a very effective silencer. The work of the fan in the house is not audible in principle.
Attic
A year later, the construction of the attic floor reached the point when it was necessary to equip the ventilation in it.
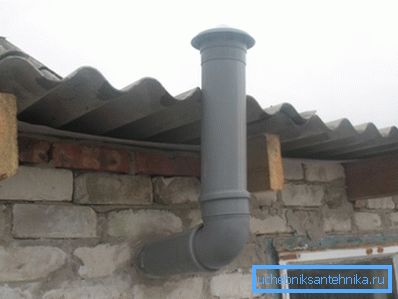
By analogy with the first floor, ventilation of the attic was made exhaust with a passive inflow. Instead of a vent, in this case a sewer pipe with a diameter of 110 millimeters was used - simply because it did not have to go far.
At this point, the similarity with the ventilation system built earlier was over.
- A dedicated intake channel is missing in principle.. The air intake is provided by leaks covered with a steel sheet sheet roof of the attic. There are enough small gaps between the sheets of roofing material for this purpose in abundance.
- A tee is installed in the fan channel in front of the fan.. Through one of its outlet, air is withdrawn from the combined bathroom located in the middle of the attic; through the second - the rest of the room is ventilated.
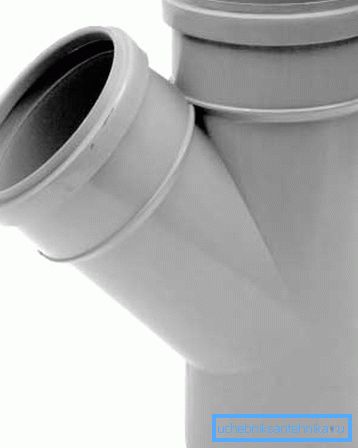
- Ventkanal hidden gypsum ceiling. In the ceiling of the bathroom is mounted intake grille, to which one tap of the tee is tightly attached. But the rest of the room is ventilated directly through the space above the ceiling: the air intake goes directly from it; from the living rooms air enters there through four gratings in the attic corners.
By the way: this ensures constant ventilation of the rafters and insulation between them.
On the street ventkanal with an umbrella - deflector displayed through one of the gables. Thus, the author has relieved himself of the problems of sealing the output: the groove was enough to fill up and putty; from water and snow it is protected by a roof overhang.
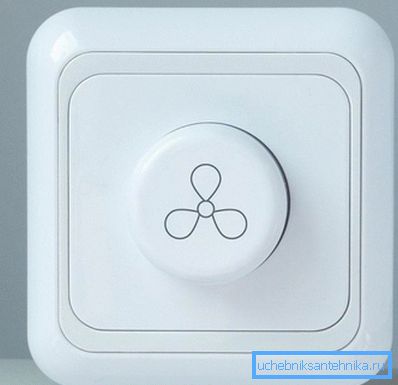
The fan power circuit was equipped with a dimmer. It allows you to choose between silent and productive modes of ventilation depending on how many people are in the attic.
Conclusion
It is easy to notice that the construction of an efficient ventilation system turned out to be quite simple and not too expensive.
Additional thematic information, as usual, can be found in the video in this article. Successes!