Fasteners for ventilation - types and methods
Organizing the system of ventilation of rooms in a house or apartment, we can use three options for air ducts - rigid, semi-flexible and flexible. They are made of metal, plastic and polymers. For mounting to the wall or ceiling, special fasteners for ventilation have been developed, which will be our article today.
In addition, we will show a clear example of how this all should happen.
Duct fastening
Ventilation channels can be fixed in different ways in the horizontal and vertical plane. Very rarely they are installed in an inclined position.
For fixing use special fixing elements. The methods of their installation depend on the shape and dimensions of the air channel.
Horizontal
When installing ventilation channels on brick (reinforced concrete) walls or columns, metal brackets are used in the form of a square. They are embedded into the surface using corner linings.
The brackets on the protruding part have an opening for the suspension of the air channel.
The dimensions of the plank emerging from the wall and the length of its embedding into the surface depend on the dimensions of the duct.
- Ventilation channels are attached to the reinforced concrete column with corners, struts, sheet metal kerchiefs. A steel plate is attached to the column with dowels, after which a corner and a strut should be screwed onto it.
- The air duct is fastened to the concrete panel with the help of brackets, to the metal column with clamps and cross-beams.
- Air pipes are attached to I-beams with brackets made of steel or iron strip.
Vertical
A round air channel in cross section up to 1 m is attached to a brick wall with the help of a support consisting of:
- metal console;
- special linings;
- clamps - from steel and from the corner.
Round air ducts are attached to a reinforced concrete column with a bracket consisting of consoles welded to a metal plate and 2 half clamps. The latter are bolted after the assembly of the ventilation duct is completed.
Tip: when it is not possible to fix the ventilation on a wall or pillar, it can be installed using the roof.
Ventilation installation
The instruction below will tell you how to do everything correctly:
| Horizontal |
|
| Vertical |
|
Tip: when it is necessary to install ventilation under the suspended ceiling, hang up the air duct links before installing it, then mount the air distributors for mounting the suspended ceiling.
Air duct fixing methods
Installation of ventilation can be carried out as follows:
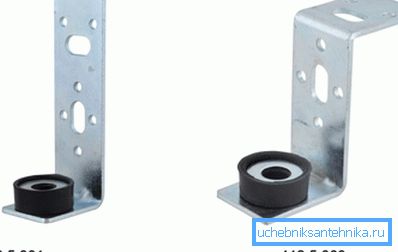
- Apply L-shaped bracket, the price of which is quite affordable. Attach air duct elements to it with screws or screws.
- It is possible to fasten a rectangular air duct with screws or screws using a Z-shaped bracket.
- Mounting using studs and profiles:
- ventilation should rest against the traverse;
- threaded parts reduce lateral displacement.
Often use a rubber profile, additionally providing sound insulation of the air channel.
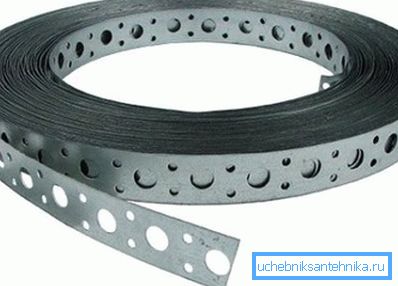
- For fixing pipes of circular cross section you can use punched tape. This should be done with the help of a loop or fastening to the screw in the engagement areas. The disadvantage of this method is there is no necessary rigidity.
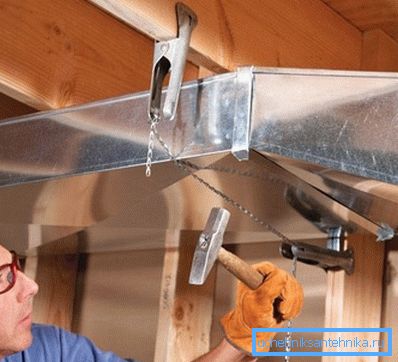
Tip: for pipes with a diameter of less than 200 mm, you can reduce the noise level of the air channel, if you also use a clamp at the same time as the punched tape.
- Use for mounting studs and clamp.
- Sometimes you can use brass expansion anchor, which must be inserted into a pre-made hole and tighten the stud.
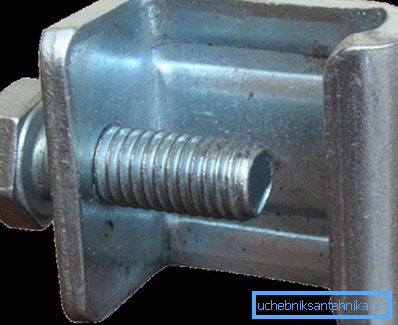
Tip: if it is not possible to attach the ducts to the ceiling, use for installation a metal beam with a clamp, with a pin attached to it.
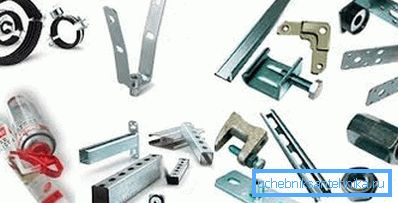
Apply the following fasteners for ventilation, materials and fixtures:
- brackets of various shapes;
- profiles;
- traverse;
- studs;
- punched tape;
- hose clamps;
- clamps;
- lifting gear;
- steel corners;
- sheet iron;
- metal slats.
Conclusion
Reliable installation of the ventilation system can only guarantee the correct fasteners. To do this, use a variety of devices, parts and materials. This article described in detail how they should all be used if necessary.
The video in this article will help you find additional information on this topic.