Natural ventilation in a private house: features of the
Every home needs an efficient ventilation system to create an optimal microclimate. In the opposite case, you risk the health of the tenants and the state of the building itself. In this article we will look at how to make high-quality ventilation with your own hands.
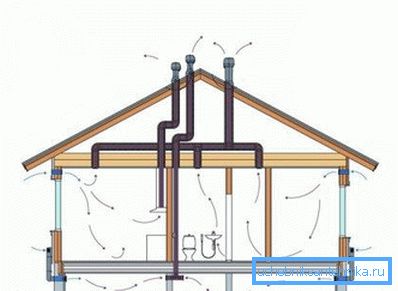
Why do we need ventilation in the house
If we talk about breathing in general terms, it can be noted that a person inhales oxygen and exhales carbon dioxide. Consequently, it is vital for us that the atmosphere around us be constantly updated.
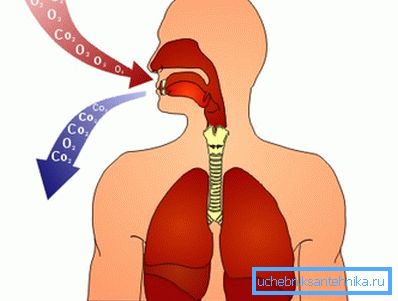
There are no problems on the street, but in the room the situation is quite different. If you add here the presence of secretions of various substances from interior materials, things, furniture and carbon monoxide from the kitchen and heating equipment, then we will talk about an incredibly dangerous cocktail that can cause significant harm to your health.

Also worth mentioning is the accumulating dampness, which is harmful not only to your lungs, but also to the house itself. And only regular air conditioning is guaranteed to relieve you from all the listed hazards. Moreover, the price of arrangement of the ventilation system is not so great, and it certainly does not compare with the well-being of your loved ones.
Variants of ventilation
Before proceeding directly to the installation work, let's see what types of ventilation are:
| Title | Description |
| Forced | In addition, a special mechanical cleaning unit is installed in such a system. Such enhanced measures are required in places with a particularly dirty atmosphere or buildings made of polystyrene foam concrete, MDM, sandwich and other materials of artificial origin. |
| Natural | In this case, conditions are created for the spontaneous circulation of air masses, which allows to completely update the composition of the air in the room. Suitable for buildings made of wood, brick, aerated concrete, adobe, expanded clay. |
| Mixed | Here, in the presence of natural ventilation, an additional exhaust device is mounted. This is usually required in cases where, for example, in the design mistakes are made, as a result of which the system does not have sufficient efficiency. |
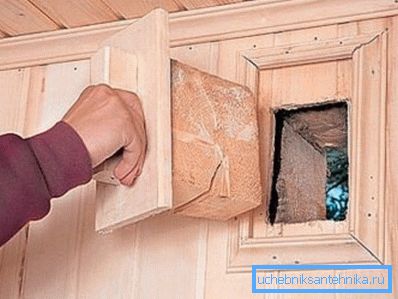
Thus, we can conclude that the most common and mandatory is natural ventilation, on which we will focus our attention.
Features of natural ventilation
Such a system is implemented simply, usually due to pipes made of moisture-resistant material mounted into the walls, and it works due to the differences in temperature, pressure, height of the exhaust structure and the strength of the external wind.
It has many advantages:
- Minimum costs, both during construction and during operation.
- Available installation manual that allows you to perform all the work yourself.
- No need to install automatic fans.
- Ease of maintenance.
- The possibility of accommodation in different rooms, including kitchen, bath and toilet.
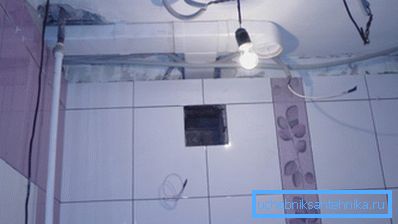
But there are some drawbacks that you should also have an idea about before starting the installation:
- The possibility of glaciation of the outlet in severe frosts. Solved by its weatherization.
- Return of the smell back to the house due to strong wind. Additional installation of the deflector will not only solve this problem, but also strengthen the craving itself.
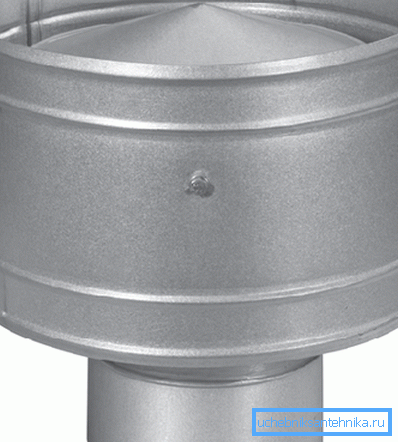
As you can see, all negative points are easily solved and are clearly inferior in importance to positive ones.
Arrangement
The device of natural ventilation in a private house begins with the calculation of the required power of the entire system:
Calculation of the required amount of air
Calculations are carried out separately for each room according to the formula: A = V? K, where:
| Symbol | Value |
| A | Required air exchange, m3/ h |
| V | Room size, m3 |
| K | The minimum exhaust force, which should fall on one cubic meter according to SNiP according to the winter temperature in the room, m3/ h |
Values of K can be taken from the following table:
| Room | Temperature, 0WITH | K m3/ h |
| Living | 17-21 | 3 |
| Bathroom | 25 | 25 |
| Restroom | 18 | 25 |
| Combined bathroom | 25 | 50 |
| Kitchen | 18 | 60 |
| Storage room | 18 | 1.5 |
Thus, for example:
- for a bedroom measuring 4 by 3 meters and with a ceiling height of 2.5 m, air exchange of 90 m is necessary3/ h (4? 3? 2.5? 3);
- for a more polluted kitchen of 2 to 3 m with the same ceiling, a more powerful extractor capable of passing 900 m will be required3/ h (2? 3? 2.5? 60);
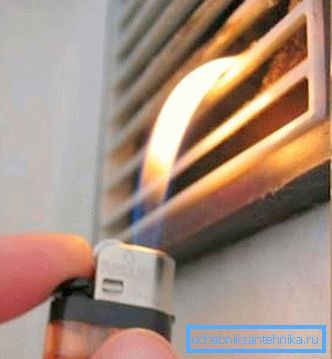
- the utility room with an area of 2 m will be the most undemanding2, which is enough to skip 7.5 m3/ h
It is also necessary to take into account the number of people living, for each adult requires 30 m3/ h, and for a child - 20 m3/ h Make sure that the calculated data is not a smaller value.
Knowing the amount of air required for each room separately and the entire building as a whole, it will be much easier to choose the size of the ventilation pipes.
Tip: if you find it difficult to carry out the calculations, it is better to contact a specialist, as in the future it will be difficult and expensive to make any changes.
Creating exhaust points
After that, when you have learned the diameter of the future ventilation pipes, you can start creating holes for their placement:
- Apply markings on the perimeter and center of the future opening. However, it should be a little more than the planned pipe.
- Using a perforator, make holes on the marks.

- Using a chisel and a hammer, carefully remove the wall section.
- Thoroughly clean the edges of the hole from debris and dust.
- If necessary, install a fan in the pipe end.
In addition, you will then need to do the following:
- "Bulgarian" cut the strobe in the wall for laying wires.
- Perform a hole for mounting the switch using a perforator with a crown nozzle.
- Install the switch.
- Lay the wires, fixing them with alabaster.
- Connect the cable to the switch box.
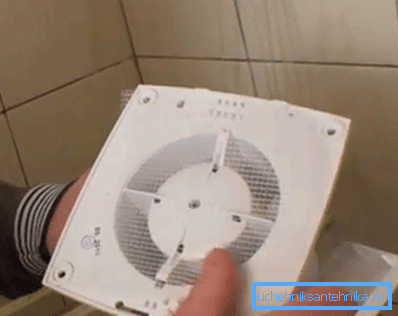
Tip: do not save on the fan, as cheap models will work out loud, making it difficult to rest, and not for long.
- Next, put it in the prepared opening.
- Building foam close up the remaining cracks.
- After curing the foam, cut off its protruding edges.
- We putty the grooves and the surface of the wall around the hood.
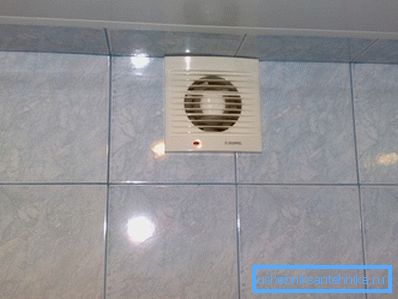
- Install plastic decorative grilles.
Creating supply points
Without a sufficient supply of fresh air, the whole idea does not make sense. This is especially felt today, when due to metal-plastic bags and other ways to achieve maximum sealing of the building, even the smallest gaps disappeared.
The problem is solved with the help of such devices:
- Supply valves that are installed in one of the following locations:
- In the upper area of the window, where the incoming cold air is immediately mixed with accumulated warm masses.

- Under the window sill, where the inflow is immediately heated by the radiators located there.
- Under the ceiling in the wall.
- Recuperators. Their work is based on the difference in temperature inside and outside the house. They can be direct-flow and counter-current, as well as have various designs: tubular, ribbed, rotor, and so on.
The choice of pipes and methods of their fastening
To date, these types of pipes are most often used:
- Polyurethane.
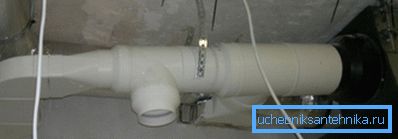
- Polyvinyl chloride.
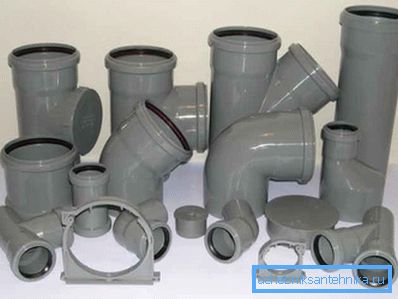
- Galvanized.
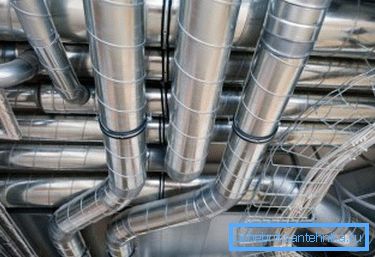
- Polypropylene.
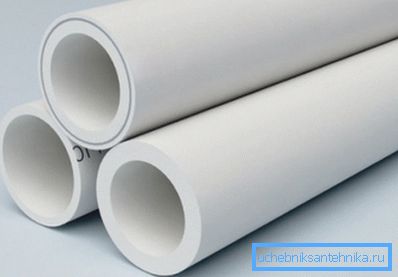
Tip: if for any reason you decide to use pipes made of other materials, the main thing is that they are not hydrophobic. Otherwise, often condensation on their inner walls will lead to disastrous consequences.
Possible shapes of the section: square, rectangle, circle and even oval. In addition to the classic straight segments, there are also many different couplings, tees and turns, which greatly facilitate installation and make the pipeline itself more compact.
Speaking of pipes, you should immediately consider their mounting methods:
- Standard hose clamps. Used for elements whose diameter does not exceed 300 mm. In this case, just one fastener for each site.

- Studs with studs. They are used for elements whose diameter exceeds 300 mm. Fixation is made directly to the ceiling every 130 mm of the pipeline.

Tip: Try to avoid a large number of sections with a narrow section, turns and long horizontal segments, as they reduce the intensity of air exchange.
Installation of external pipe
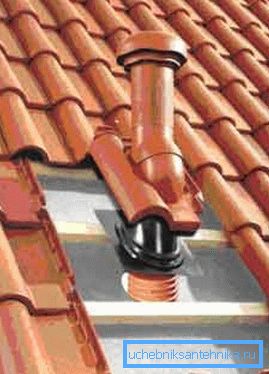
The entire internal pipeline is combined into one, usually it is done in the attic, or several exits and is displayed on the roof.
The following points should be observed:
- Calculate so that the ridge protects the exit of the pipe from the wind.
- Be sure to warm the outer part of the pipeline to avoid future glaciation.
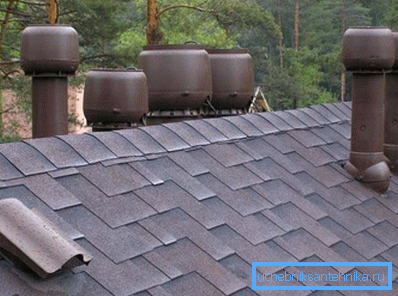
- Install a protective cap for protection from precipitation or even a deflector, which can also increase traction, but will require additional financial costs.
Conclusion
Natural ventilation and microclimate in the house have a direct connection. Only due to sufficient and timely air circulation in your home will be a healthy and pleasant environment. We have described above what is required for this (see also the article Exhaust Ventilation of a House - which type of house to choose and correctly equip).
The video in this article will introduce you to more information. Good luck with the installation!